While looking for a way to create front panels and detailing on homebrew equipment, I was pointed to a YouTube video by Mark Presling entitled Metal Finishing With Mark – Metal Engraving 101.
In the video, Mark explains how cold galvanizing zinc spray, when ‘excited’ by a laser, burns at a high temperature to permanently mark the surface of the material onto which the zinc was sprayed. Mark suggests that this only works on stainless steel, however, other videos show how it can be used on ceramics, glass and similar substrates to burn or melt the substrate. I’m not exactly sure of the process, but, it certainly does leave a controllable, visible mark on the surface, which is exactly what I was after!

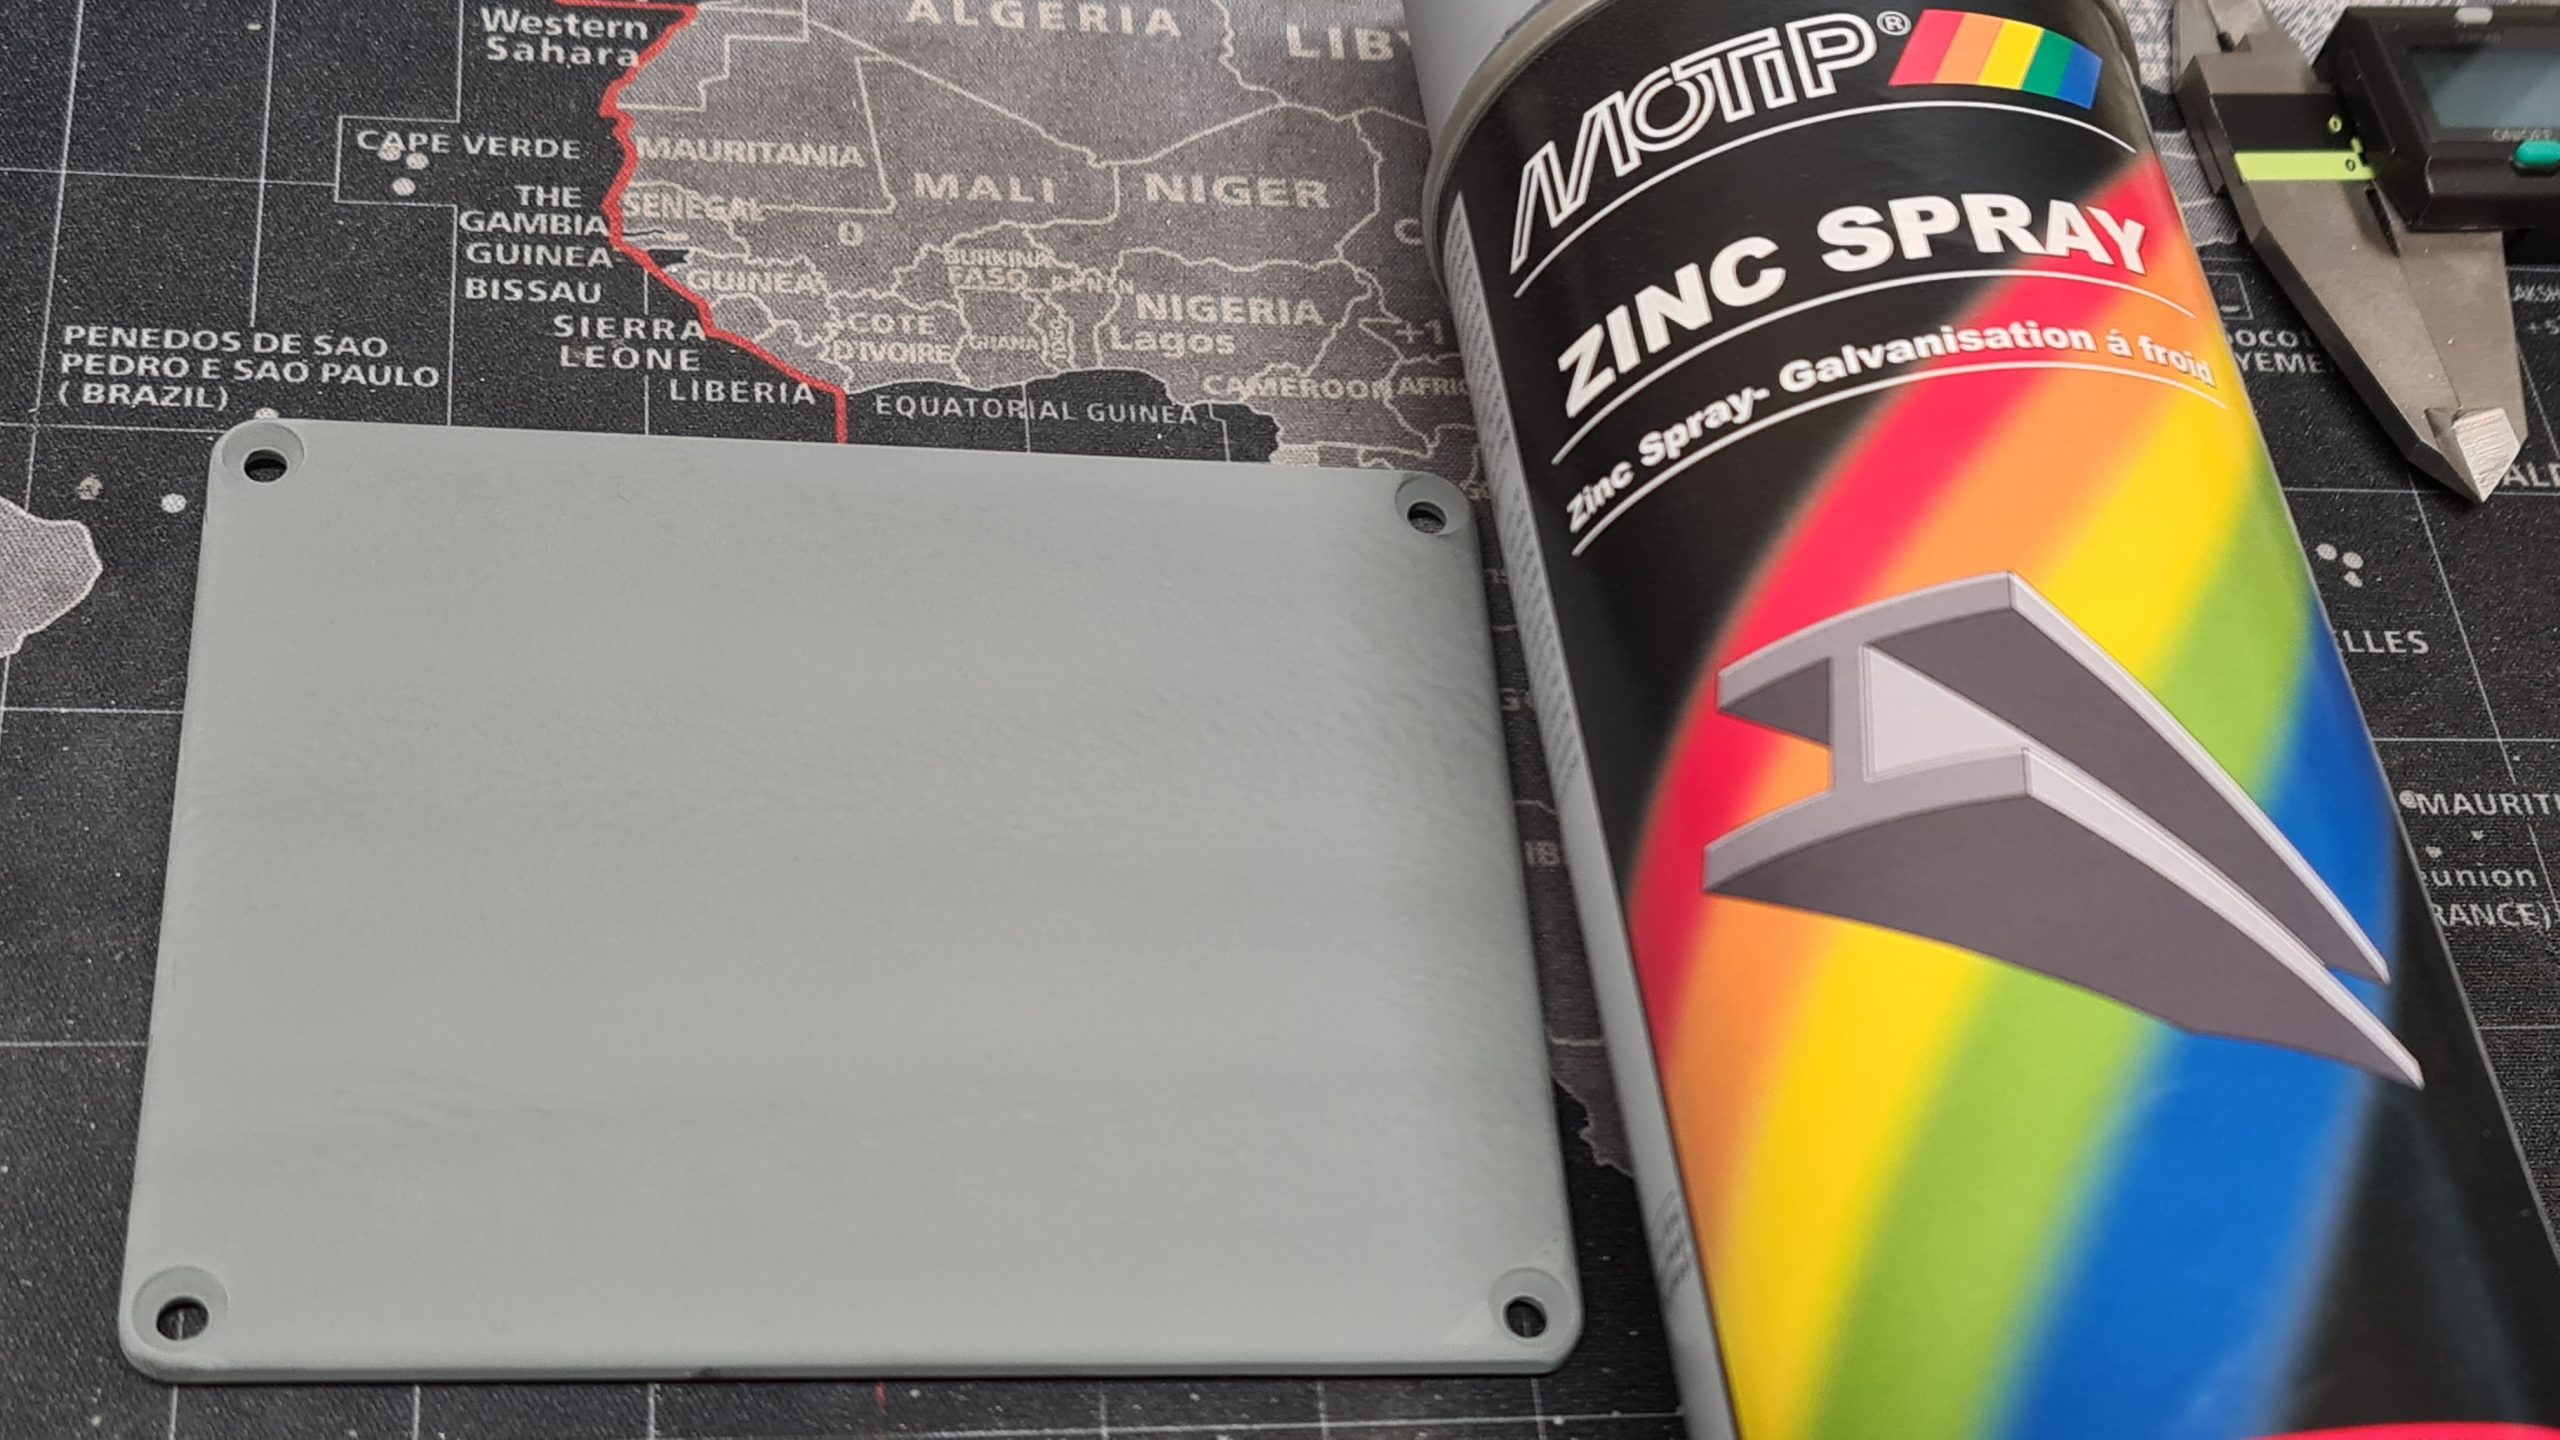
The box above shows markings for the 144 MHz antenna, GPS antenna, and status LEDs for an APRS transmitter I happened to be working on at the time. The effect is to leave a darker surface on the Hammond diecast box, which (at least to my testing) is very hard wearing and does not come off with use of solvents…
Here’s how
Firstly you’ll need to coat the surface to be etched with a liberal spray of zinc cold galvanizing compound. I used MOTIP Zinc Spray because it was the cheapest I could find on eBay and it works just fine – perhaps I got lucky but I’ve seen several videos on YouTube each swearing by a different make of spray, and they all appear to work. The important thing is that it is high in zinc. It’s an epoxy based aerosol, so, spray outside using the appropriate precautions. The spray should be quite thick, I spray on about 4 heavy coats one over the other and then let it ‘dry’ for around 5 minutes, just until the main solvent has evaporated.
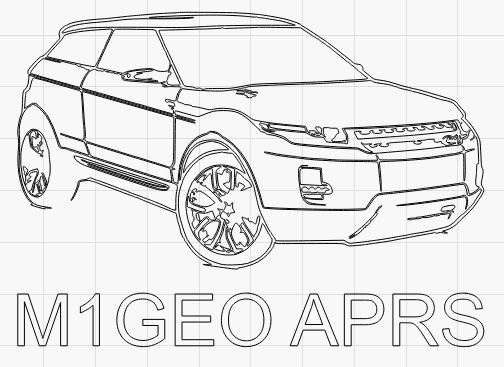
While the spray is drying, design your artwork. I’m making a line drawing of the car along with my callsign to put on the box, mainly to see how it comes out – I’m keen to see if the line drawing comes out well or not – so watch this space! My design looks like the following:
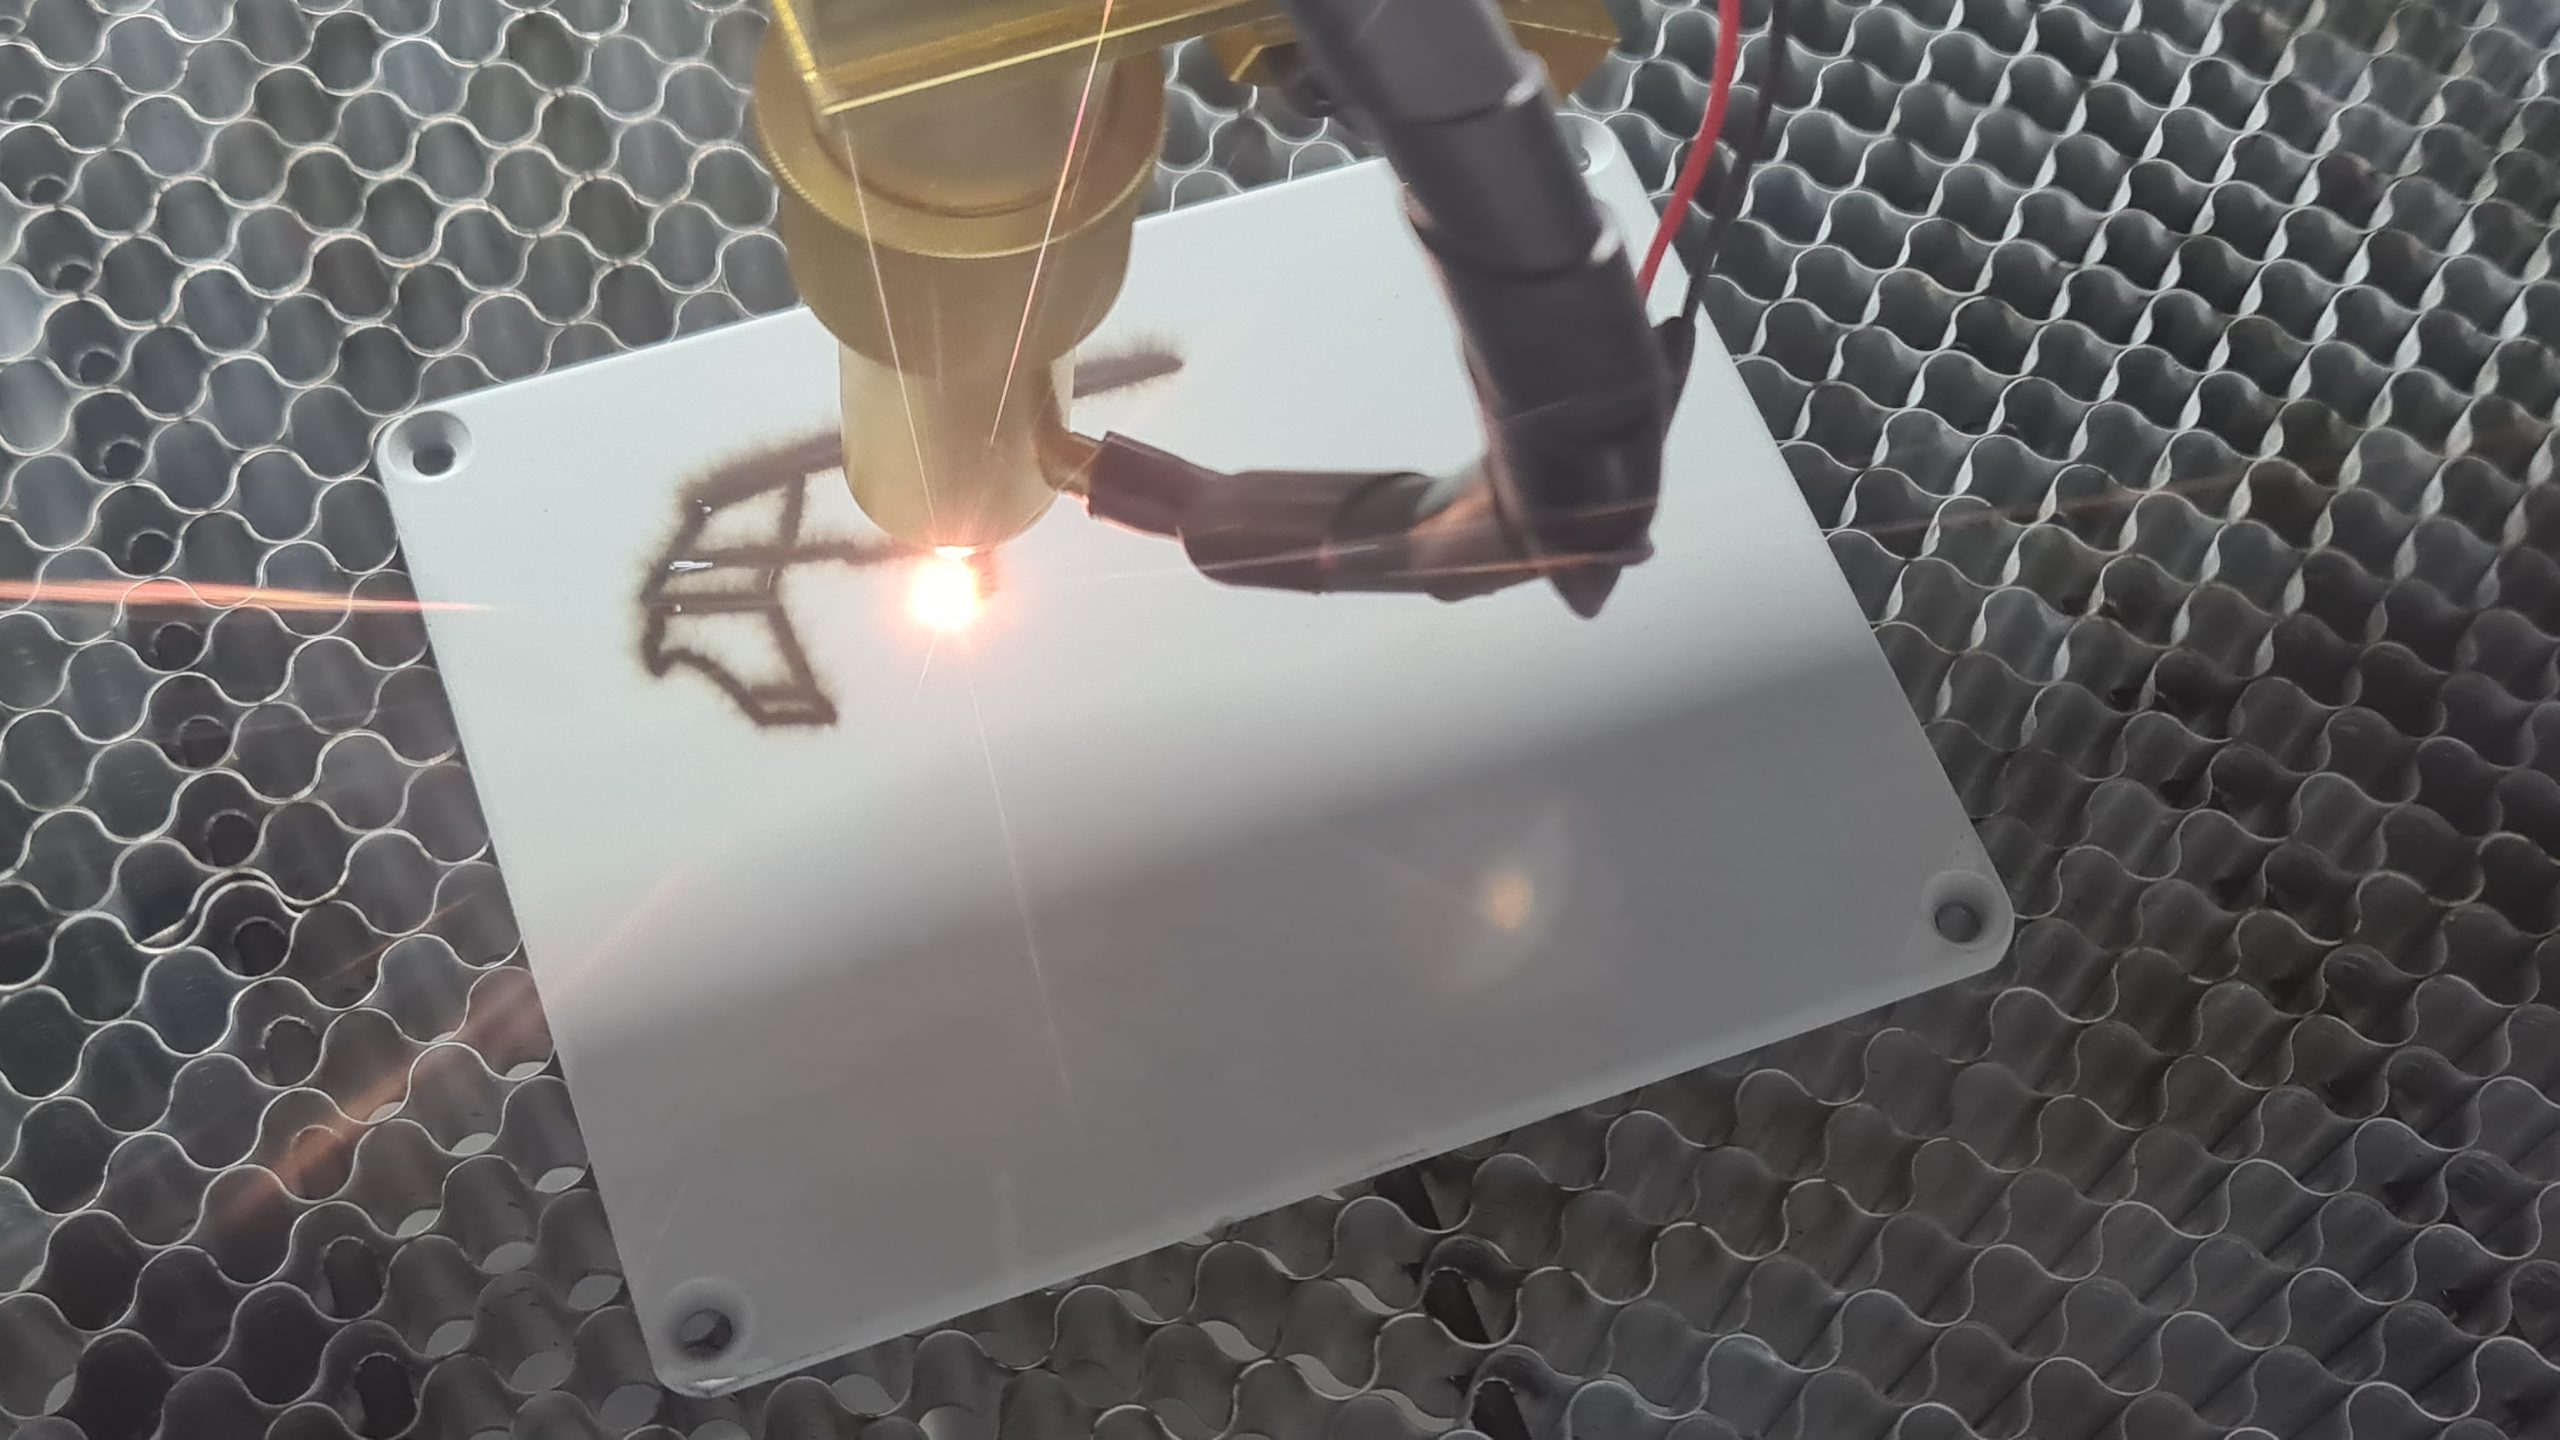
Next we get to put the metal into the laser cutter. I use a 60W CO2 laser cutter, with the power set to around 50%. Others have reported success using 10W diode lasers. I found that 50% was about right for my machine. Going slowly helped a lot, I reduced the machine to around 5mm/second. Where possible, vector engrave as the laser power is continuous and more controlled than raster scanning, but for large areas, such as the text, raster scanning works fine. I always reinforce text with a vector engrave around the outer.
You’ll need to focus the machine as you’d normally do in order to cut the surface.
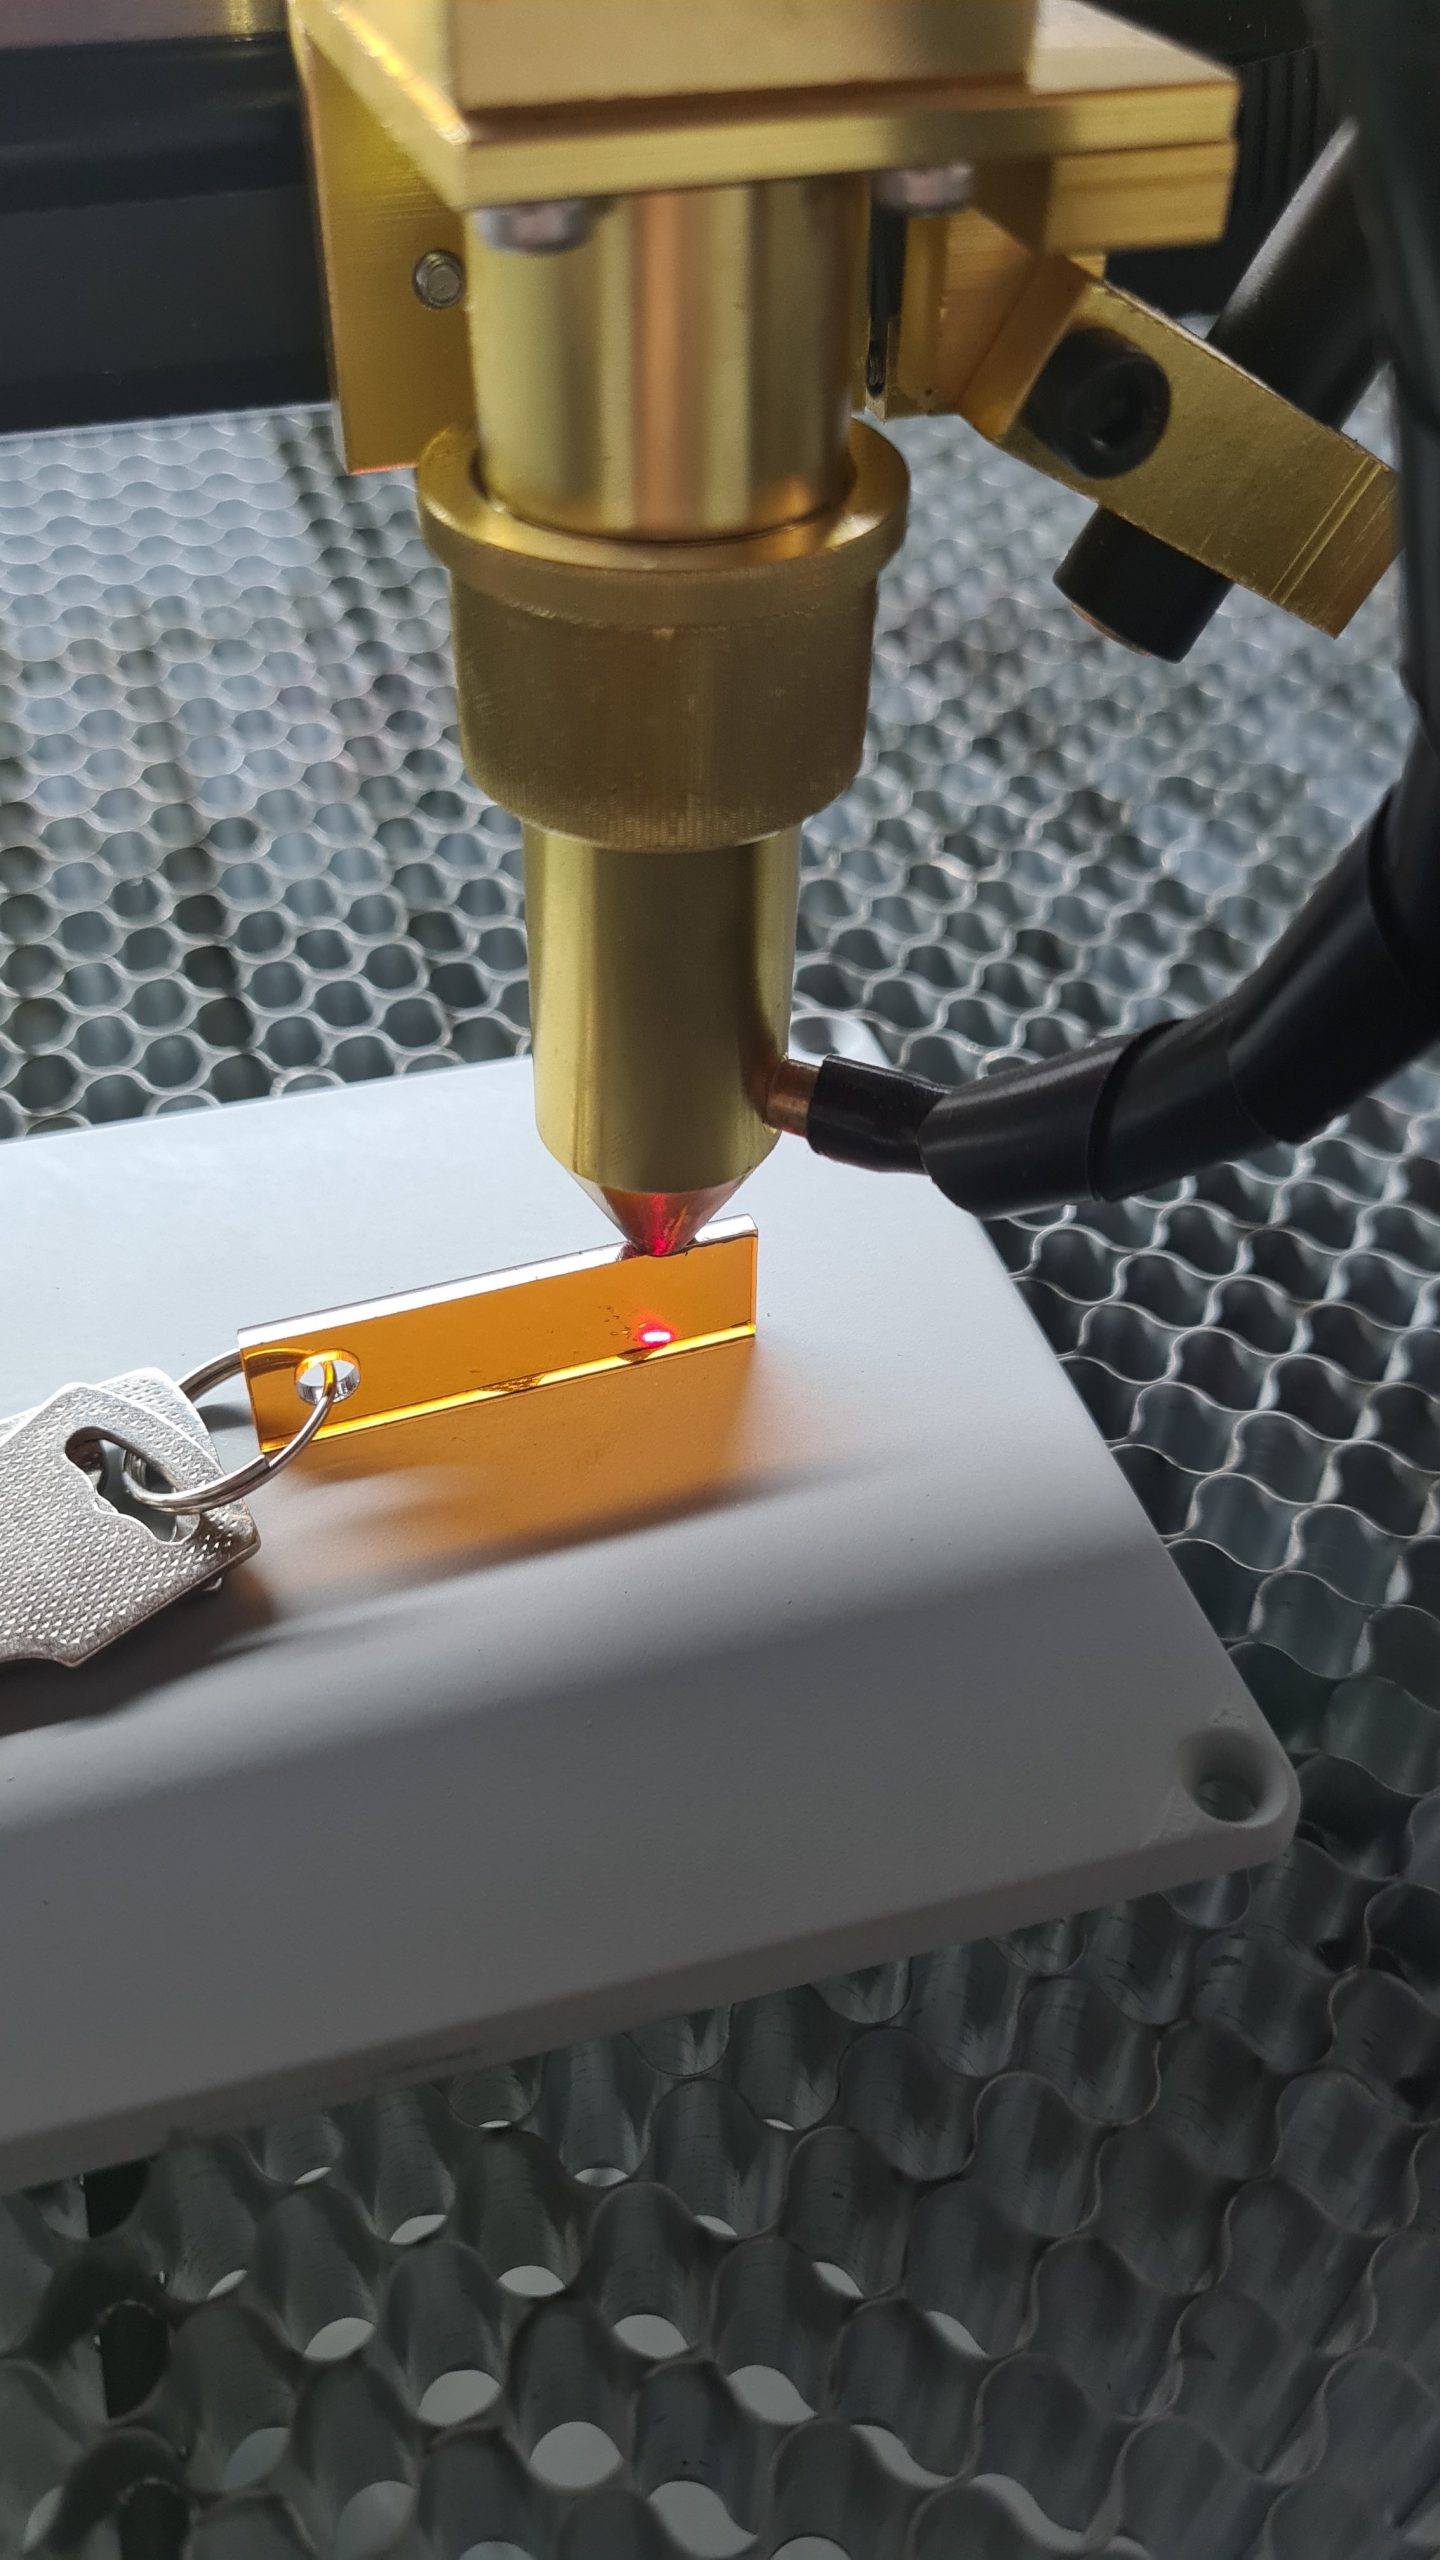
Once focused, frame the metal on the cutter bed. My laser cutter has a spotting laser which really helps with this.
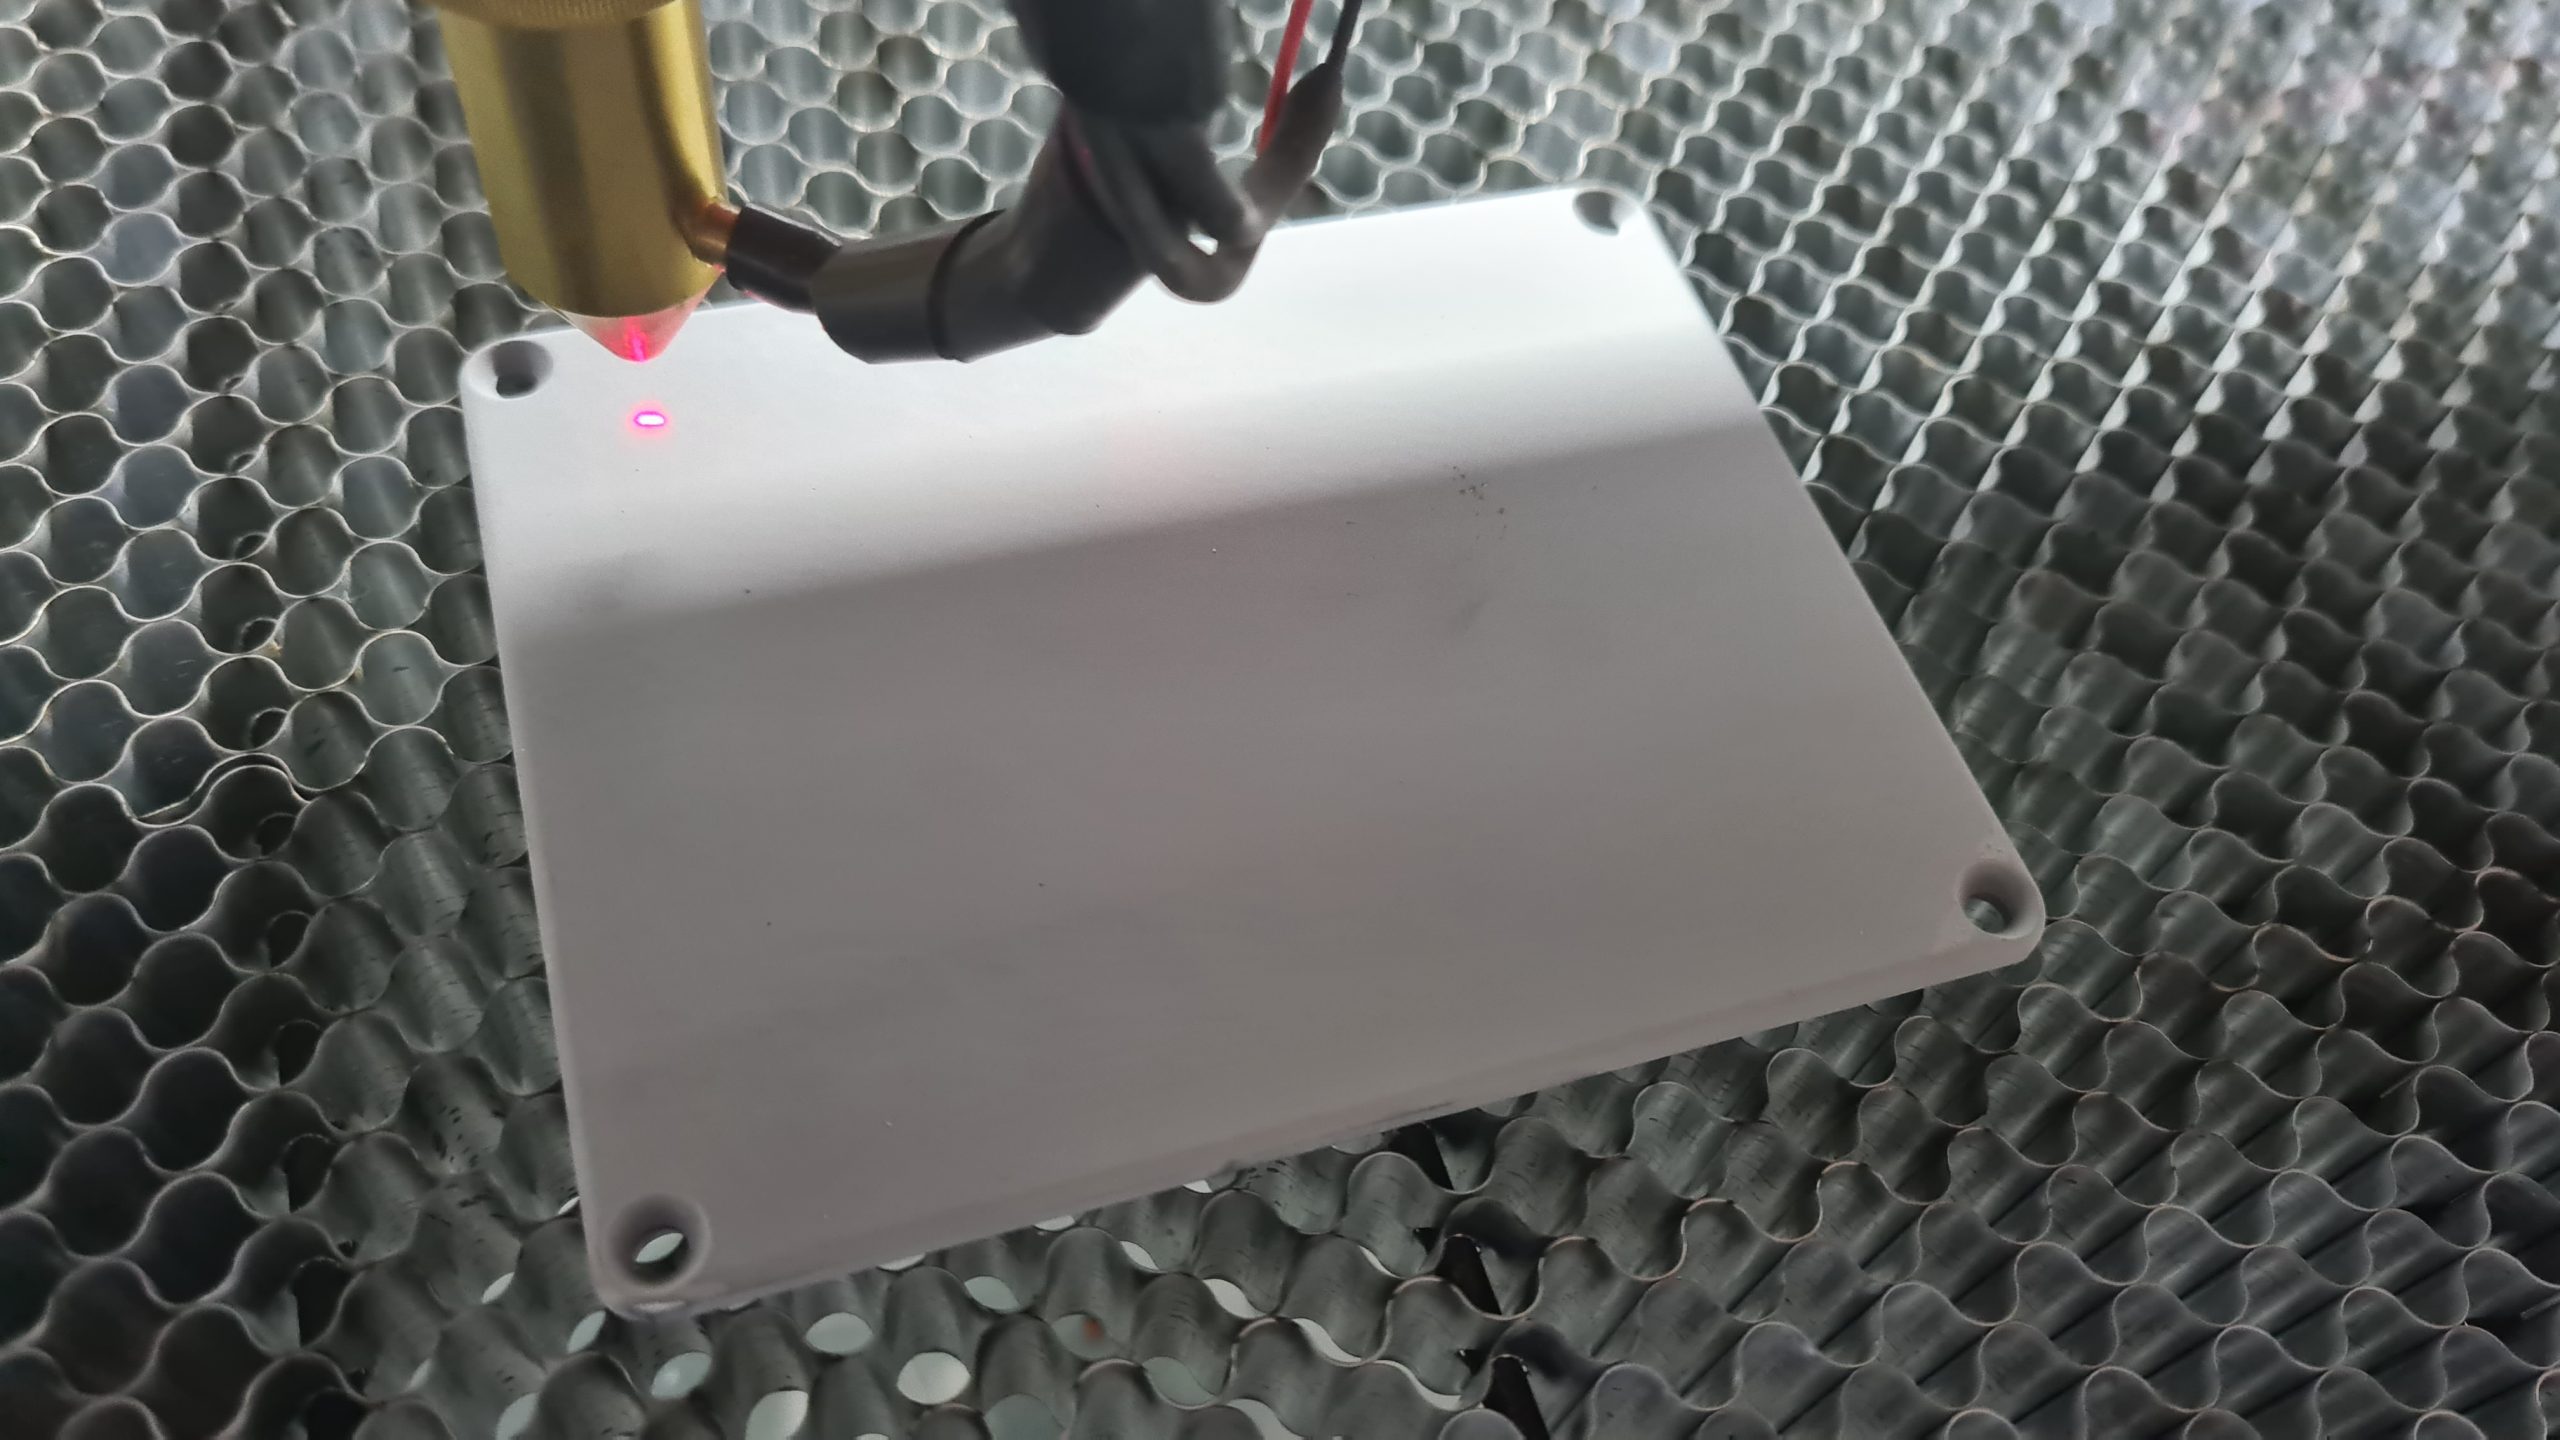
At this point, you’re ready to go! When the paint is hit with the laser, it goes a very burnt/sooty black. The process generates some very nasty fumes, which you are well advised not to breath – this includes metal vapors which are incredibly dangerous.
Once the engraving is done, leave the work in the cutter’s fume extraction for a short while to be sure that the chamber is clear of toxics, and then remove the work. Mine looks like this:
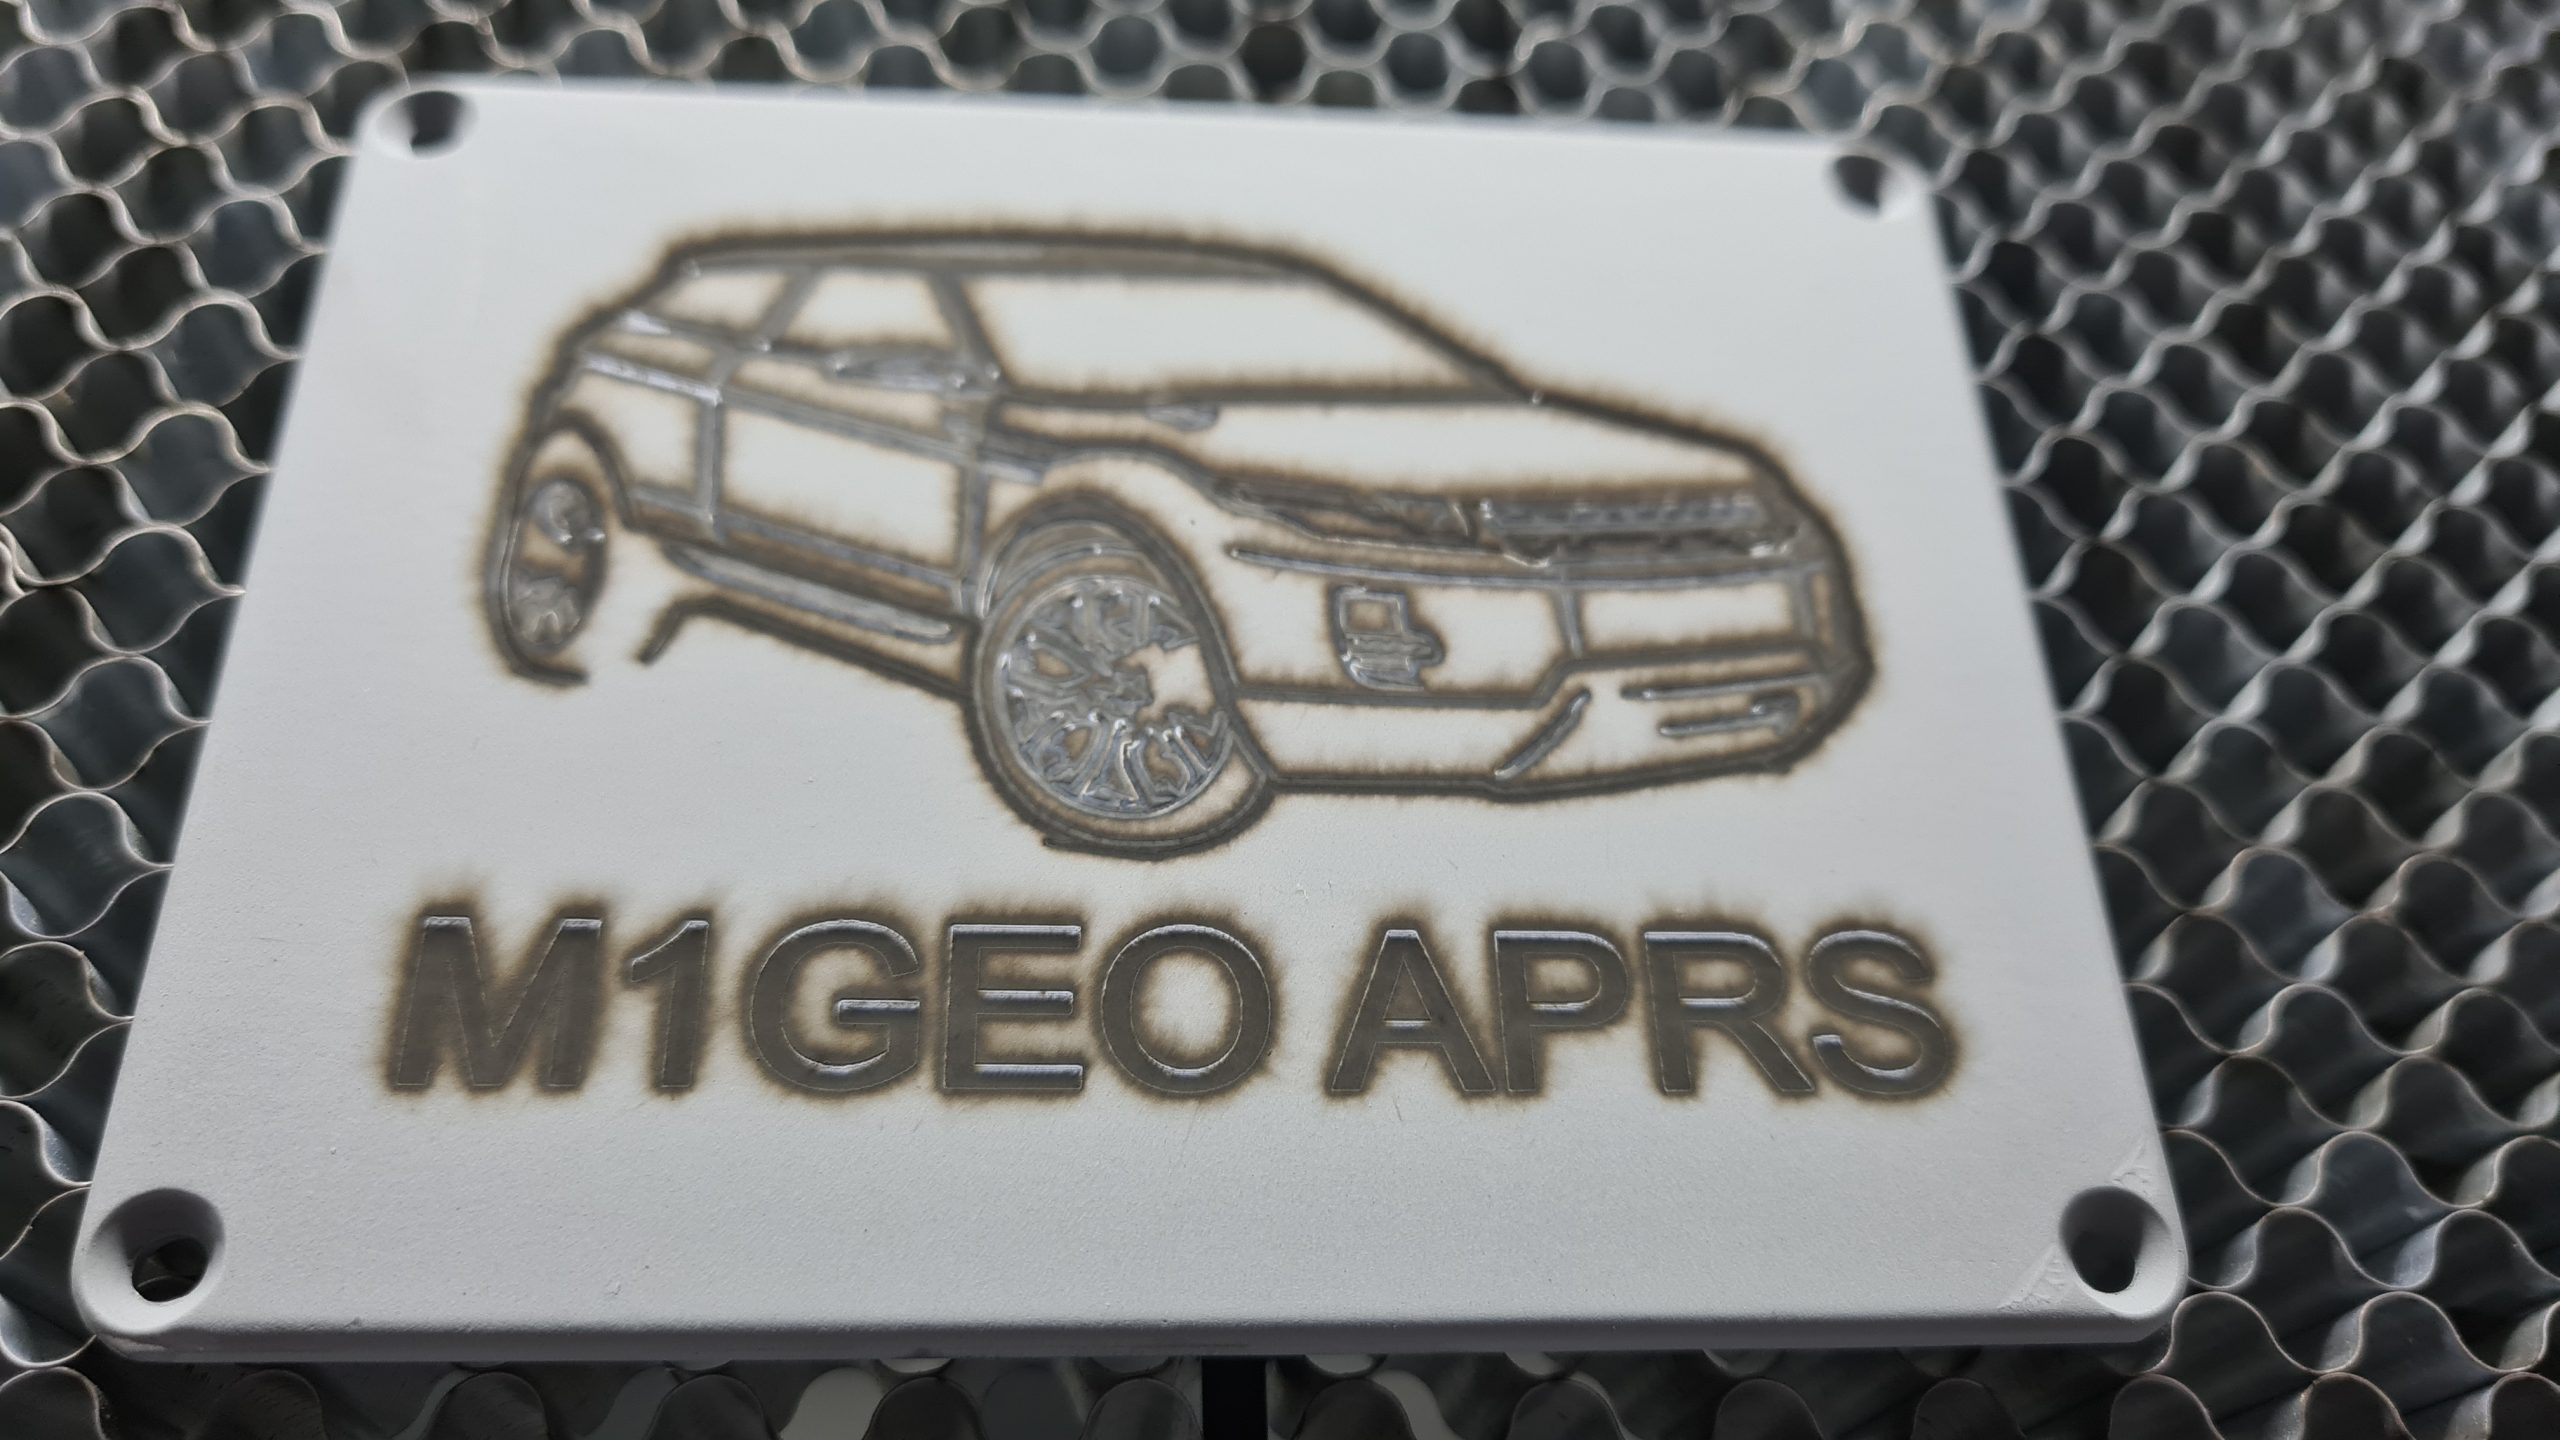
The final stage in the process is to use a paint remover to remove the paint from the metal to reveal the final design. I use cellulose thinners, which works well. Be sure to do this in a well ventilated space, otherwise you end up with a headache (like I have now, as I write this!).
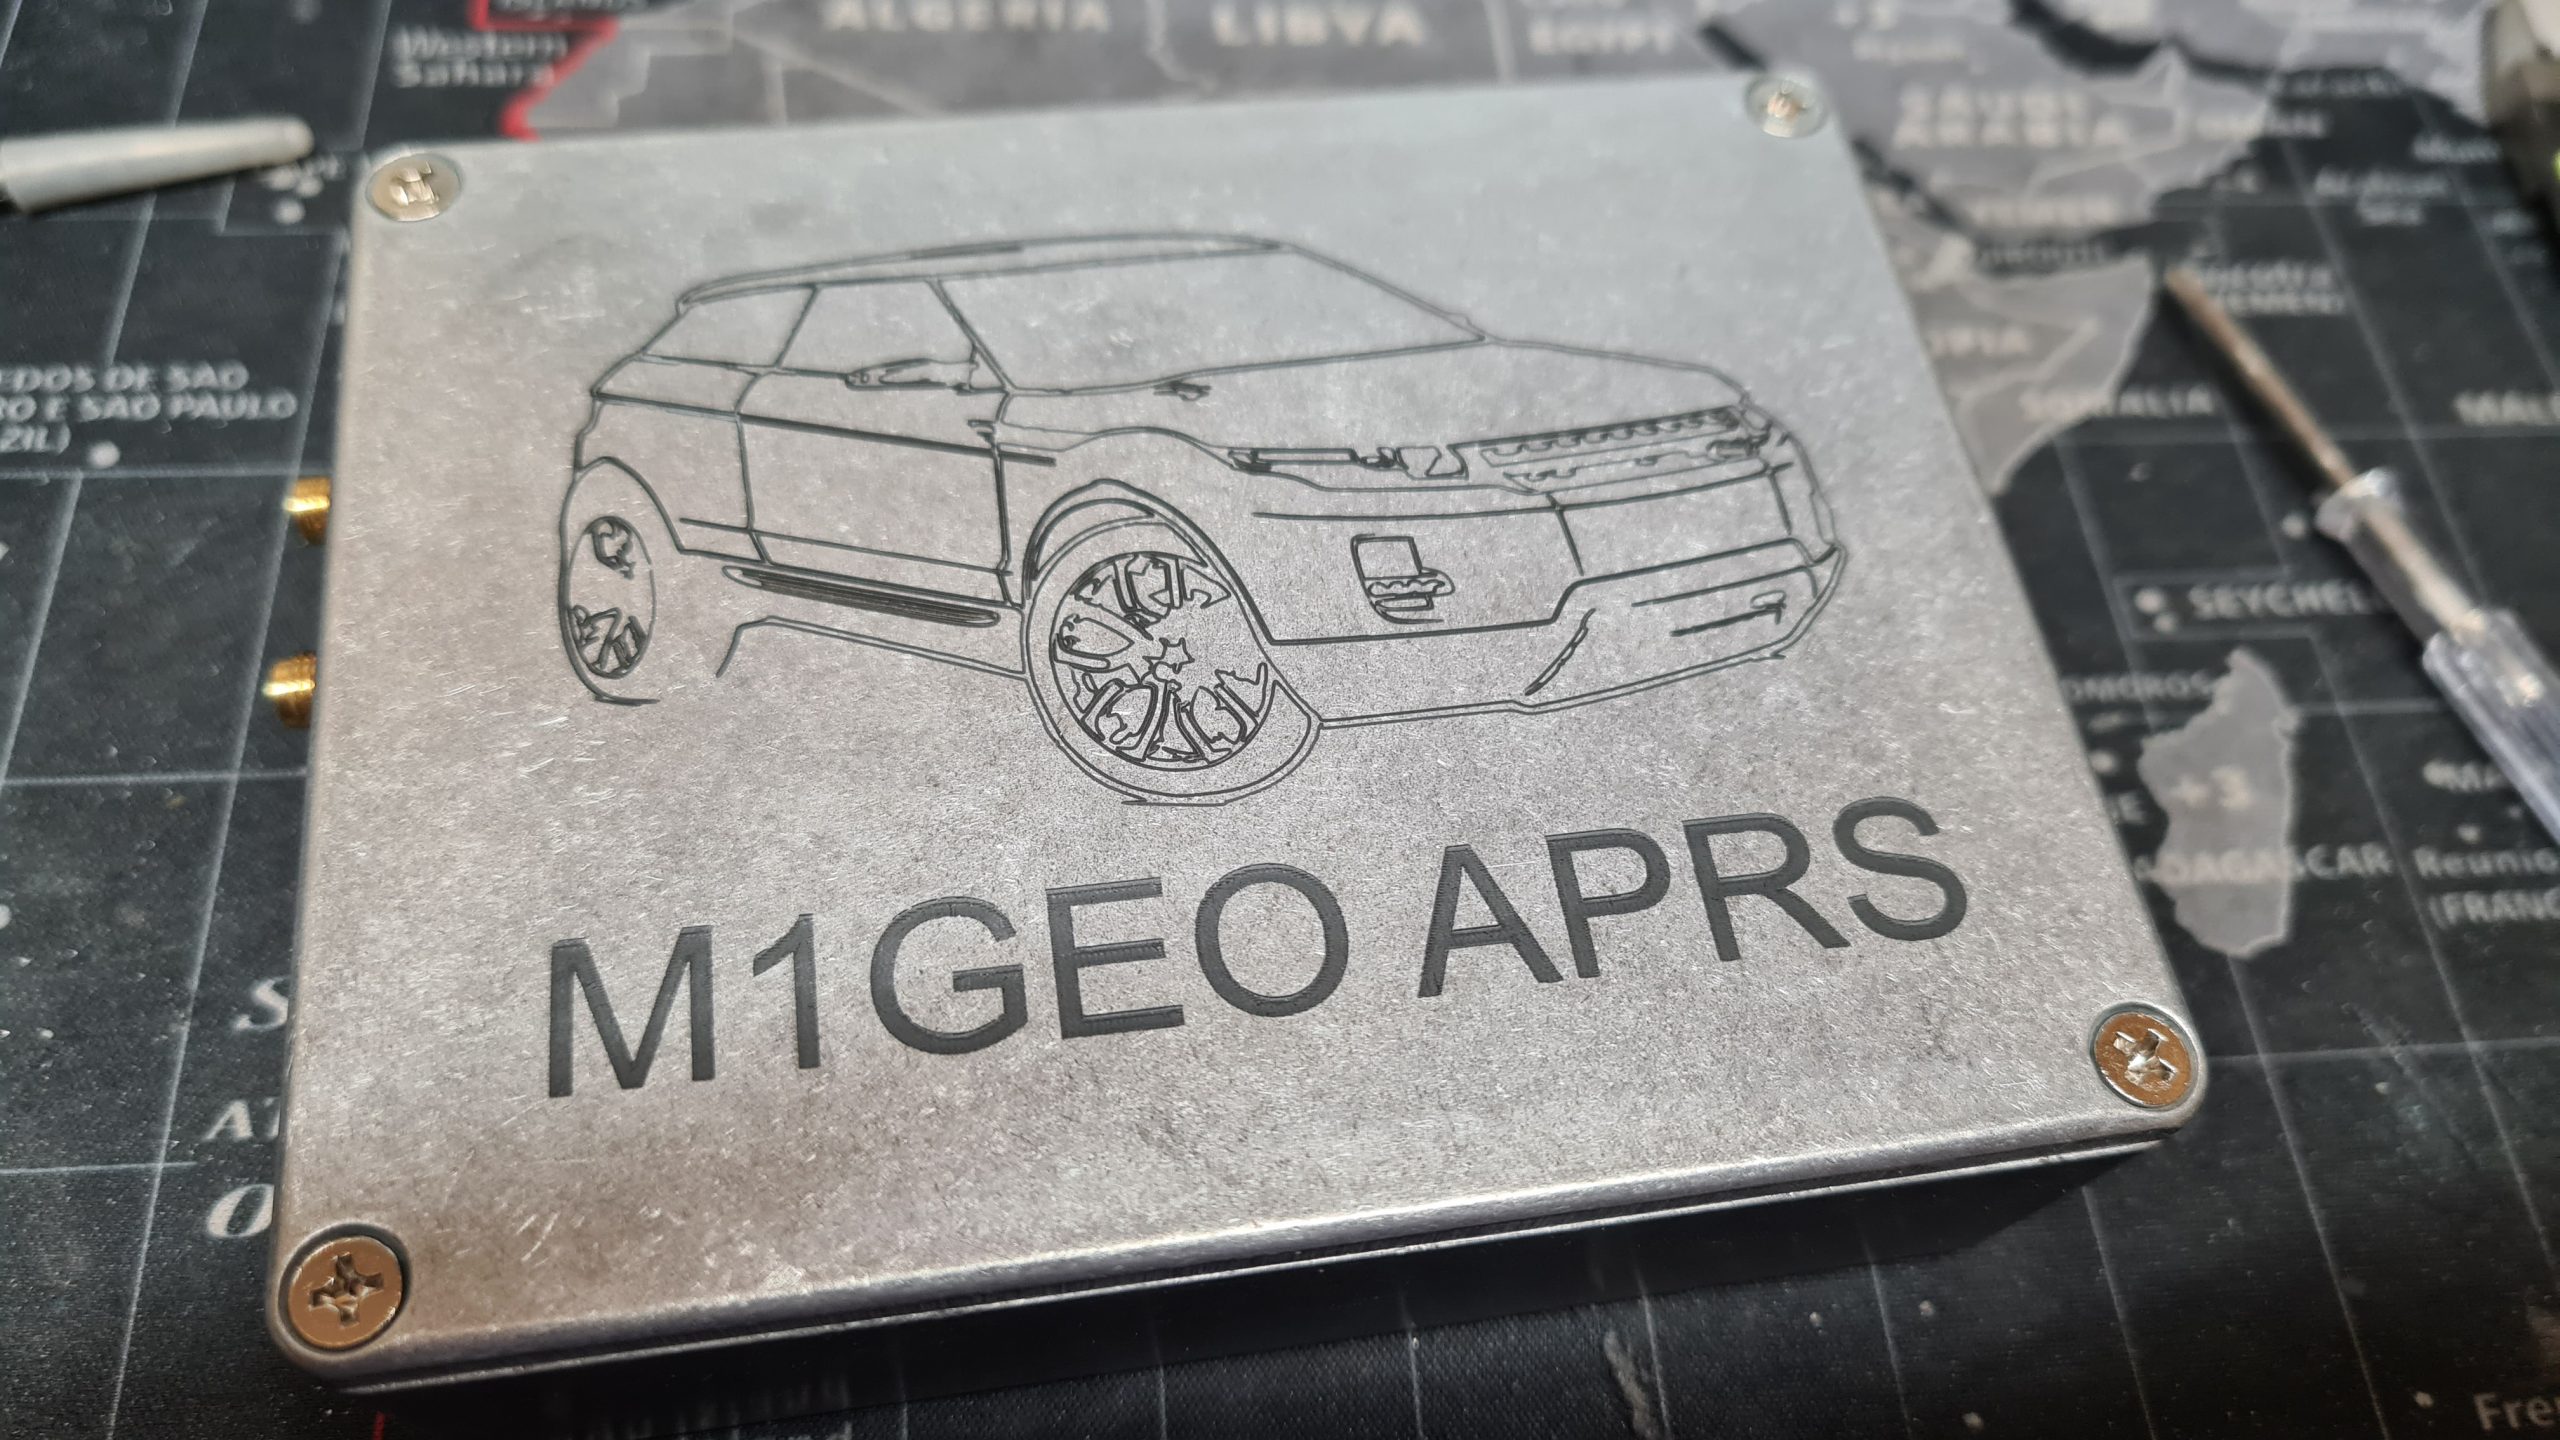
I think you’ll agree that the final result looks very clean and tidy, and has retained all of the detail present in the original design.
This process is quick and easy to do if you have a laser cutter, uses a cheap-ish (around £6) can of zinc spray, and produces good, repeatable results with minimal fuss. It’s very useful for creating front panels and similar.
You may also find that spraying another colour of paint over the top, and then sanding down very lightly will further accentuate the design.