I was recently (April 2017) asked by Olli DJ2TX for help getting WSJT 10 running on Ubuntu Linux. For those folks involved with EME, WSJT version 10 is a must, since it offers the best receive performance, improving on WSJT version 9 and the newly available WSJT-X 1.7.
The easy solution is to install WSJT from the Ubuntu repositories, but, at the time of writing the repositories include WSJT 9 and also have a simple Python version miss-match (WSJT is written to use Python 3, but the standard Ubuntu Python 2 is called, and the program errors out). This miss-match is an easy fix, but still doesn’t help those who really want WSJT 10.
Here’s how I went about setting this up. I start here from a clean install of Xubuntu 16.04 LTS. Xubuntu is my preferred choice, but you can choose any flavour (and probably straight Debian or Linux Mint, too – YMMV):
Once you have your Linux flavour installed, then you should be able to download the prerequisite tools and libraries to be able to build WSJT 10. These are listed below:
- The WSJT source code (I take this from the working trunk on SVN, svn://svn.code.sf.net/p/wsjt/wsjt/trunk)
- Subversion
- Python 3 NumPy 1.8.1+ (F2PY)
- SampleRate Dev tools
- FFTW3
- PortAudio
- GFortran
- Python Development Files
- Python TK
- A2X (asciidoc) – large – required only for documentation
To install these, we can use the repository defaults. If you want to install asciidoc, simply add it to the end of the following line:
sudo apt install subversion libsamplerate0-dev libfftw3-dev portaudio19-dev gfortran python3-numpy python3-dev python3-tk python3-pil.imagetk
Once you have all of the prerequisites downloaded and installed, you will then need to download the source code for WSJT 10.
cd ~/
svn co svn://svn.code.sf.net/p/wsjt/wsjt/trunk
At the time of writing, the revision checked out was 7646. Move into the trunk directory:
cd trunk
Once inside the trunk folder, you need to run the configure script. This sets up the build process for WSJT. You need to simply run:
./configure
Hopefully, you will not see any errors, as we have obtained all of the required tools and programs previously. You should see something like the following int he Configuration Summary:
——————————————-
Configuration Summary
——————————————-Install prefix …….: /usr/local/wsjt
Package …………..: WSJT 10.0
Build Docs ………..: Yes
Build Manpages …….: Yes
Python2 …………..: /usr/bin/python 2.7.1
Python3 …………..: /usr/bin/python3 3.5.1
F2py ……………..: /usr/bin/f2py
Fcompiler: ………..: gfortran
FC Lib Path ……….: /usr/lib/gcc/x86_64-linux-gnu/5/
Samplerate ………..: OK
FFTW3 …………….: OK
Portaudio …………: OK
Copyright………….: Copyright (C) 2001-2016 Joseph H Taylor, Jr, K1JT
Website …………..: http://www.physics.princeton.edu/pulsar/K1JT/wspr.html
Report Bugs To …….: wsjt-devel@lists.sourceforge.netFinished Configuration
To build, type …: make
george@george-vbox:~/trunk$
As instructed at the end of the configuration process, we now need to ‘make’ the WSJT program. This is to convert the source code into a complied binary application that we can run. To do this, we run the make command. If you have more than one core available on your computer, you may benefit by adding “-j N” to the make command, where N is the number of CPU cores available. If you don’t know this, just run:
make
Once the make command has finished, you should have several new files. You may also see a warning if you chose not to make the manual and documentation files. Confirm the existence of the following files:
ls jt65code jt4code
You should see both the file names repeated. If you see “No such file or directory” instead, then something has failed, and you will need to restart the build process, looking for errors. You should use “make clean” in between consecutive build attempts to restore a clean environment.
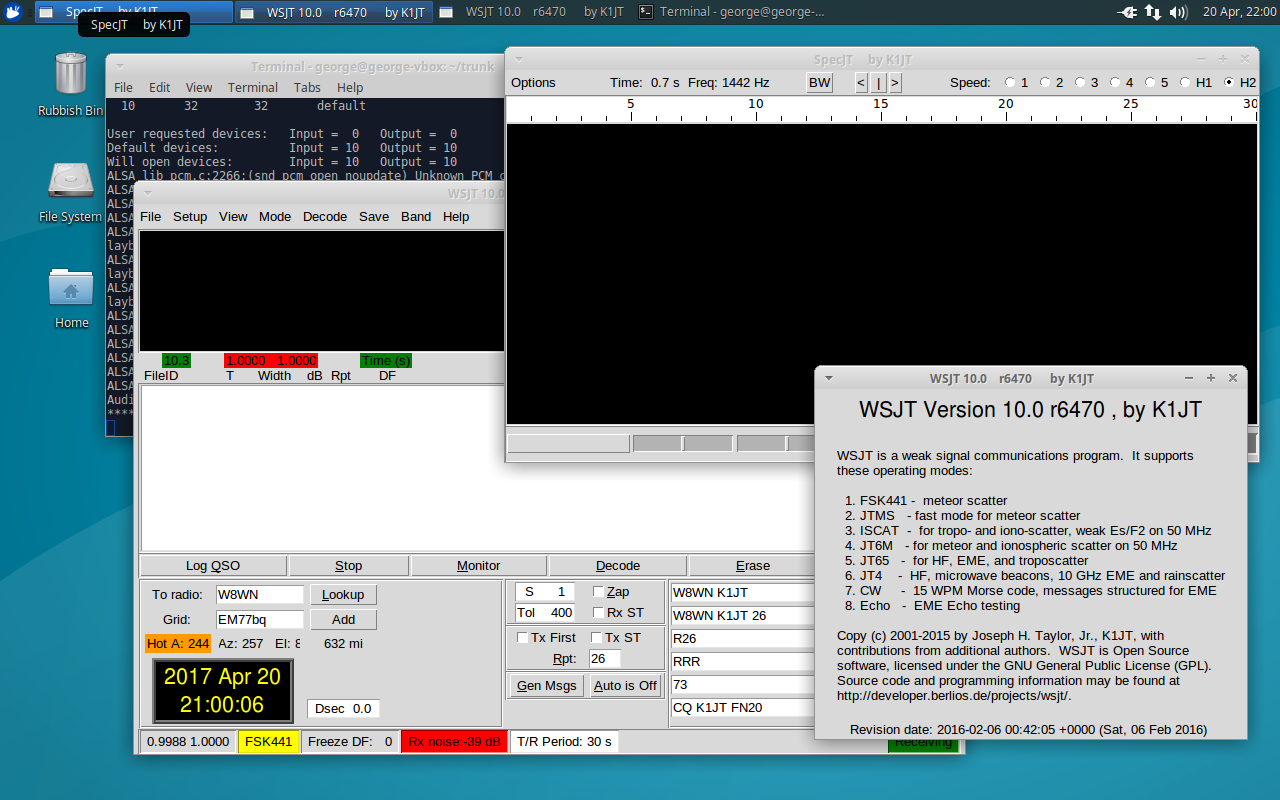
Finally, to start the newly built WSJT 10, you should run:
python3 wsjt.py
You will hopefully see the familiar WSJT 10:
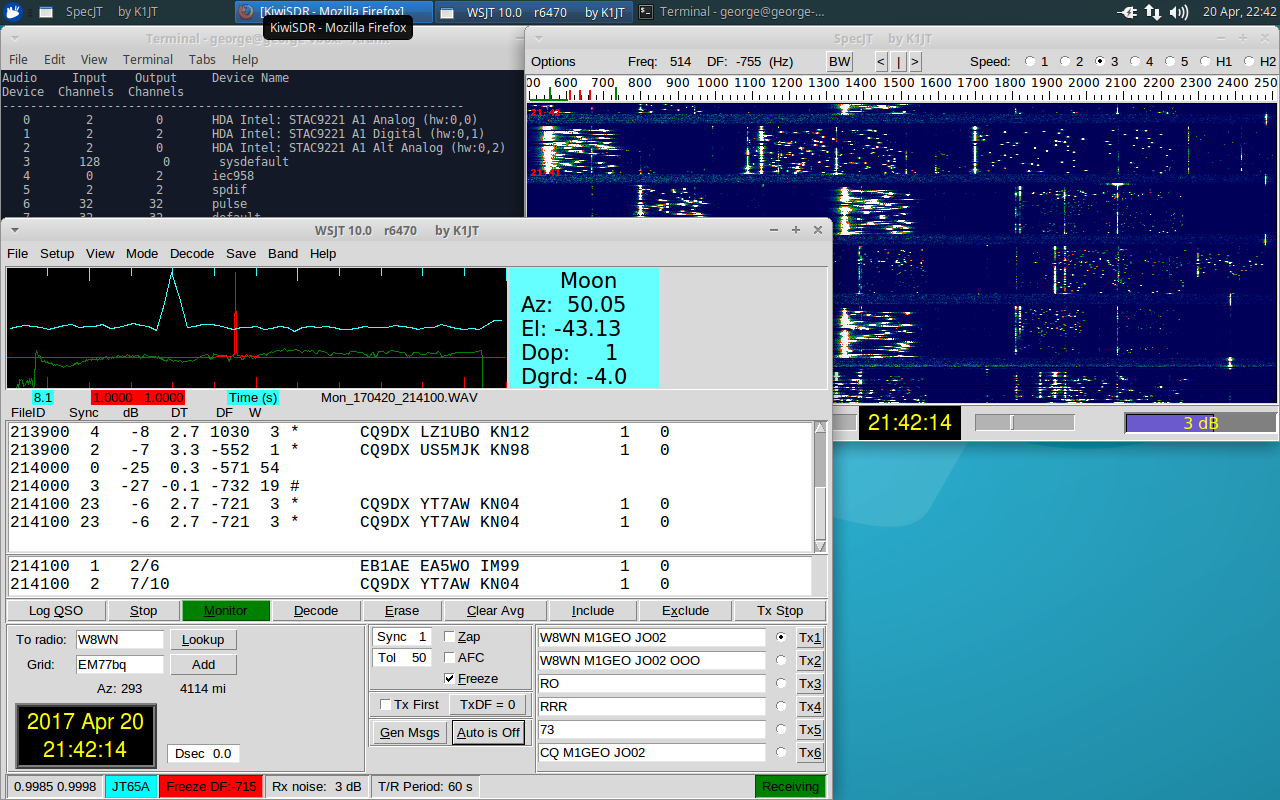
I am not sure why the version revision in the About menu doesn’t match that of the SVN clone. However, the program appears to work. Here it can be seen decoding JT65A on 40m, just to check things are working…