
This page details how I compiled K1JT’s WSPR software on my amd64 Ubuntu 11.04 machine. It should work for 32-bit machines too. I decided to compile the code as opposed to using the provided Ubuntu DEB file, as the “–force-architecture” command didn’t work. This page has been updated for WSPR v4. There’s also a version of this page for Compiling WSPR-X!
Last checked with Xubuntu 14.04 and WSPR revision 4224.
If this page was useful, please consider Donating to me.
Installing the Required Software
Before we can start, we need to get the required software to download and compile the source code. K1JT’s page (here) tells us exactly what we need. We also need a couple more programs. I installed:
- subversion
- python3-dev (I used python2.7-dev and python2.5-dev on earlier versions)
- python3-numpy
- python3-pil.imagetk (formerly python3-imaging-tk)
- libportaudio2
- libportaudio-dev
- libsamplerate0-dev
- g95 (I used gfortran – some issues around this, and some people say you have to use g95. Mine works fine…)
- portaudio19-dev
- cl-fftw3
- autoconf
- python3-tk
- python3-pil
- asciidoc (required for man pages, thanks to Larry W0AY for pointing this out – can omit this if no manuals are required)
To install these from the console, use the following. The “\” means the command continues on the next line, and should be removed.
sudo apt-get install subversion python3-dev python3-numpy python3-imaging-tk python3-tk python3-pil \
libportaudio2 portaudio19-dev libsamplerate0-dev gfortran cl-fftw3 python-dev autoconf asciidoc
If you cannot find python3-pil.imagetk instead try python3-imaging-tk
Getting the Source Code
Once the above have installed, we can download the WSPR source code from SVN. I like to create a folder for it to all live in, while i work with it. Create a folder and ‘cd’ into it with the terminal. We can then use SVN to download the sourcecode. At the time of writing, this was revision 2225.
svn co svn://svn.code.sf.net/p/wsjt/wsjt/branches/wspr
Once it has downloaded, cd into the wspr directory again.
Configure
With the addition of autoconf into the process, the task of configuring the build has been reduced somewhat. If you are interested in the old configure process, please look at this pages history (specifically from before 29 July 2014).
Now, we run the autogen.sh script.
./autogen.sh
What Success Looks Like
If everything goes well, you will hopefully end up with something like the following Configuration Summary:
——————————————-
Configuration Summary
——————————————-Package: ………: WSPR 4.0
Python3: ………: /usr/bin/python3
F2py: …………: /usr/bin/f2py3.4 (see note at bottom of make section)
Fcomplier: …….: gfortran
Samplerate: ……: OK
FFTW3: ………..: OK
Portaudio: …….: OK
Install Prefix: ..: /home/george/.wsprWebsite ……….: http://www.physics.princeton.edu/pulsar/K1JT/wspr.html
Report Bugs To …: wsjt-devel@lists.sourceforge.netFinished creating Makefile, To build , type:
make
george@zobel:~/wspr$
Compile
If you got all the dependencies met in the Configuring stage, the compilation should be plain sailing. To compile, run
make
The compilation throws a good few, warnings, skipping, etc, but at the end it finished with an error status of 0.
If you will run WSPR from the folder then you are pretty much set to go. However, you may wish to install the compiled WSPR into your version of Linux. This is done with:
sudo make install
Initially, I had some trouble getting WSPR to run. Aaron (VK3ABX) suggested that I recompile WSPR using f2py version 3 (since version 2 is detected by default). I edited the makefile, changing any reference to /usr/bin/f2py to /usr/bin/f2py3.4 in my case.
A simple “make clean”, “make” and “sudo make install” solved the issue, and then we were away!
Running
Typically, with compiled applications, you would run sudo make install and install the compiled program into the system. However, I don’t recommend this with WSPR. I would take to changing into the directory you built it in, and running from there, with
./wspr
If you find that you get issues with Python3 (by default, Ubuntu uses Python 2.7), then you can try the following:
python3 wspr.py
And, with any luck, you’ll get the WSPR program up and running.
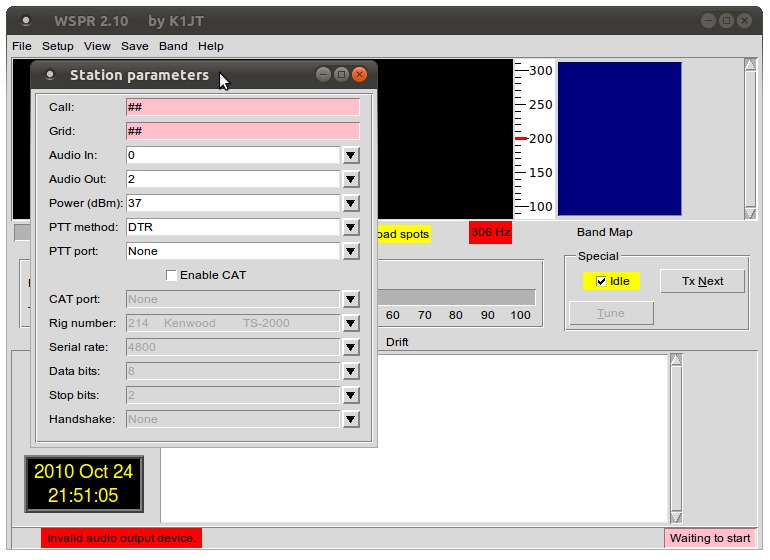 |
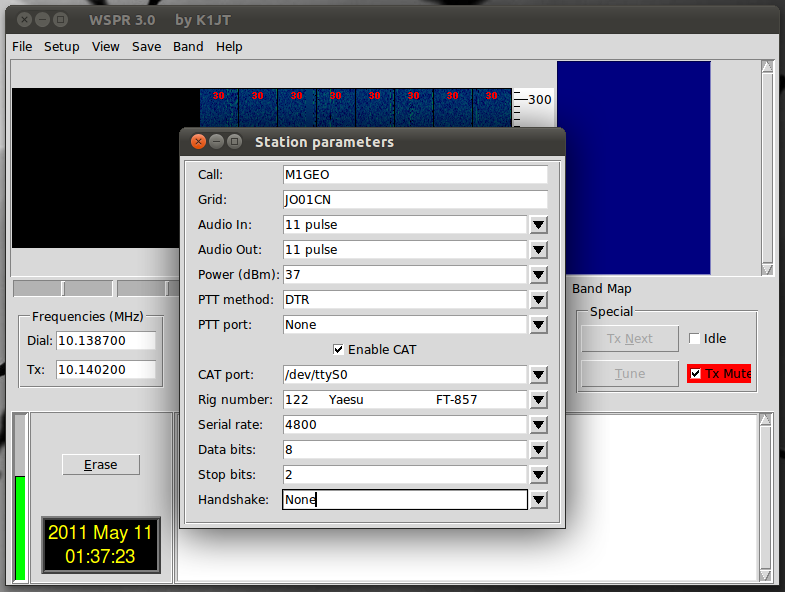 |
Click to enlarge
And there we have it.
Mac OS X
As Griff (M0HWS) mentioned in an email to me, to use the CAT interface with the OS X build of WSPR requires putting the HamLib libraries, specifically the rigctl binary. I cannot remember the exact details for how I did this, but I can offer you my Application to download. It is based on WSPR 3.0 from NH6Z (as above) with the HamLib files added in by myself. Feel free to strip the hamlib and rigctl files from this package and add them to your own, or simply run my package (after changing the callsign, of course!). The files required are located inside the Package’s Resource folder: /WSPR.app/Contents/Resources/ It should be evident which files are hamlib as they all have that in their name. Don’t forget rigctl too.
WSPR 3.0 with CAT Files Included (HamLib & RigCtl) (~10MB) TAR file includes WSPR.app which is an OS X compatible Application.
Sources & References
- http://www.physics.princeton.edu/pulsar/K1JT/devel.html
: (Retrieved 24/10/2010)
- http://oh2gqc.wippiespace.com/WSPR_on_Ubuntu.html
: (Retrieved 24/10/2010)
- http://wsprnet.org/drupal/node/2066
: (Retrieved 24/10/2010)