
Late 2010, Dad brought a Merry Tiller (mode detail) land rotavator on eBay. After transporting it home and it sitting outside for a while, we couldn’t get the small 5HP Briggs and Stratton I/C engine to start. I would run for a second or two, then stall. One occasion it run for about 3 minutes before spluttering out. Obviously this would be no good if we were in the middle of a field, so we decided to have a go. This page documents our “having a go”.
Most of these small engines have actually seen very little work. Engines on go-karts may have had more use, but, for example, the one on our rotavator has seen very little use. For this reason it is pretty easy to dismiss that the fault is due to the engine simply being worn out. Checking play in the crank bearings should give a good indication of any heavy use. Neither of the engines here had seen any hard use.
This page assumes you have got good oil in the engine to the correct level, and that the engine has been working and has since stopped.
Simple Diagnostics
Most of these checks are very straight forward to carry out. I am an Electrical Engineer, not a mechanical one, and I managed – I’m the most useless mechanic known to exist! To fire, the engine needs fuel, air and a spark. We need to work out which are not present in the cylinder. Valve timing is fixed on the smaller engines – or at least all of those that I had.
Let’s start with ground familiar to myself:
Ignition
A coil pack (sometimes wrongly called a magnetron is actually the bit that creates the microwaves inside a microwave oven) creates energy from the rotation of the flywheel; the flywheel has a magnet on it, which when rotating past a coil of wire, creates a huge voltage inside the coil (ultimately providing our spark). This spark must come at the right time, but this is usually fixed again by the position of the coil pack/flywheel. Some slightly more complex systems employ a capacitor, and a set of points inside the flywheel. Others, such as these, don’t.
Spark-Plug
Unplug and remove the spark-plug, and check the tip. Have a good look at the tip, checking for composite of soot, or erosion of the metal/electrodes. WikiBooks has a good article on spark plugs if you need more information, as well as this article on what a spark-plug is telling you. It is interesting to note that as this is a very crude engine, it is highly unlikely that the engine will run perfectly, and so the plug may be dirty, worn, etc. Using a feeler gauge, set the gap as per the instructions recommended. I think I used about 10thou (thickness of few sheets of paper). The pro’s and con’s of the wrong size gap:
| Wide | Narrow | |
| Pro | Big spark to ignite fuel easily | Will always spark |
| Con | Sometimes misses (at high revs or when trying to start) | Small spark may have trouble igniting fuel |
I went for a pretty narrow gap as I was having trouble getting these engines to start.
Does it Spark?
If you don’t have a specialist tool for checking for sparks, you can remove the spark-plug, wedge it next to something metal such as the engine block, with a pair of pliers on top to hold it (don’t hold it, it as it will get you!), and turn the engine over. You should be able to see the sparks nice and clearly. If it doesn’t spark at all, make sure the gap is reasonable and try again. If it still doesn’t work, it could indicate a problem with the coil pack (check resistances with ohm meter), points (if you have them – usually inside flywheel) or a kill switch (a STOP switch or an OIL level sensor). If you get a small spark, try cleaning the spark gap with a light sand with emery paper – and I mean light! Ensure it’s free from soot, dust, etc. Check the gap and generally fiddle to get a good clean spark every time.
Carburettor
The purpose of the carburettor is to mix the correct amounts of fuel and air together, and get them into the cylinder. It has 3 mixer jets, for when the engine is at idle, medium speed, and high speed. These is only one mix adjustment, talked about in the Set Up section below. Dirt, dust and water all build up in the fuel supply, and with the lack of filtering, get sucked up into the carburettor blocking the jets. This was the case for both of these engines – small fragments of dirt stuck inside the carburettor. This section refers to the carb shown to the right.
To check if your engine has a fuel problem, turn the engine over a few times. Does the exhaust gas smell of petrol? If you remove the spark-plug, can you smell petrol (strongly)? If so, it would indicate that fuel is getting into the engine, and the problem is elsewhere – No air? Check the air filter? – No spark? See above. If you cannot smell fuel, try this simple test: Tip a teaspoon of petrol into the cylinder via the spark-plug hole. Quickly replace the spark-plug (properly, and connect it), and then try to start the engine with the throttle open wide (high revs) and choke fully off (i.e. maximum airflow). If it starts, revs a bit and then dies, you have a fuel problem. If it struggles to do much, but fires, it’s an air problem (or carburettor set up). If nothing happens, it’s probably an ignition problem. Do not worry if the engine smokes at this stage.
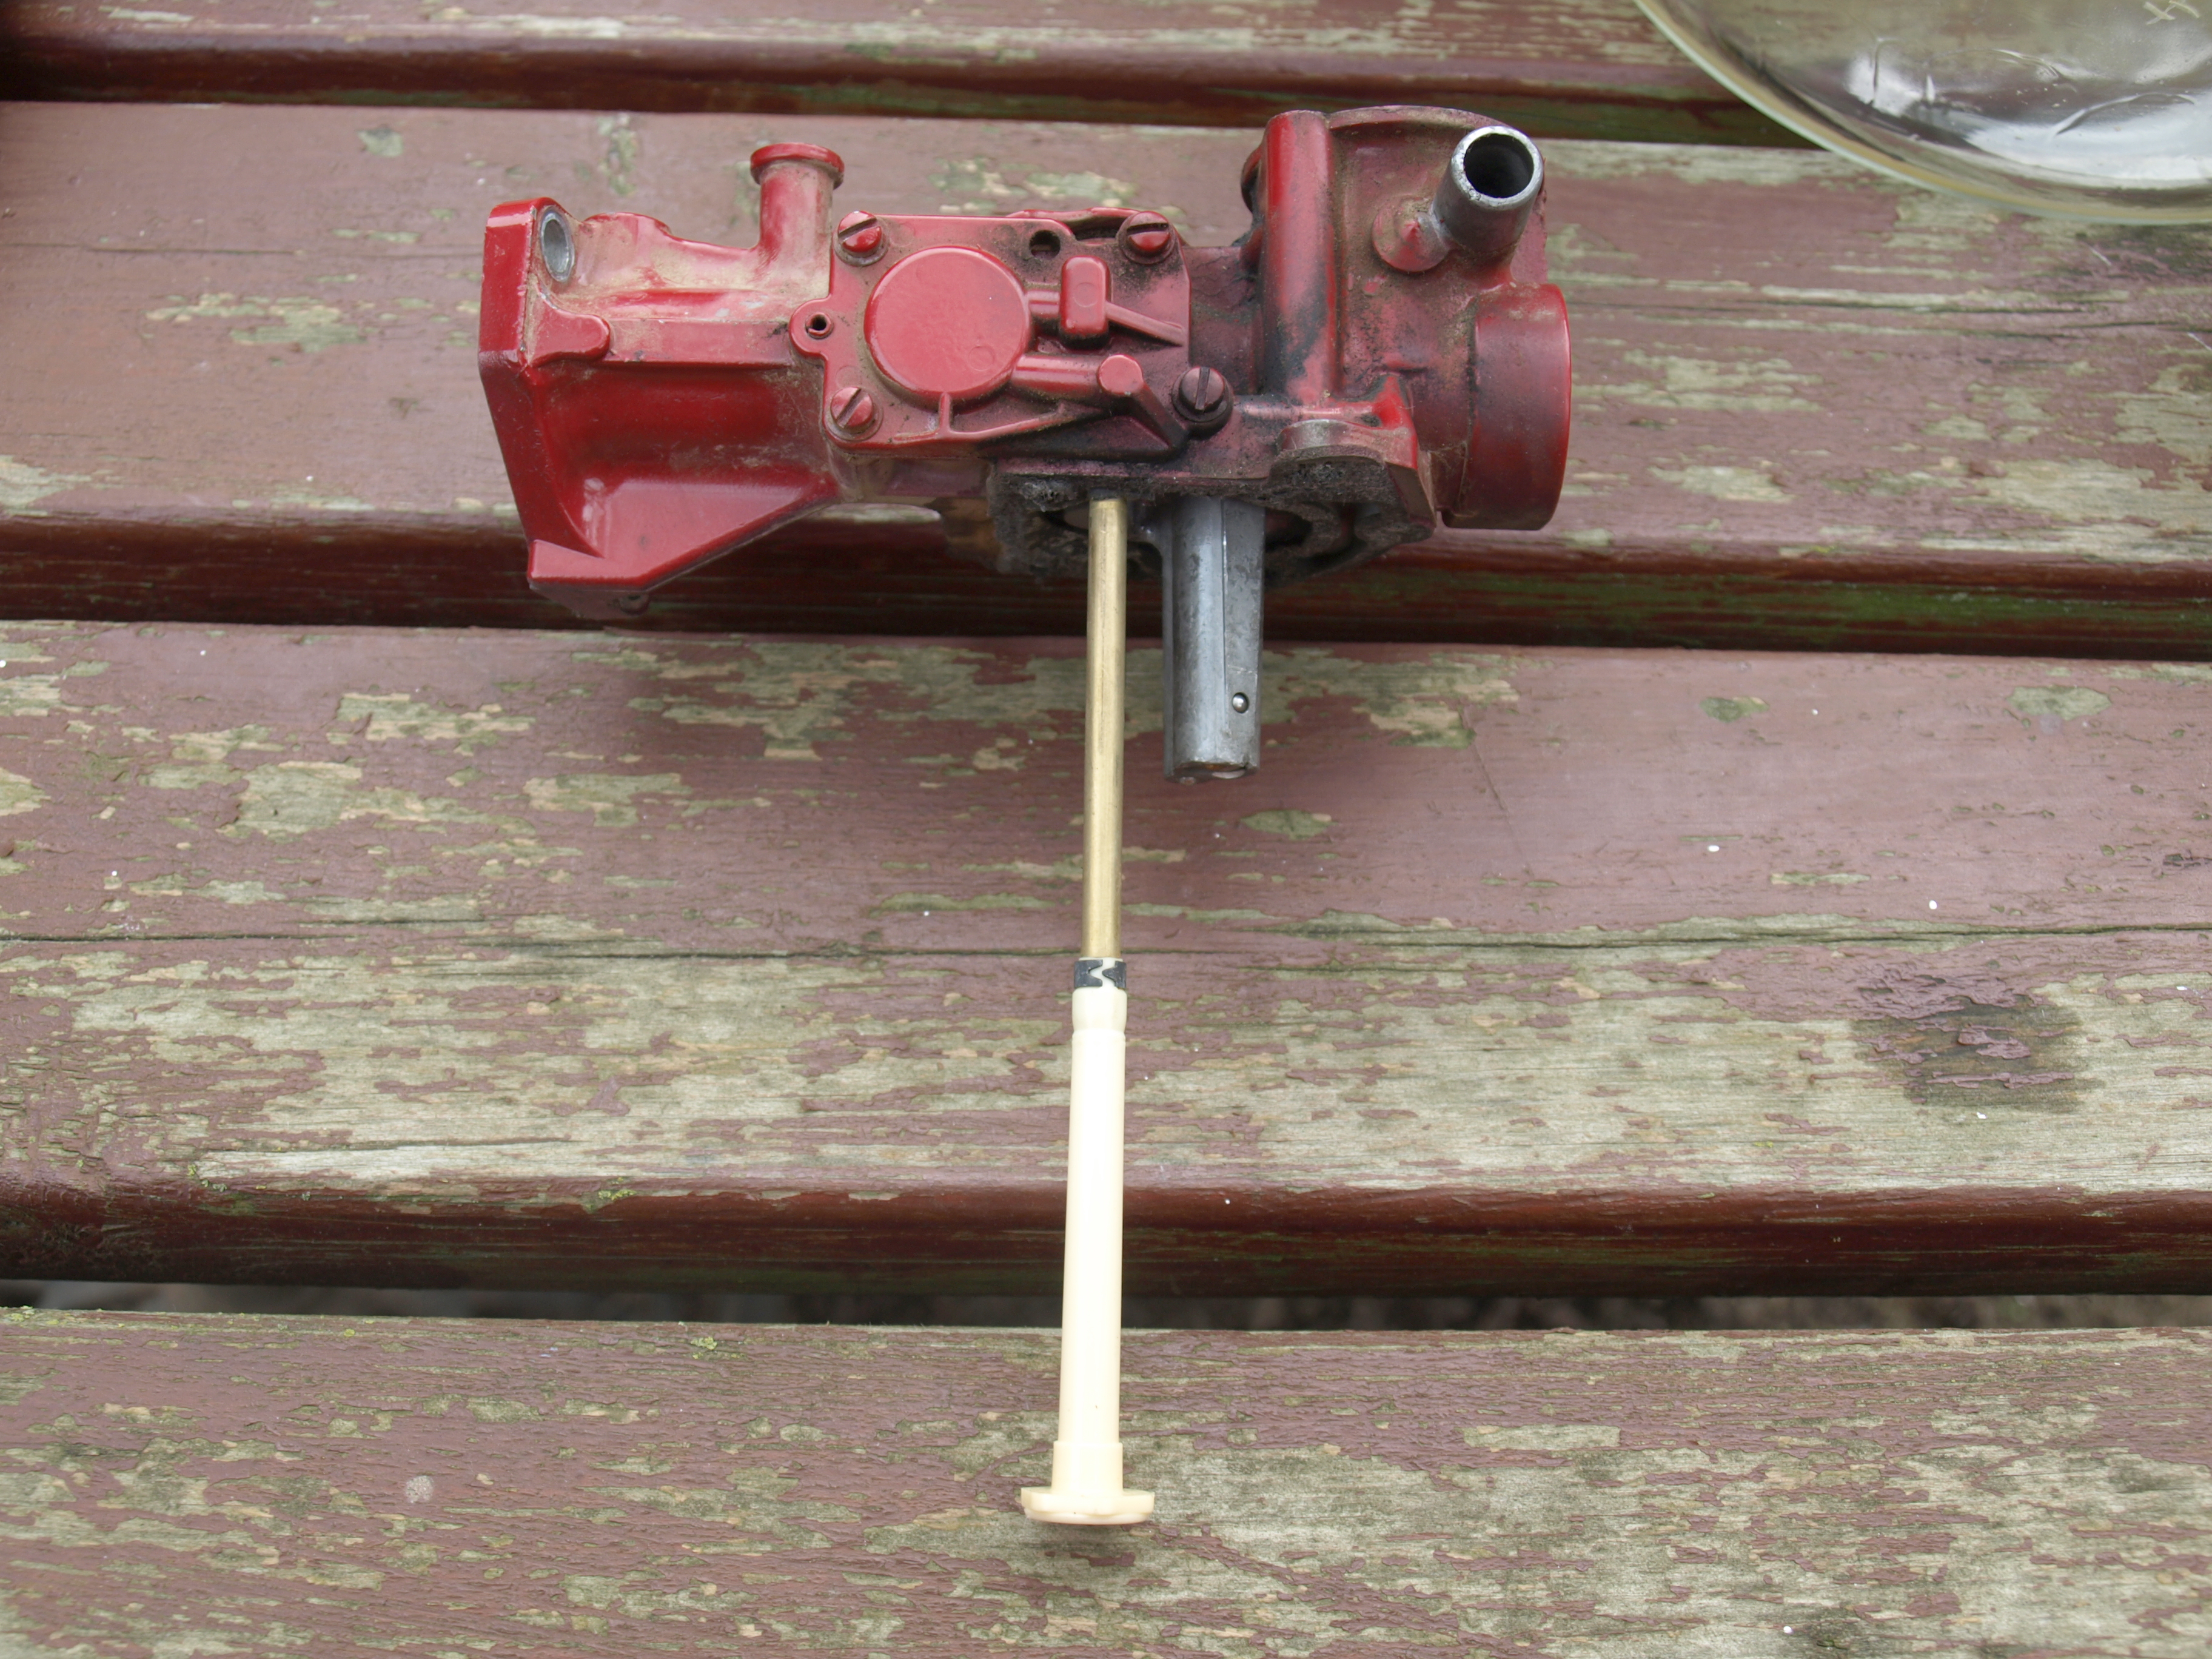
How the Pulsa-Jet Carburettor Works
The pulsa-jet carburettor also has a small lift pump. Fuel is sucked from the main tank through the fine gauze on the bottom of the brass pipe (with the white tube) by this lift pump, and dropped back in a small higher compartment of the fuel tank – this means that engine doesn’t stall on any inclines if the engine is low on fuel. The pump works from the inlet vacuum pressure: as the main cylinder pulls down with the inlet valve open, a vacuum is put on the carburettor which sucks in a small diaphragm and a small amount of fuel from the bottom tank – once the inlet vacuum is gone, a spring pushes the diaphragm back out, along with the fuel, which goes into the higher tank. The pump mechanism & diaphragm can be seen under the panel bolted to the visible side of the carburettor body. Open the compartment very carefully, as you don’t want to tear the diaphragm – If you do tear it, or it is torn already, you can get spares on eBay pretty cheaply.
Once fuel is in the higher reservoir, it is drawn through the mixer-jets body (the grey thick stubby tube, shown in the above thumbnail to the right of the brass pipe). This then mixes through these on the inside of the carburettor.
Servicing
As mentioned above, first check the fuel lift pump diaphragm. It should be un-torn. Check that the valves and gauze on the end of the white tube (see image above) are free from debris. Check the inside of the fuel tank for rust. Especially in the upper reservoir, as fuel from here is not further filtered.
Give the carburettor a good clean. If you have access to an airline, blow air through the mixer jets until they seem clear – this can be hard to tell. I try to push air through the jets both ways, to give lodged debris less of a chance to stay around. If you don’t have access to a compressor, you can do it with your lungs – be warned – petrol tastes horrible, and probably isn’t very good for you… Your call.
Check the air filter is clean and free from dust/dirt. Check the mixer needle isn’t excessively worn. Once you’ve done this part, continue on to setting the carburettor up.
Carburettor Setup
Before you continue, there are two things. Make sure you have an air filter installed, else your set-up will be wrong with it on – most engines allow you to fit the filter assembly backwards so you can still access the mixer screws, the idle speed screw, and other adjustments. Reset the mixer screw – to do this, tighten the screw in (as if doing up a normal thread) just until you notice it getting tighter (don’t tighten it up, or you will ruin the mixer needle). Once it’s just tight, turn the screw back one and a half turns. This is the position we start from, as recommended by Briggs and Stratton.
Start the engine. This may take a little while to get the fuel back into the system, etc. I suggest closing the choke fully and having the throttle open about half. Turn it over a few times until you notice it start to splutter and miss – this gets fuel in quickly – it probably won’t start, and if it does, it will run god awful, so stop it again. Then open the choke fully (throttle stays about half), to let air in, and try to start it again. It may take a few more attempts, but if you’ve got everything else right, it will fire up eventually. Both of mine started off very lumpy, and then picked up pretty quickly. Once it has started, back the throttle to idle or as slow as it will stay running – note the engine may stall at low speeds or smoke like hell due to improper mix.
With the engine going as slow as possible, have a little listen for about 10 seconds, just to check it all sounds good. Cut it out before it gets too hot, and check the flywheel is on tight, etc, and that all mechanical parts are nice and tightly screwed/bolted. Restart the engine now, and push the engine speed to full revs. Leave the engine to run for about 5 minutes, until it is nice and hot – don’t worry too much if it is smoking a little. Don’t worry if the engine is missing either – these will be fixed once the mix is adjusted – but the engine needs to be at a good operating temperature.
Once the engine is hot, carefully start adjusting the mixer screw. If you think the engine is running rich (i.e. smoking) tighten the screw inwards to reduce the fuel to air mixture. If you think it is too lean (harder to tell, but engine will run very hot/sound strange), loosen the screw outwards to allow more fuel to air. Either way, work until you find one extreme, reduce until you find the other, and finalise half way between. Sweeping the engine speed from idle to full should result in nice even changes, with no missing or smoking. If the engine races (oscillates, i.e. revs itself up and down) then it is usually an issue caused by the governor which controls the carburettor, and not the carburettor itself – see the section about adjusting the governor, below. Once that’s all good, set the idle speed.
Idle Speed
The engine’s idle speed depends on the engine you have. A figure of 1500 RPM is often quoted – the exact figure can be found from the Briggs & Stratton website. I went for an about right approach. Either way, here’s how it’s done…
First you need to find the throttle butterfly on the top of the carburettor. On the Pulsa-Jet carburettor, it’s the butterfly closest to the cylinder inlet connection – in the above thumbnail, it’s the closest to the left. It directly controls the engine power (not speed, power). With the engine warmed up, and running at idle, opening the butterfly will result in the engine revving up quickly – flicking the butterfly open should result in an immediate response from the engine – if not, the mixture is probably wrong, or the air filter/exhaust is blocked.
Hold the throttle butterfly closed so that the idle screw is controlling the butterfly opening, and nothing else. Adjust the screw so that the engine runs at the desired speed. Either that set by the manufacturer or what you feel is about right. 1500RPM seemed excessive to me. Either way, too high and you’re making loads of noise and wasting fuel at idle; too low and the engine will stall more easily at idle – your call. Once done, flick the butterfly a few times, revving the engine, and make sure it goes back to idle (where the external throttle control should be). Revving from the front panel allows for section of a governed speed, (ideally) regardless of engine load. See the Governor section for more details.
Governor Setup
The idea of the governor is to keep the engine speed constant regardless of load. The feedback system works such that from idle, you move the front panel throttle, the throttle butterfly quickly flashes open revving the engine to the new speed, and then the governor shuts the butterfly down quickly again, to maintain that speed. If the engine is then loaded, the engine speed will start to drop, and so the governor feedback works to open the throttle butterfly giving the engine more fuel and thus more power, and ultimately maintaining our revs while powering more load.
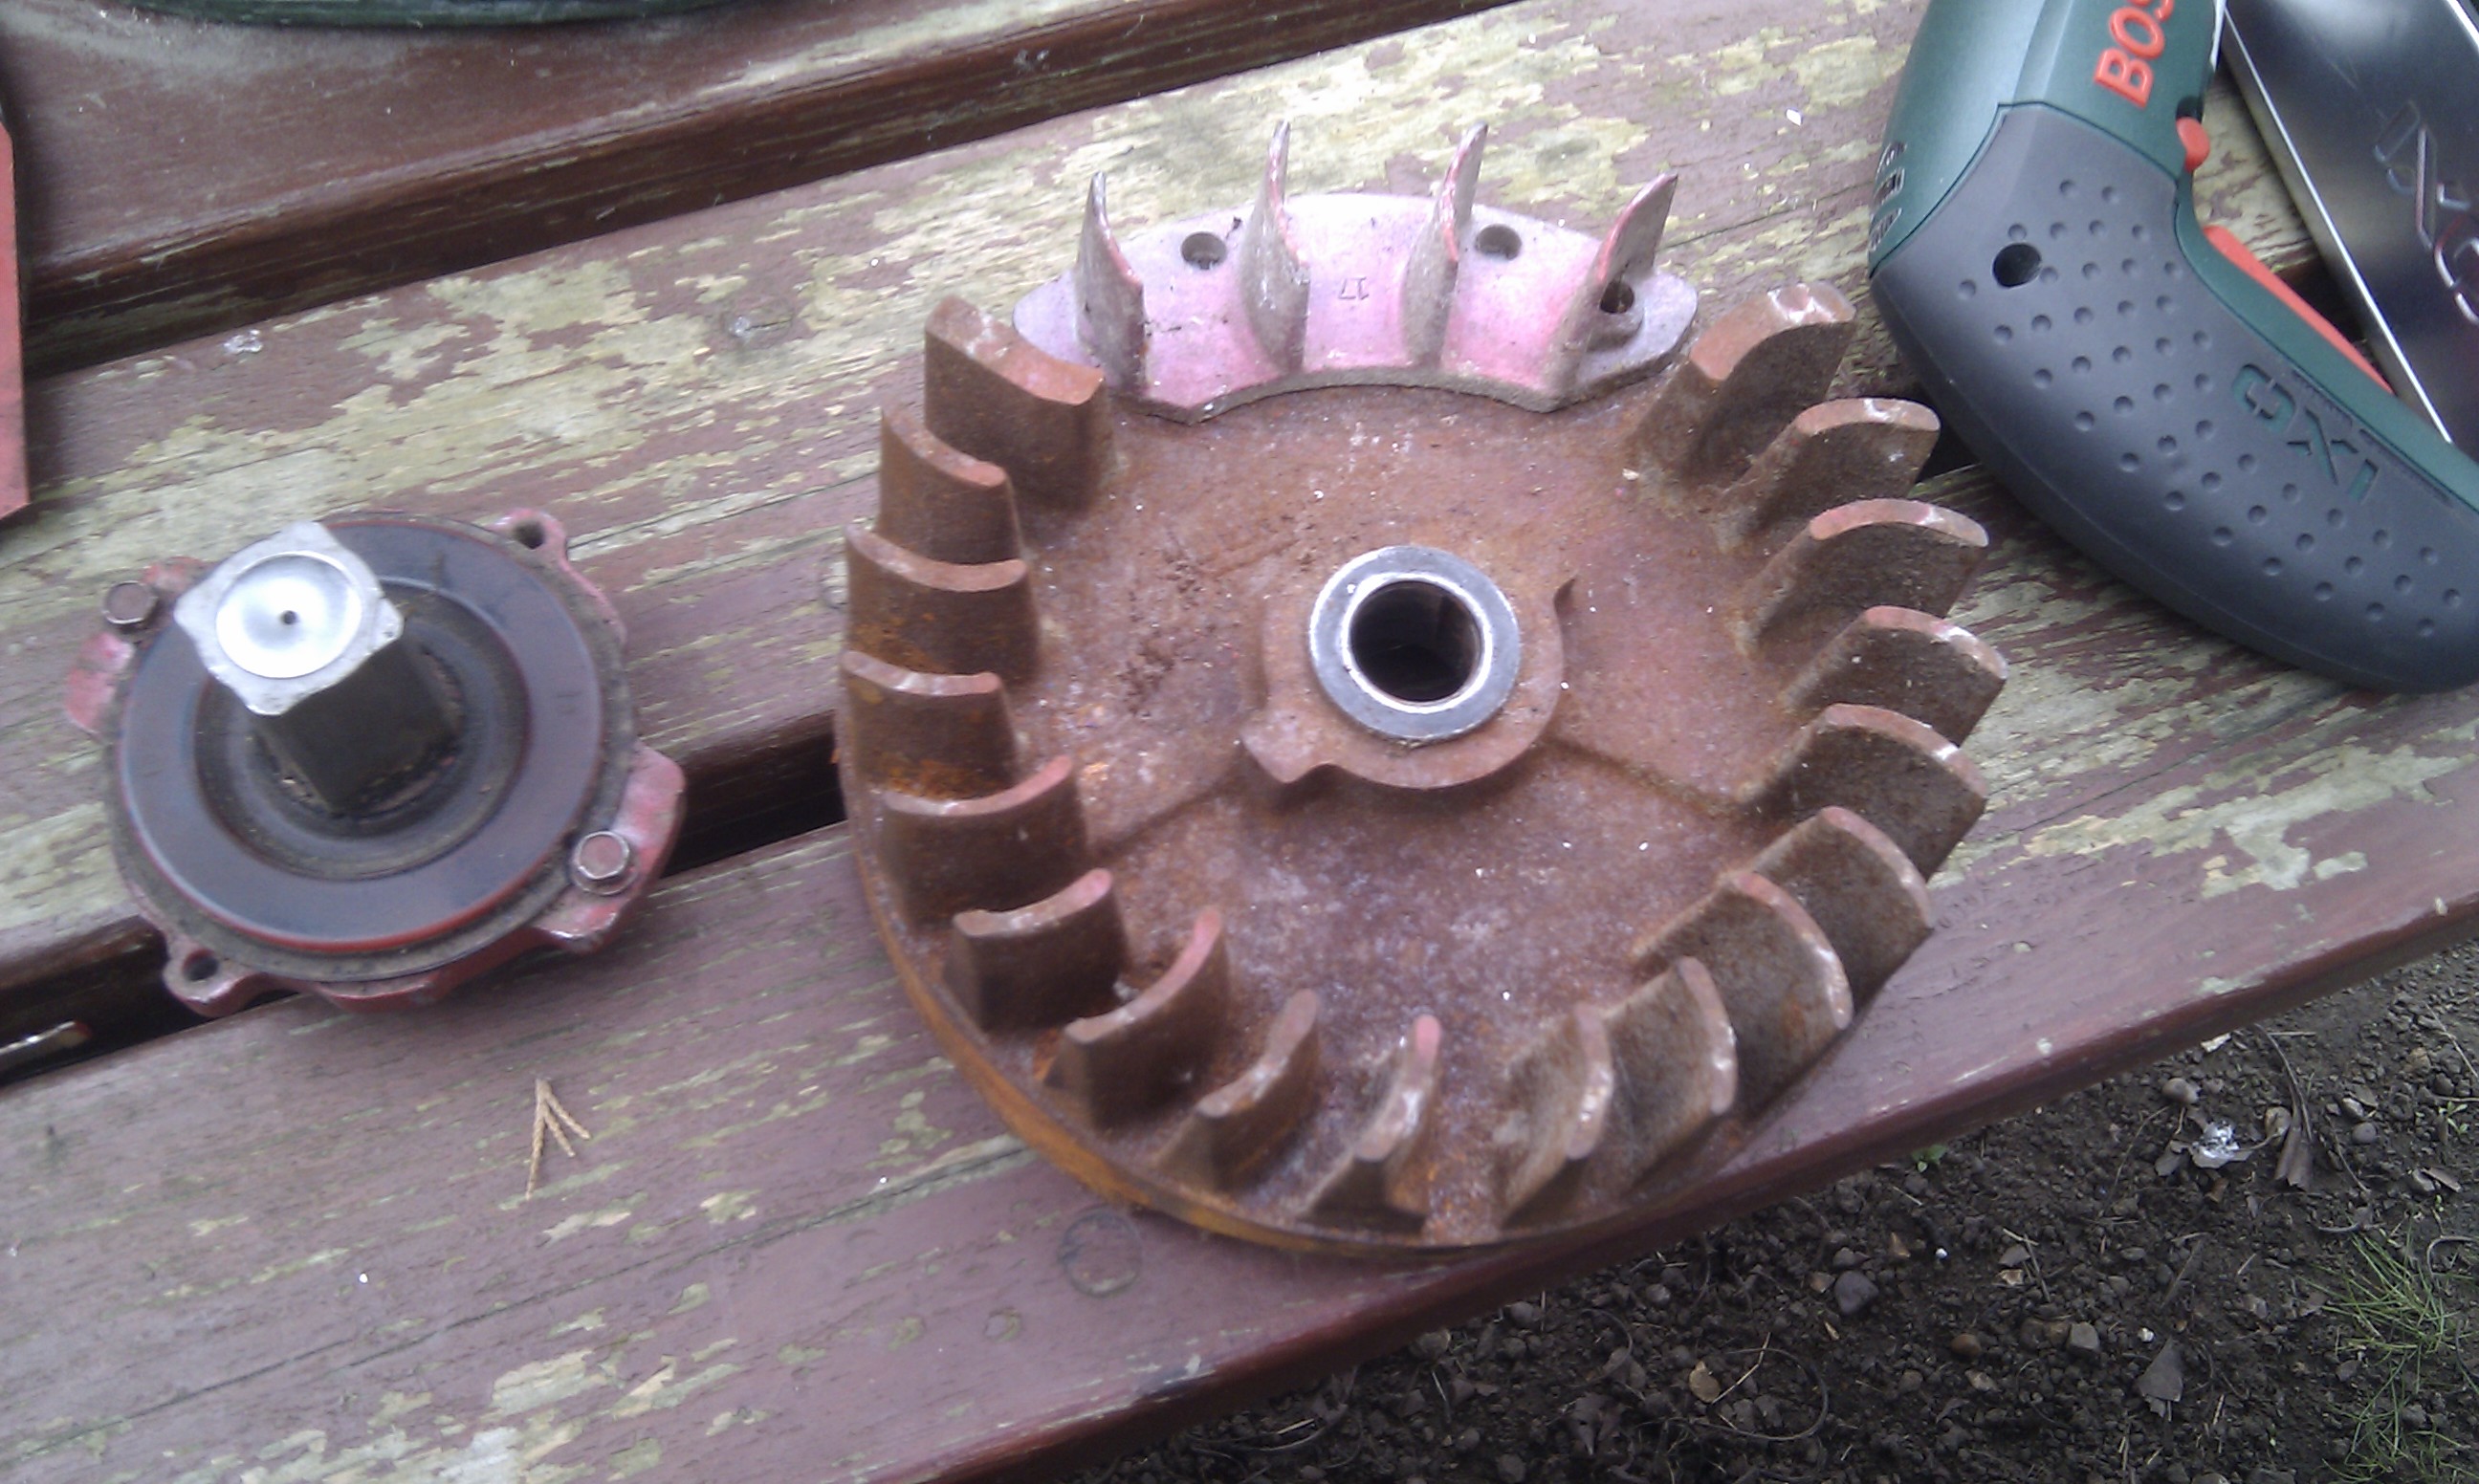
On these small engines, the governor is usually very crude; the 3HP engine below simply has a piece of metal that the cooling fan (flywheel fins) blow against, giving a concept of crank speed; the 5HP engine a slightly better system using slips and gears. There is normally a spring and the governor maintaining equilibrium at the throttle butterfly arm. There is usually some adjustment around the spring, allowing you to increase of decrease the governor’s effect – do not let the engine exceed the maximum speed set out by the manufacturer! This is kind of an iterative process. When the governor is right, the engine will:
- not race (rev up/down automatically)
- will respond well to the front panel throttle controls
- will quickly recover from manual disturbance to the throttle butterfly.
As an ultimate test, put the front throttle at idle, hold the butterfly at idle, push the front throttle to full speed (while holding the butterfly against the idle stop), and then quickly let go of the butterfly. The engine should very quickly race to the fast speed, and stop once it gets there without any hesitation or oscillation – if the engine struggles (misses/stalls, etc) check the mixture and carburettor setup. If the engine oscillates or surges/races, then the governor isn’t setup right.
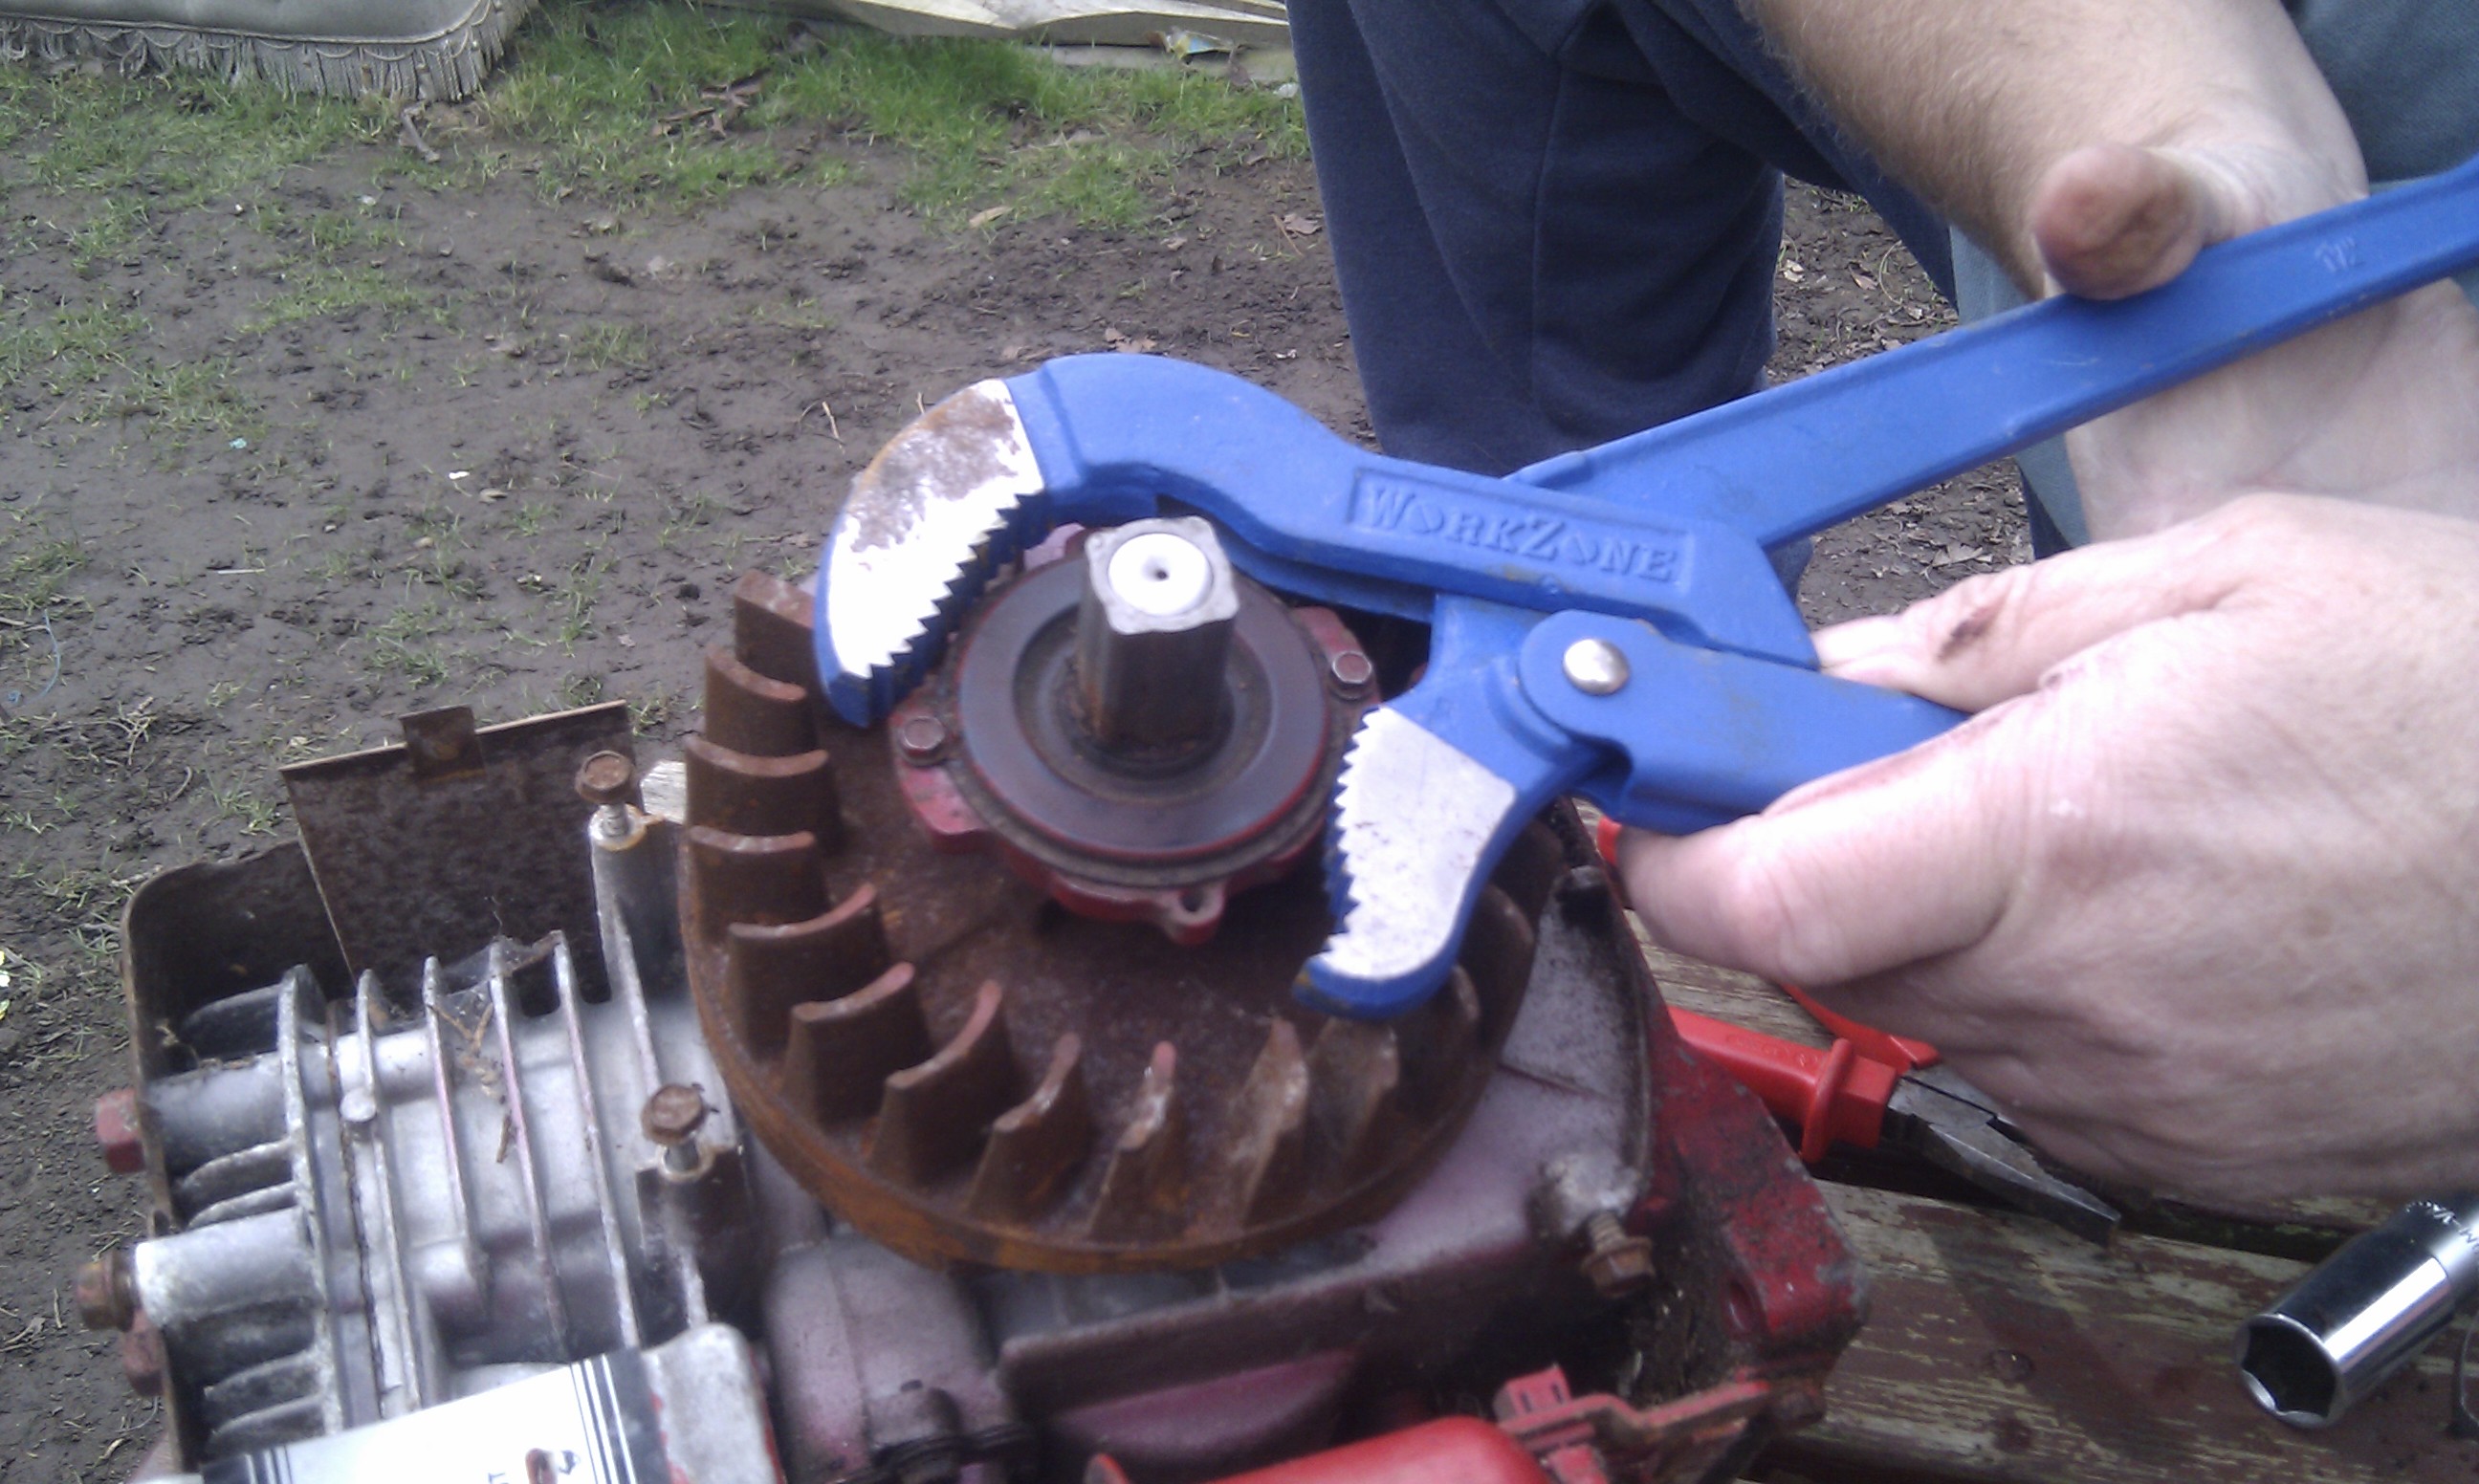
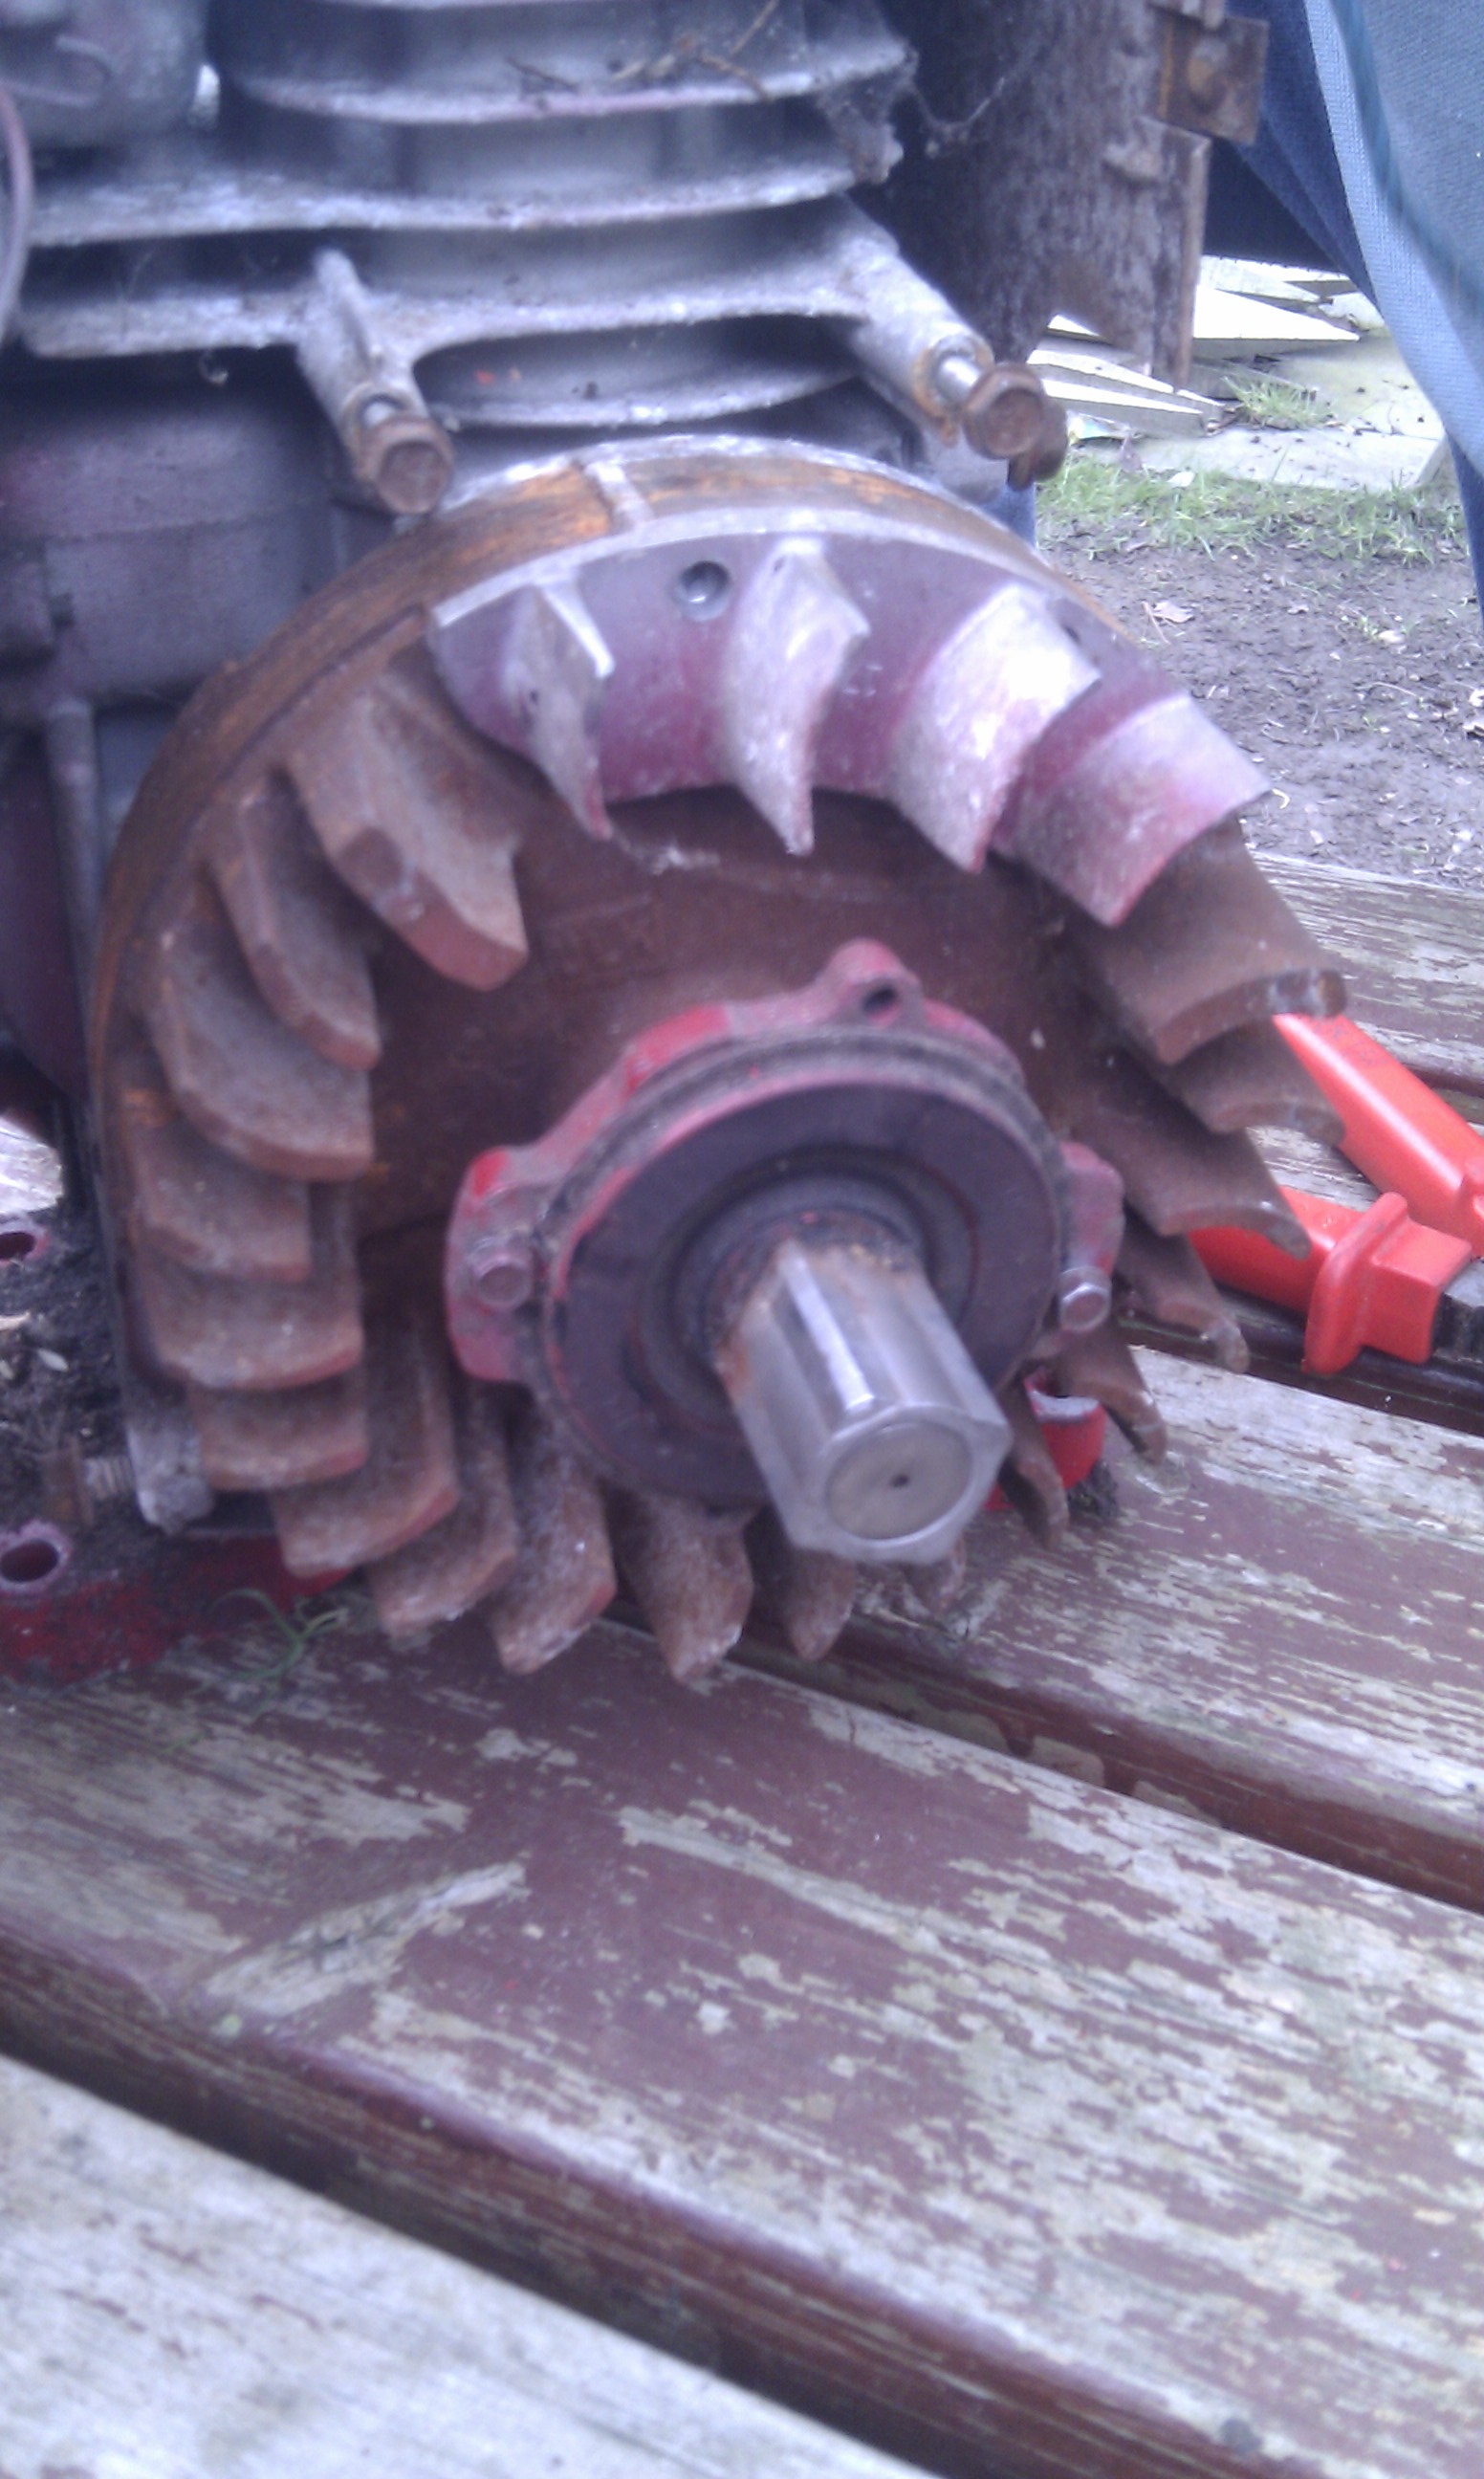
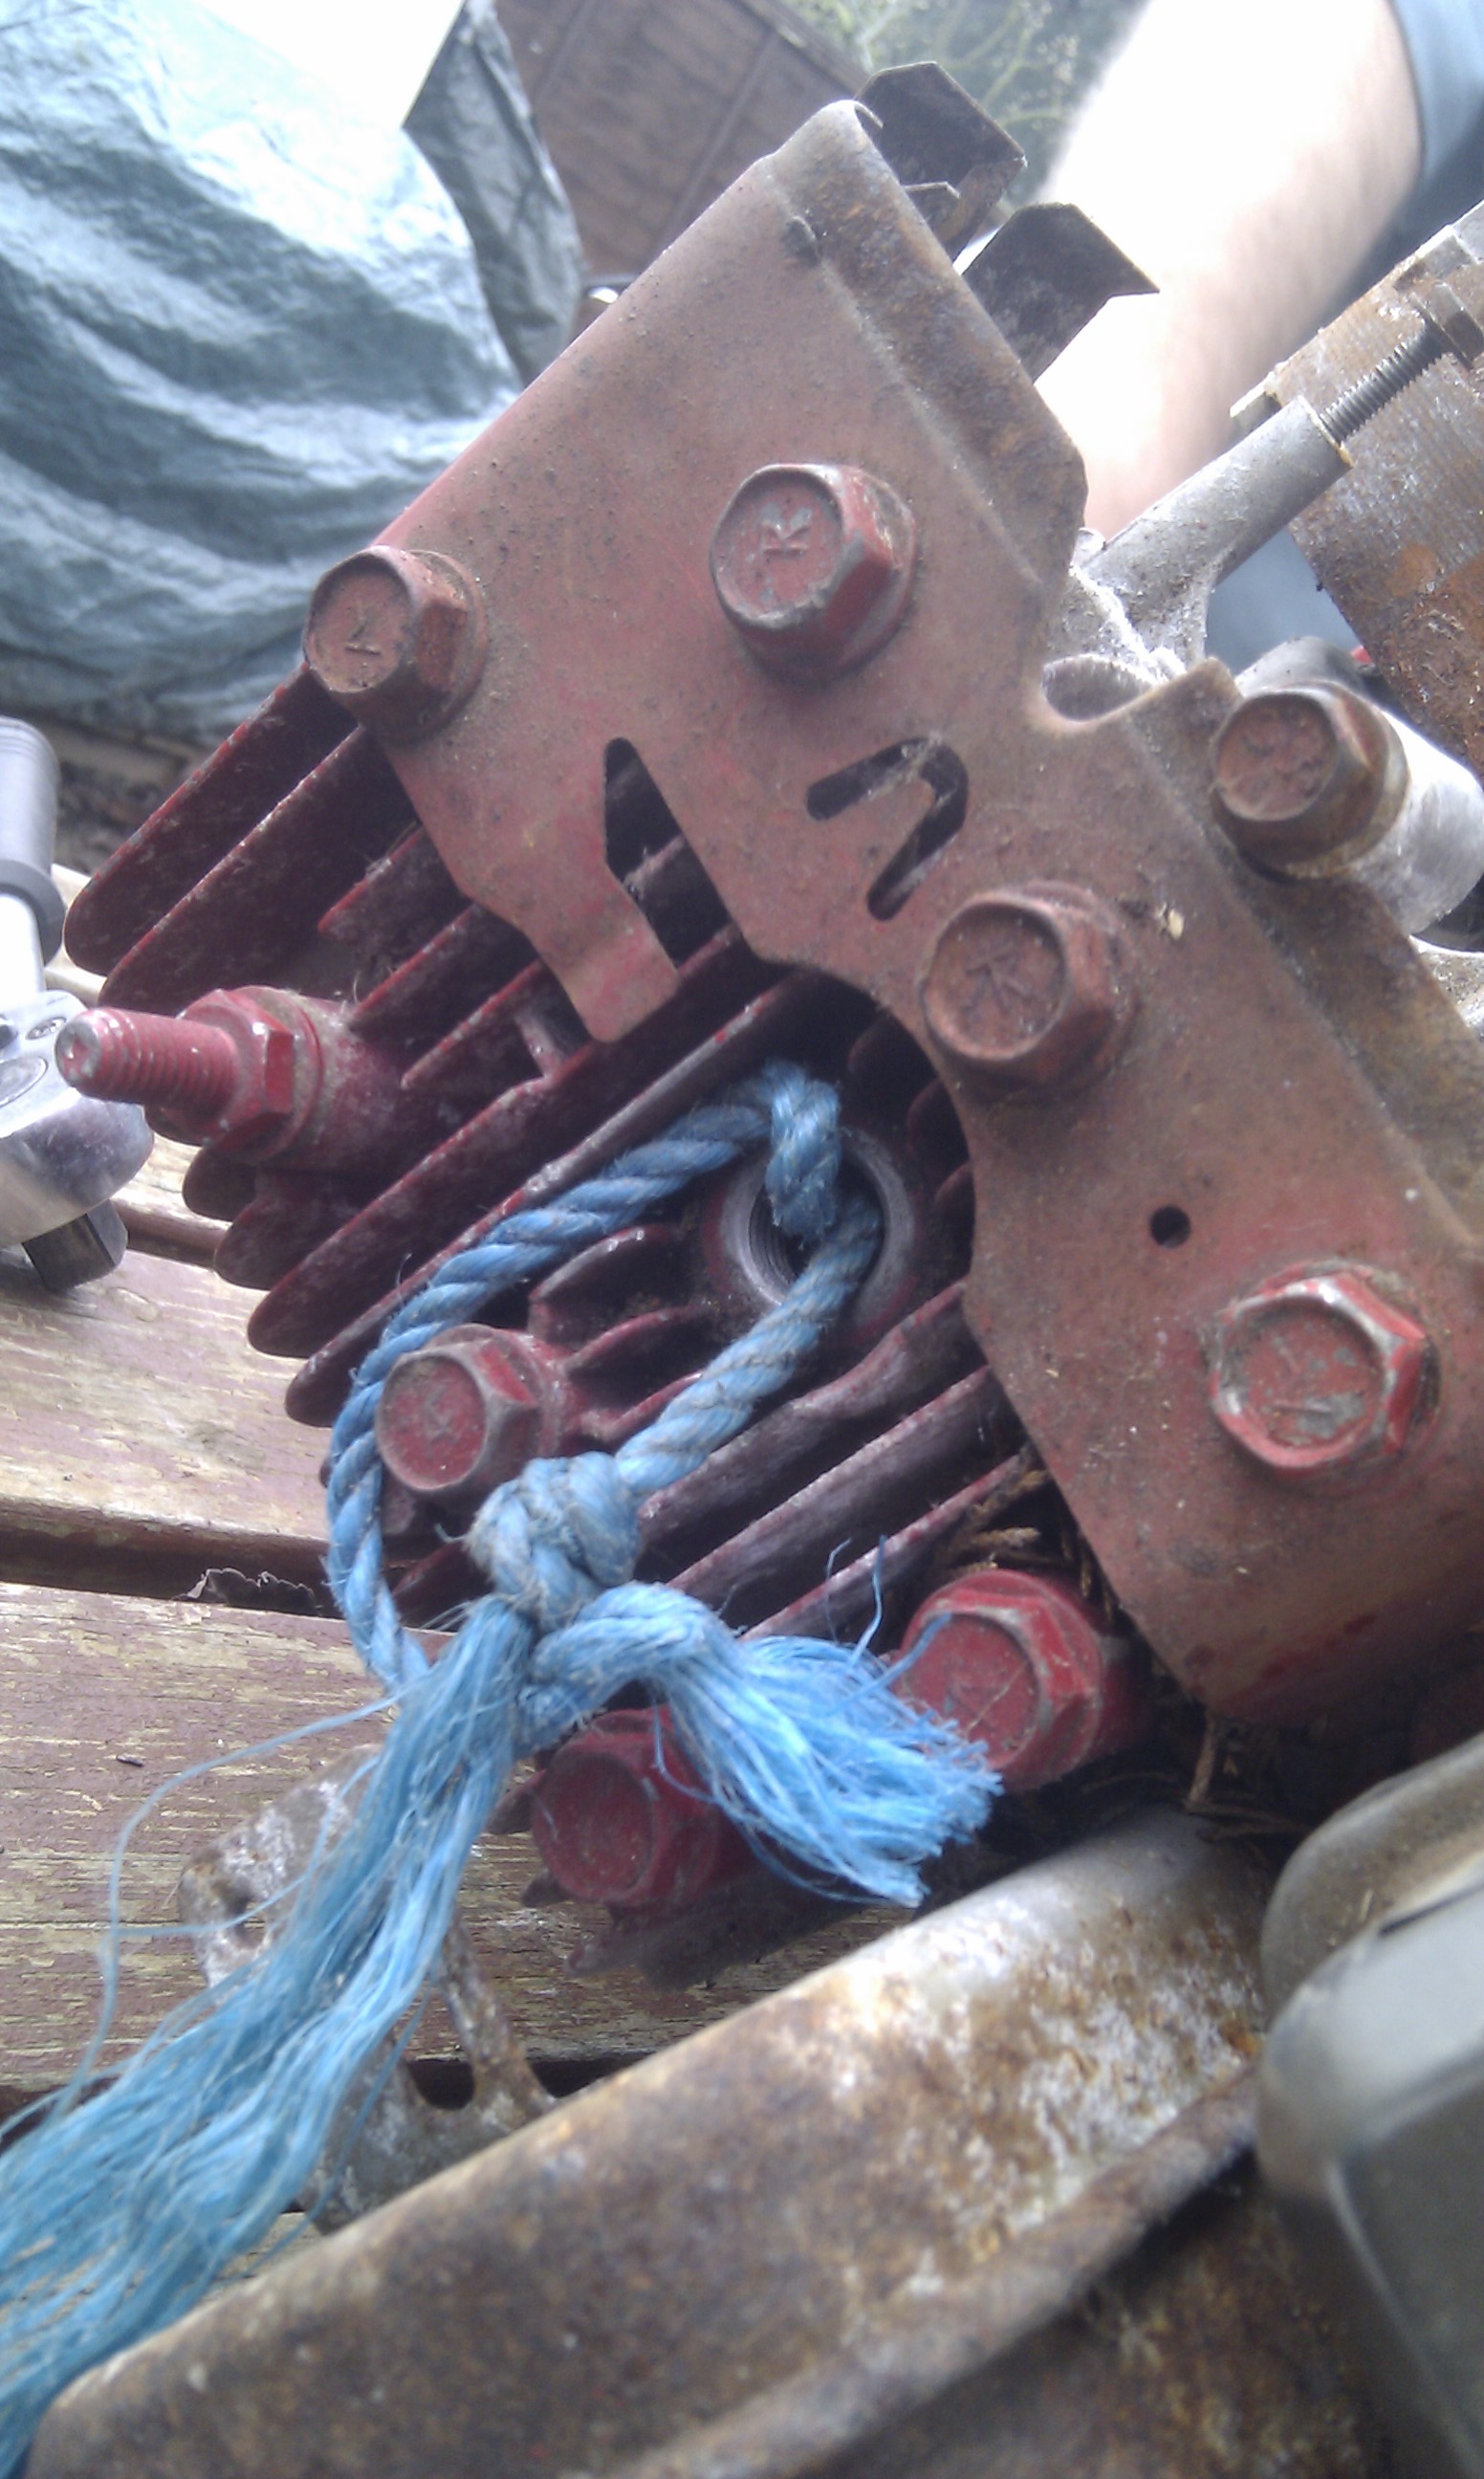
Removing the Flywheel
A crafty cheat to temporarily jam the engine is to use nylon rope. This can be seen in the 3HP engine photos below. It allows you unscrew the ratchet from the crank-shaft. To do it, remove the spark-plug and then the engine over by hand until the piston is at the bottom of the bore. Then push in a length of nylon rope, to take up some space inside the cylinder. Next slowly the engine over until the piston compresses the rope, and cannot compress any more. You can then carefully use this to jam the crank. Turning the engine back allows for the rope to be pulled out, and returns the engine to normal. Return the spark plug.
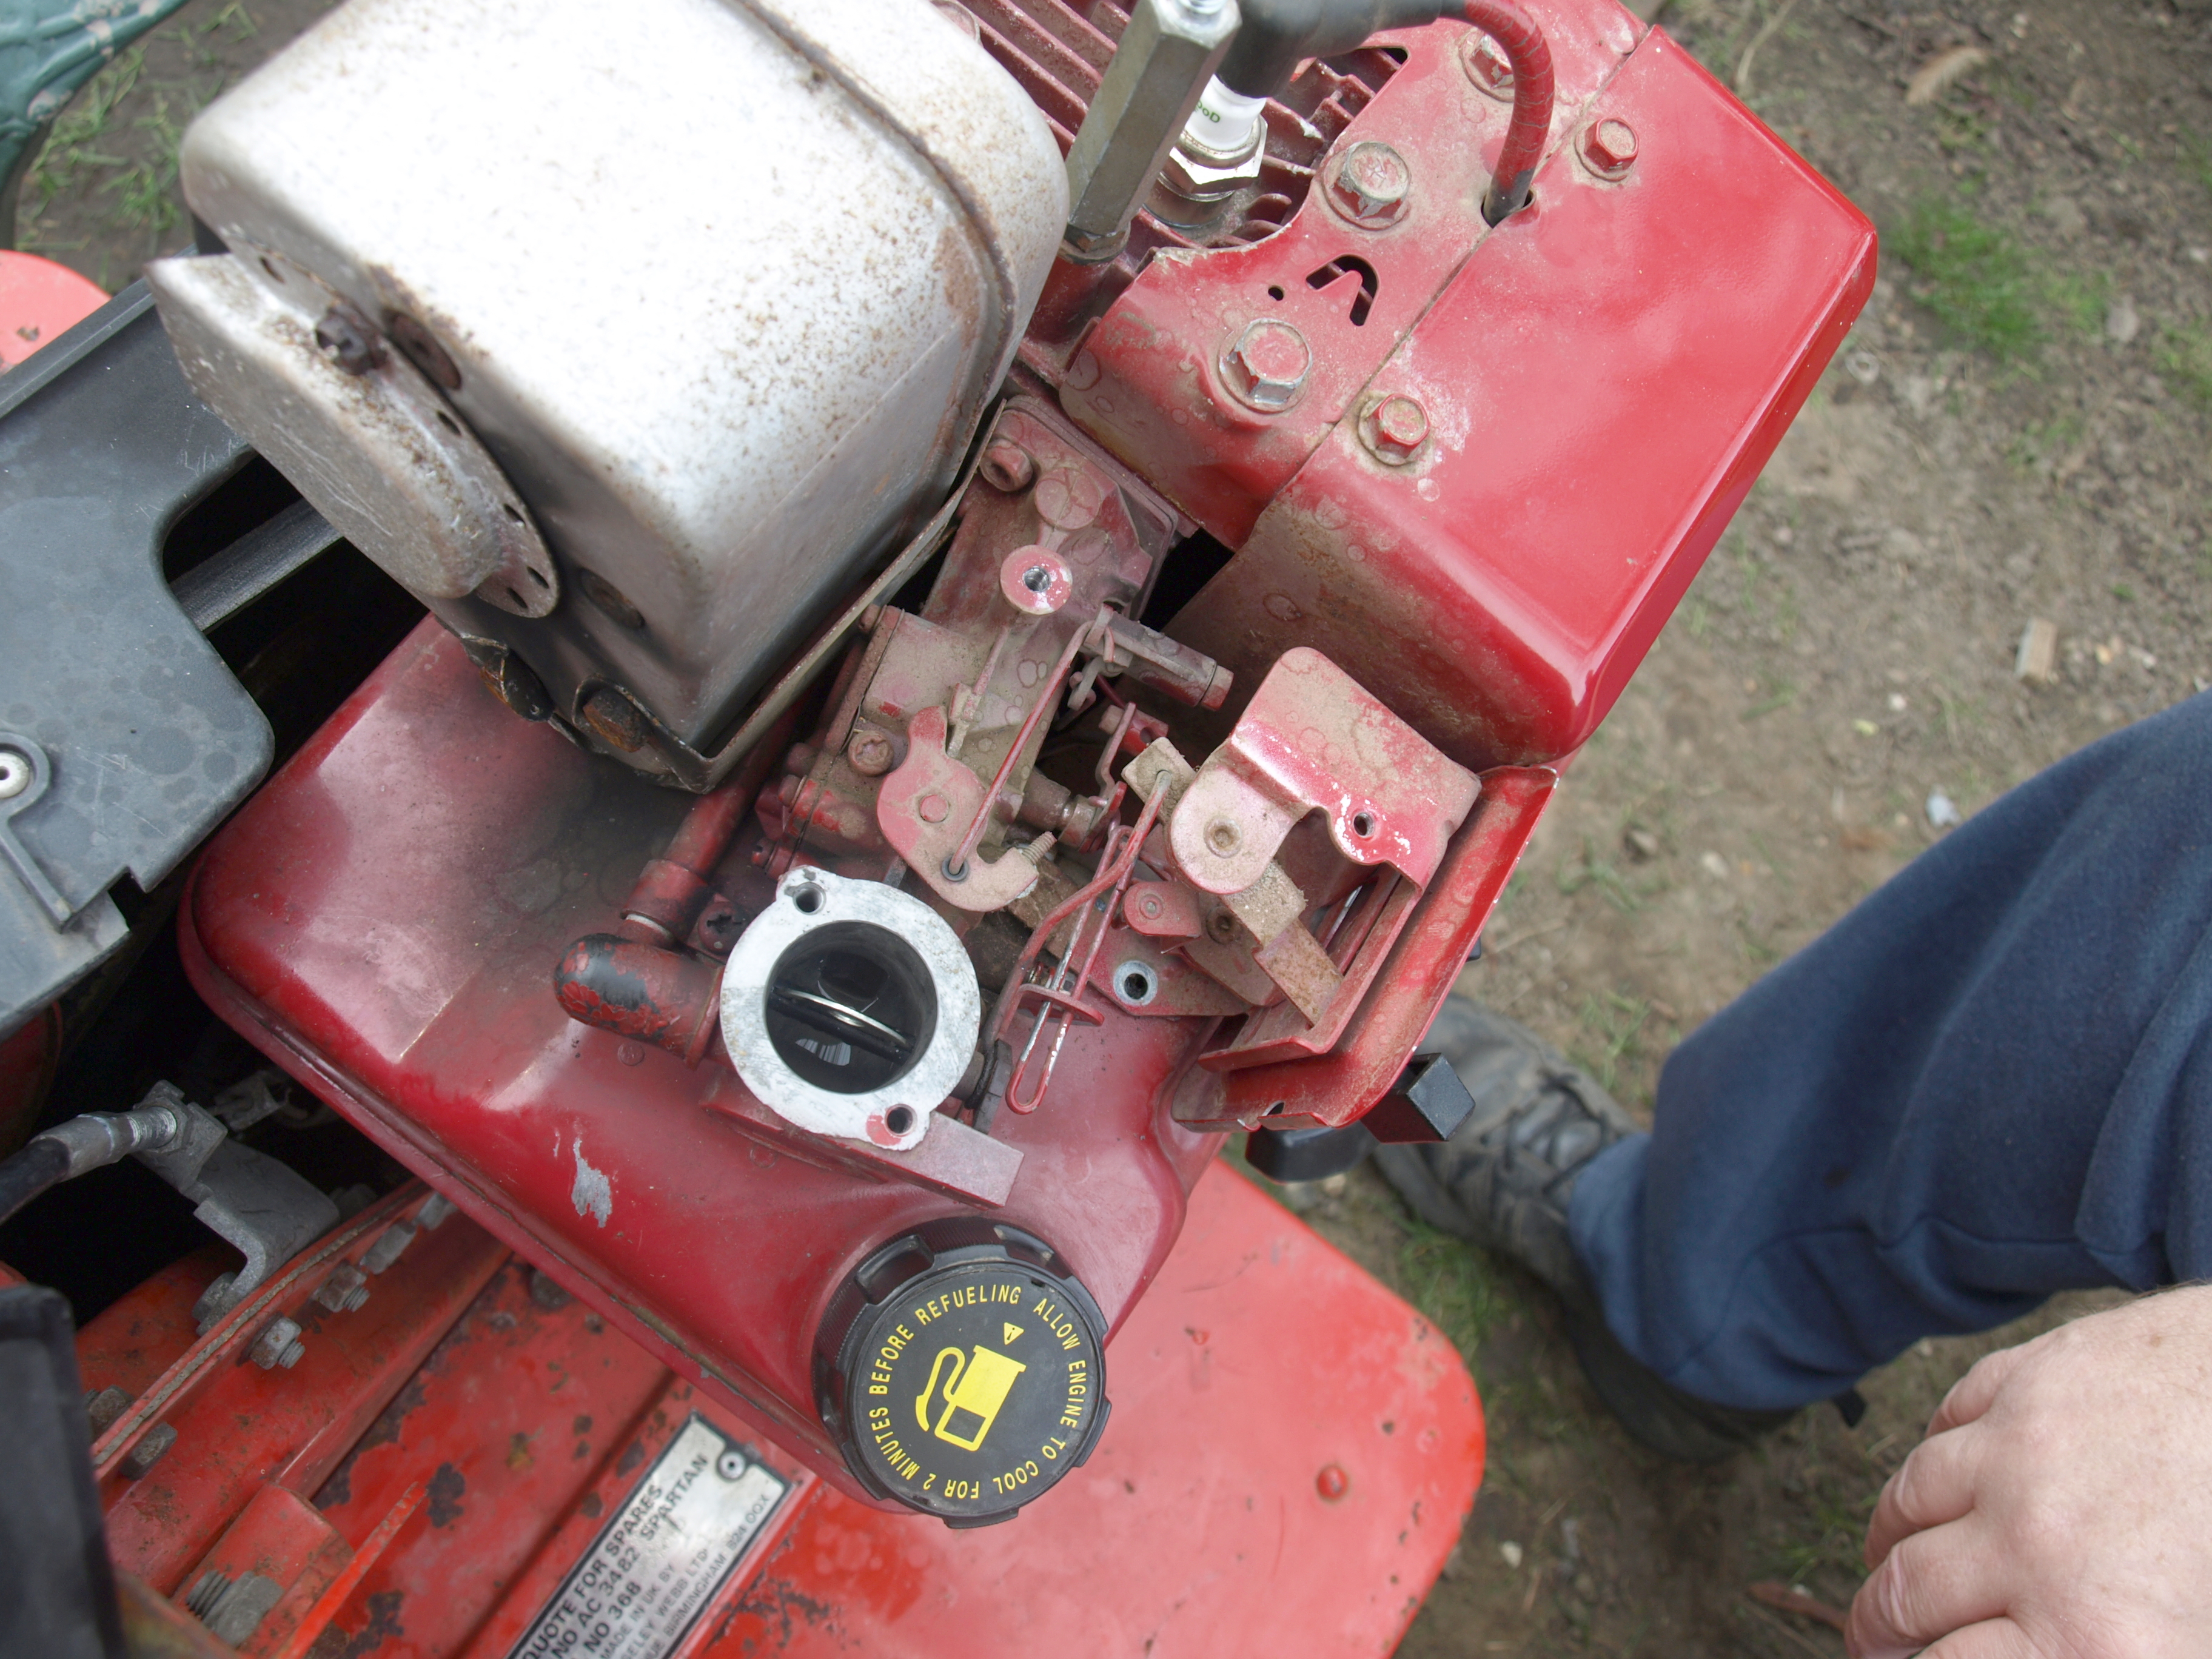
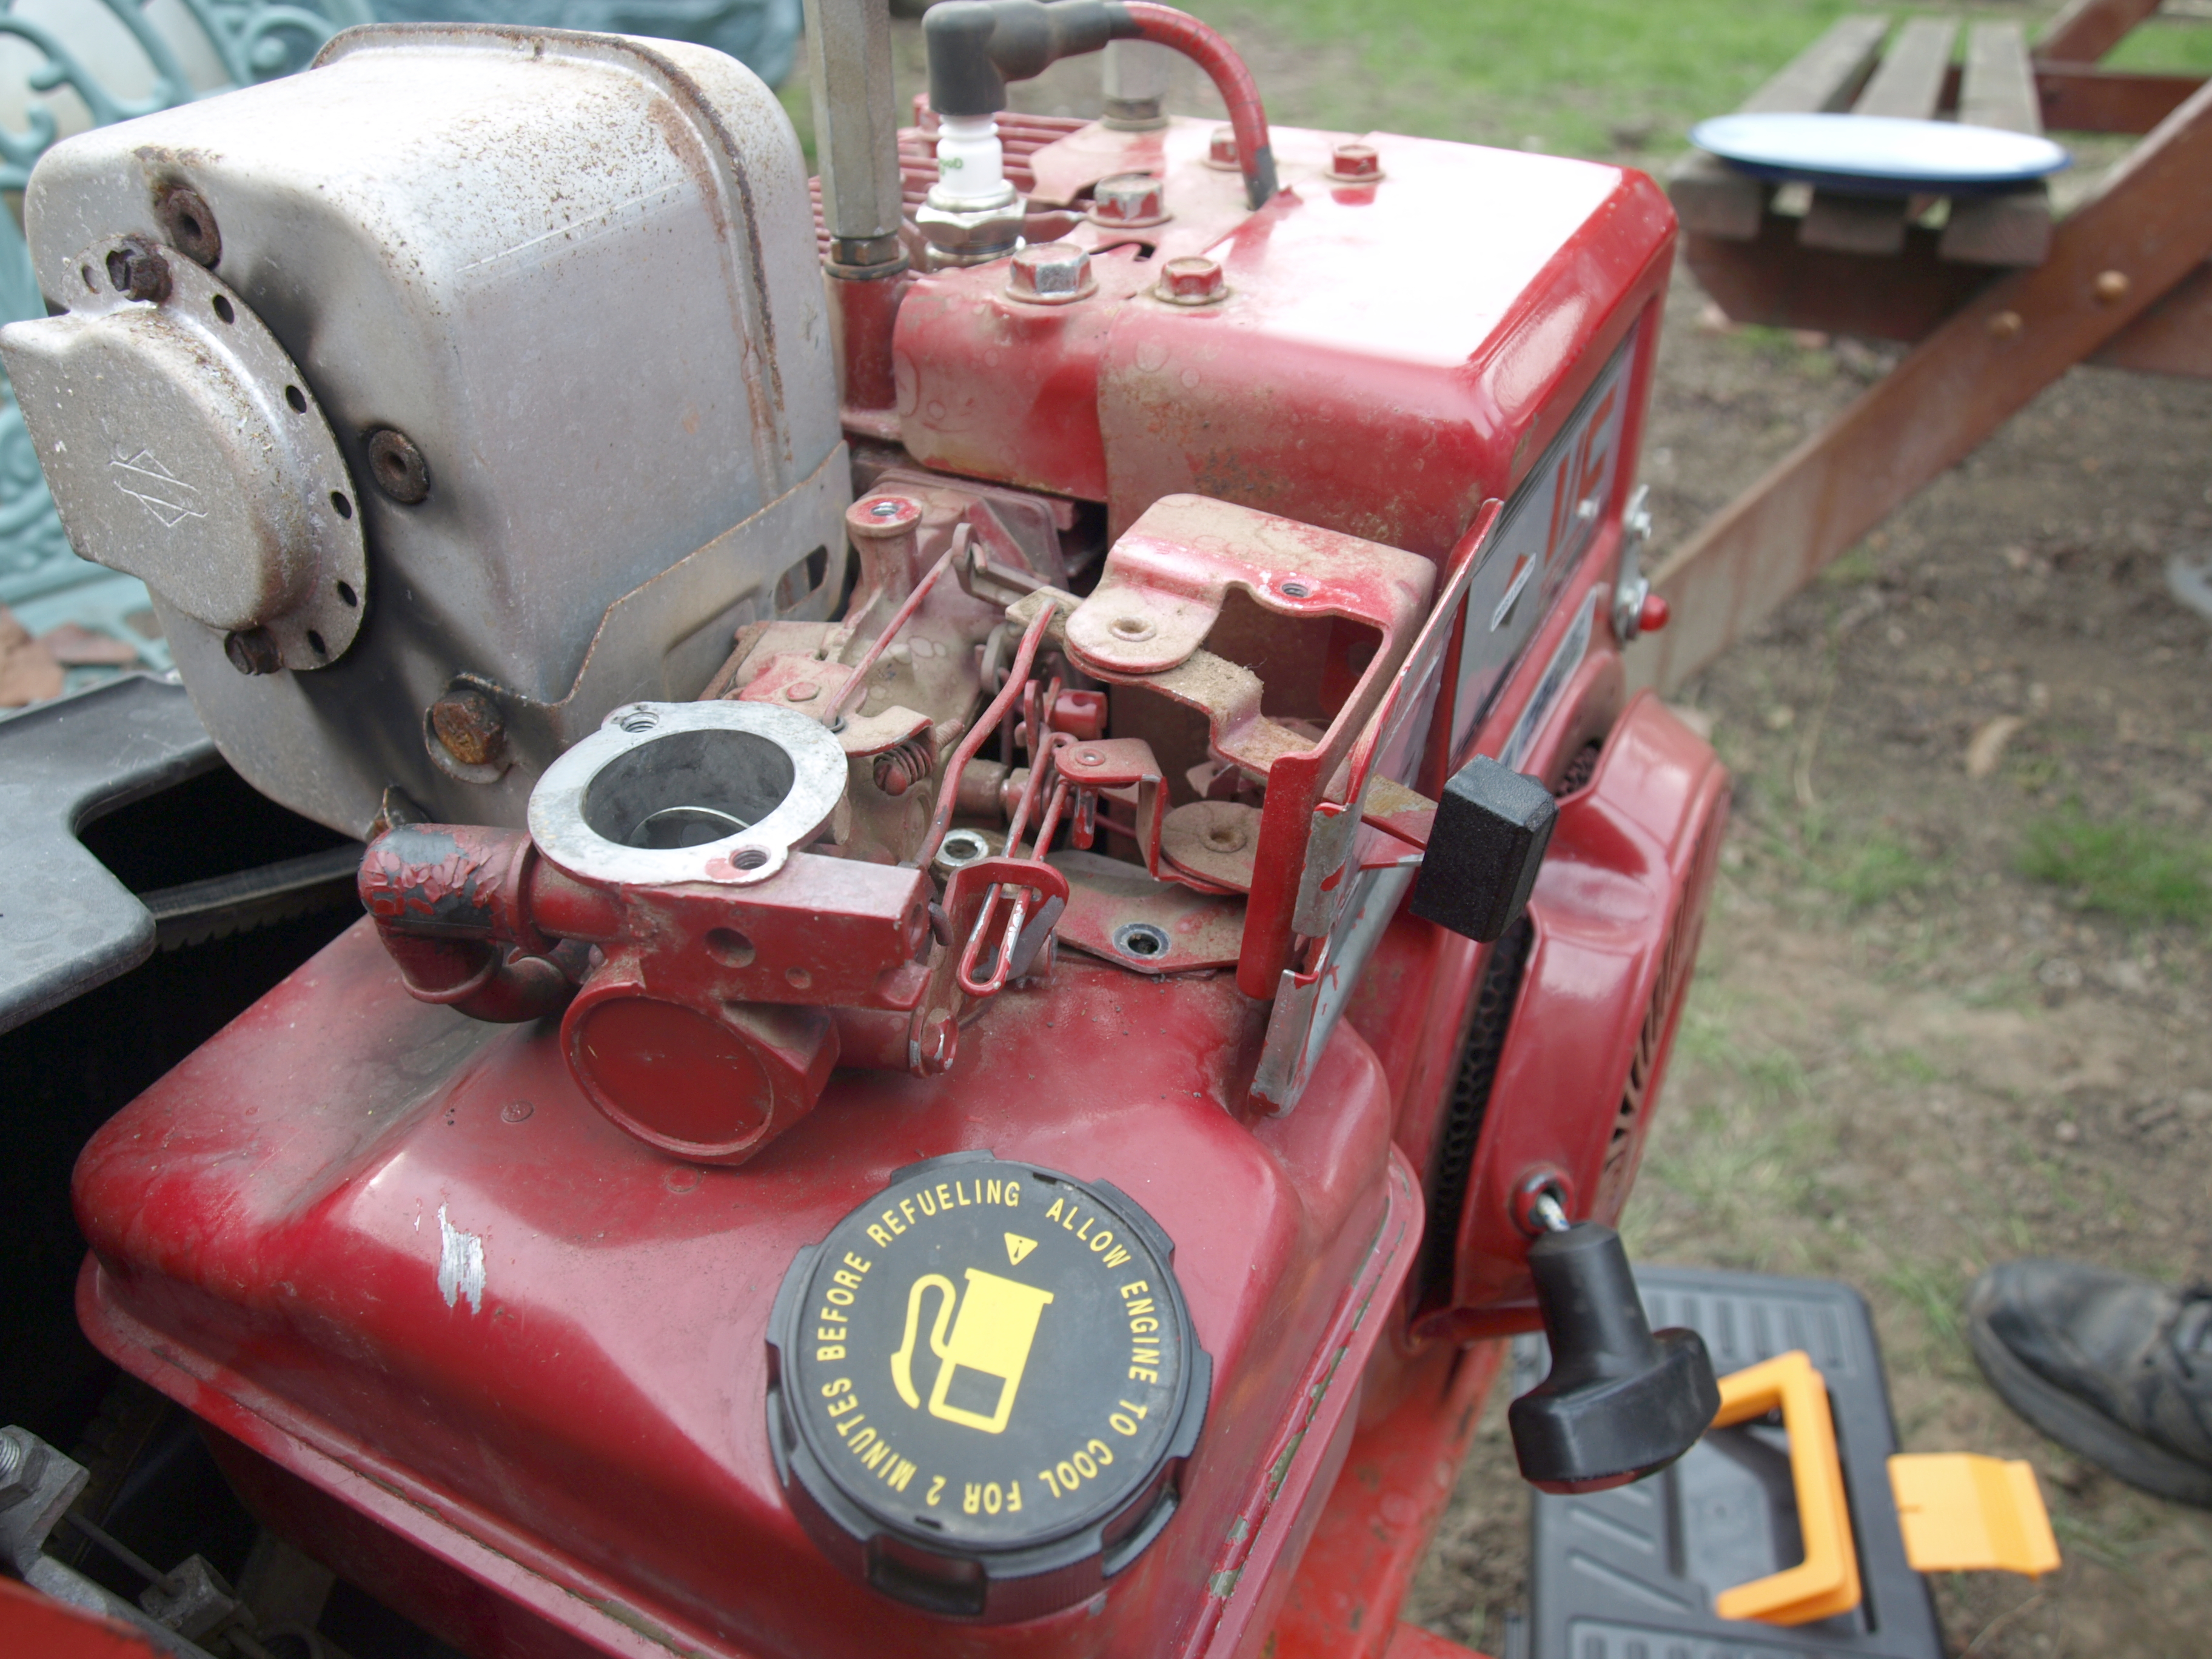
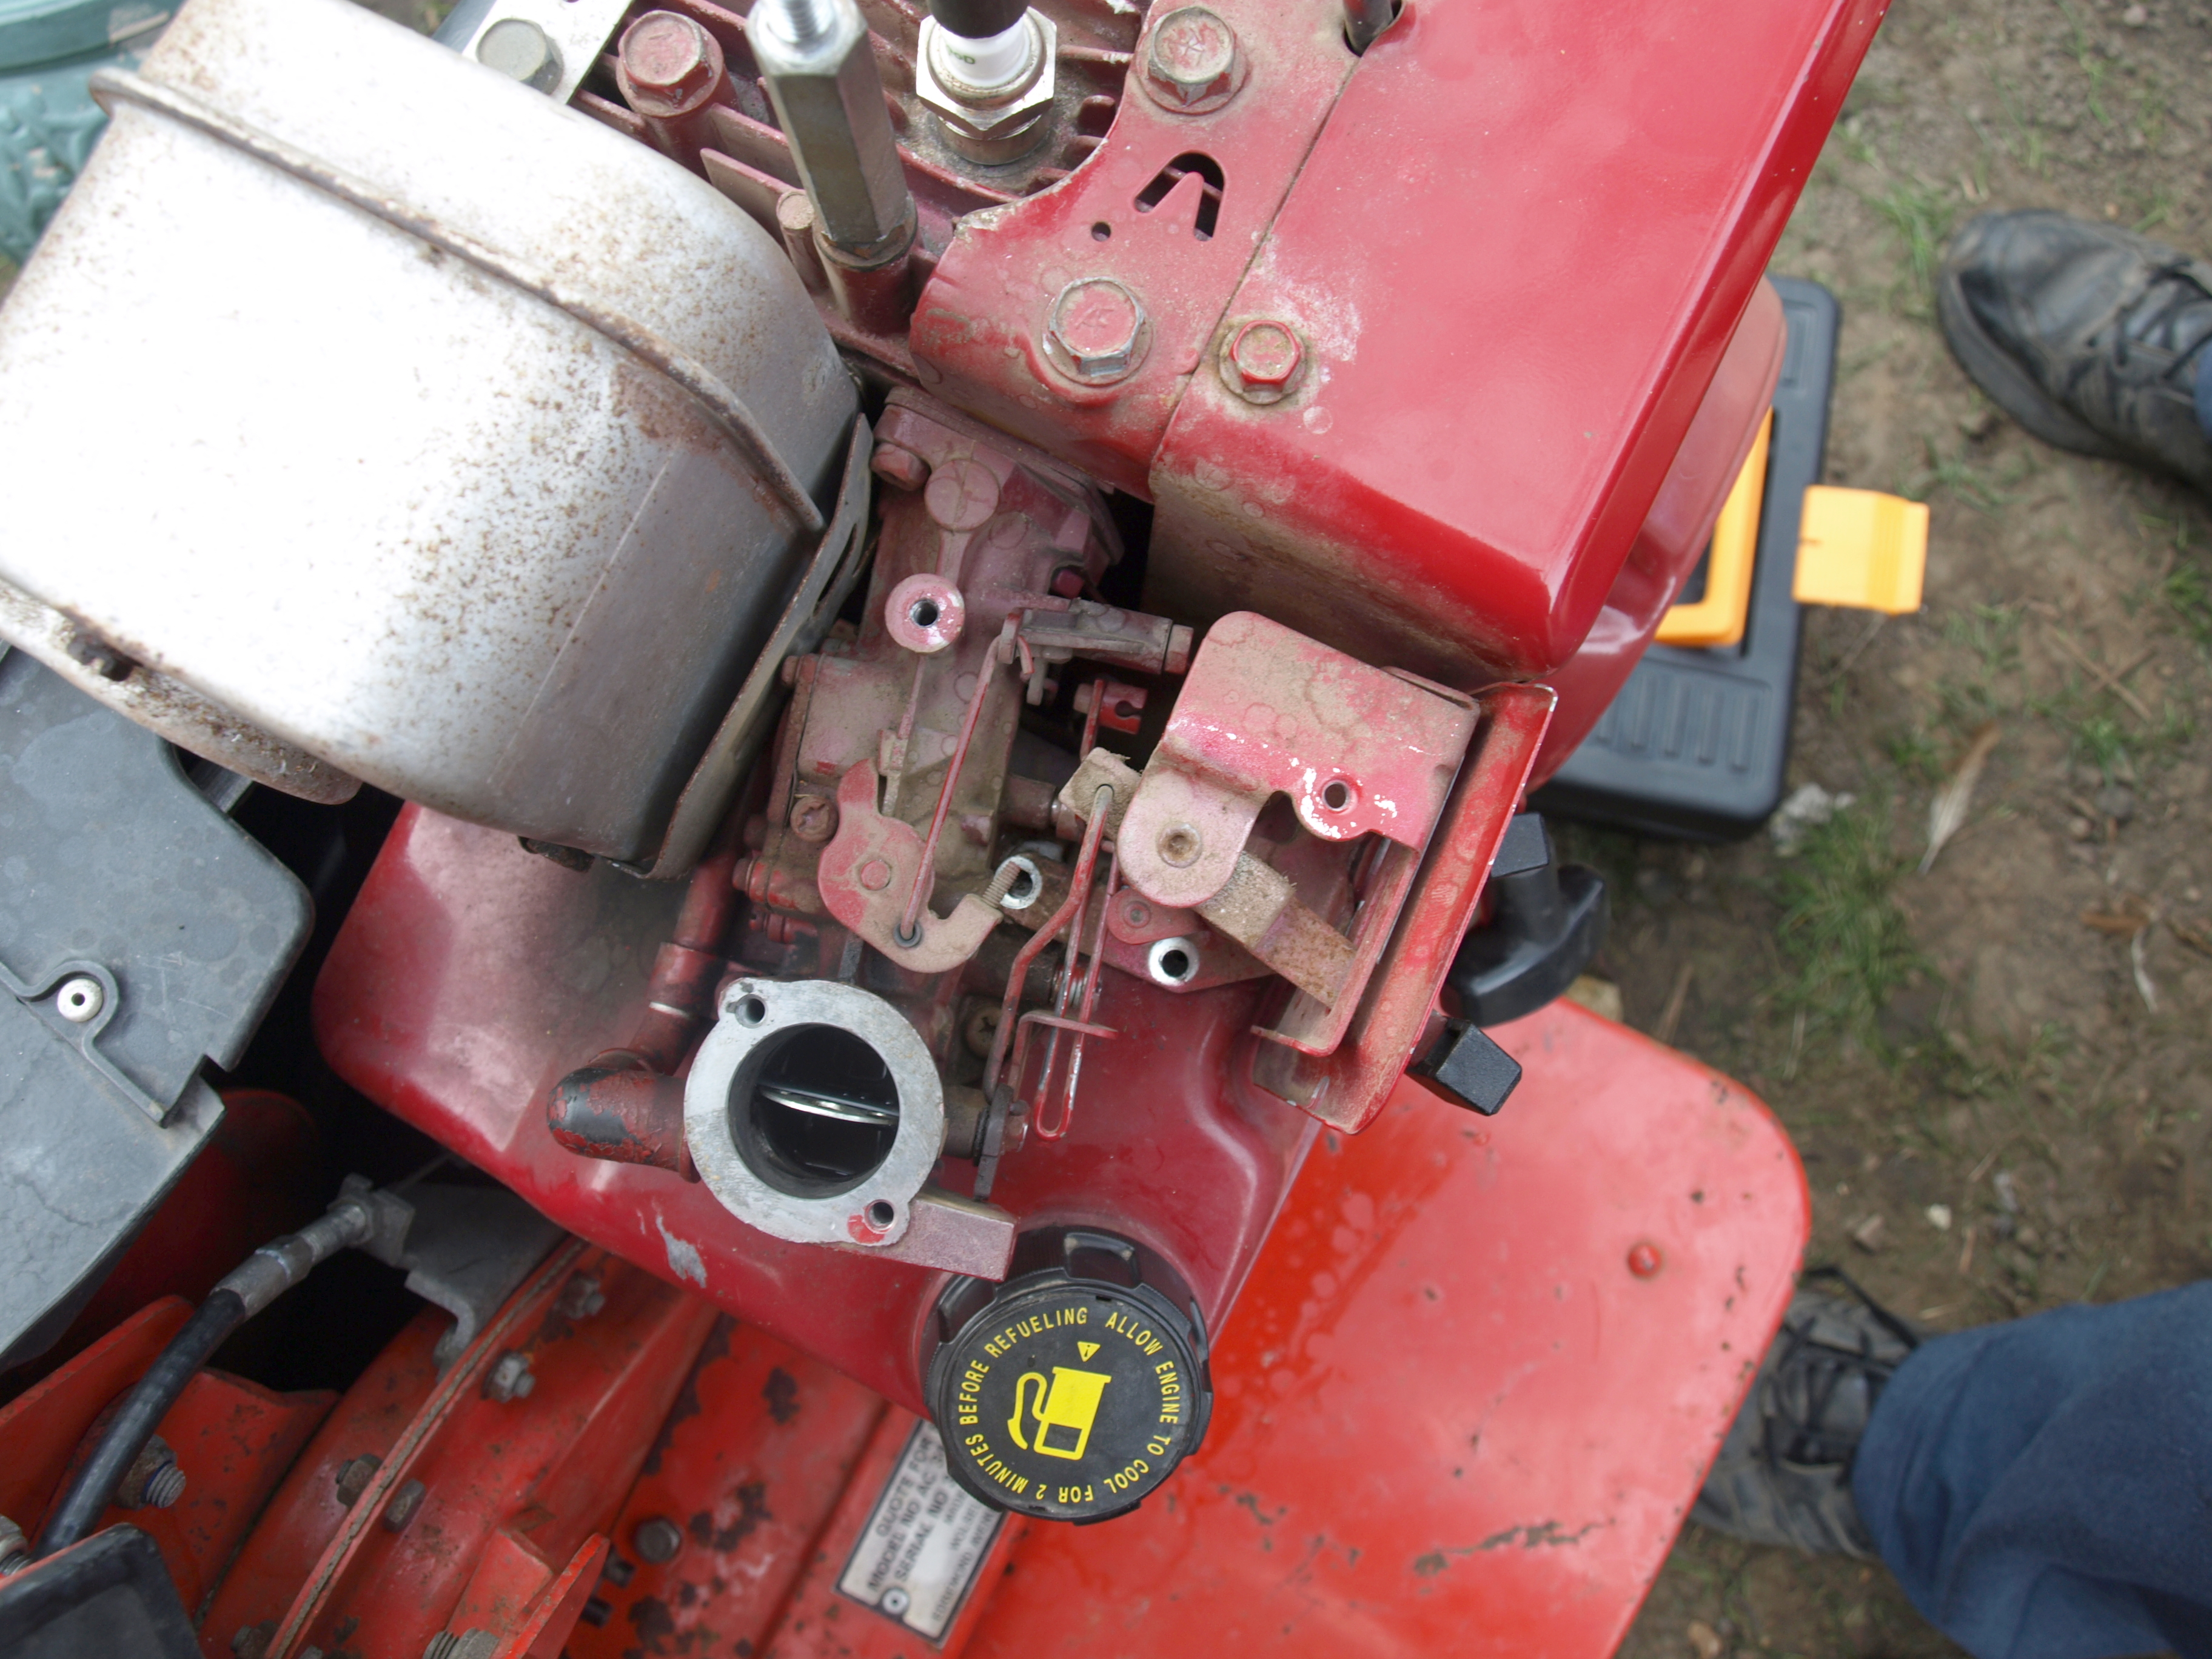
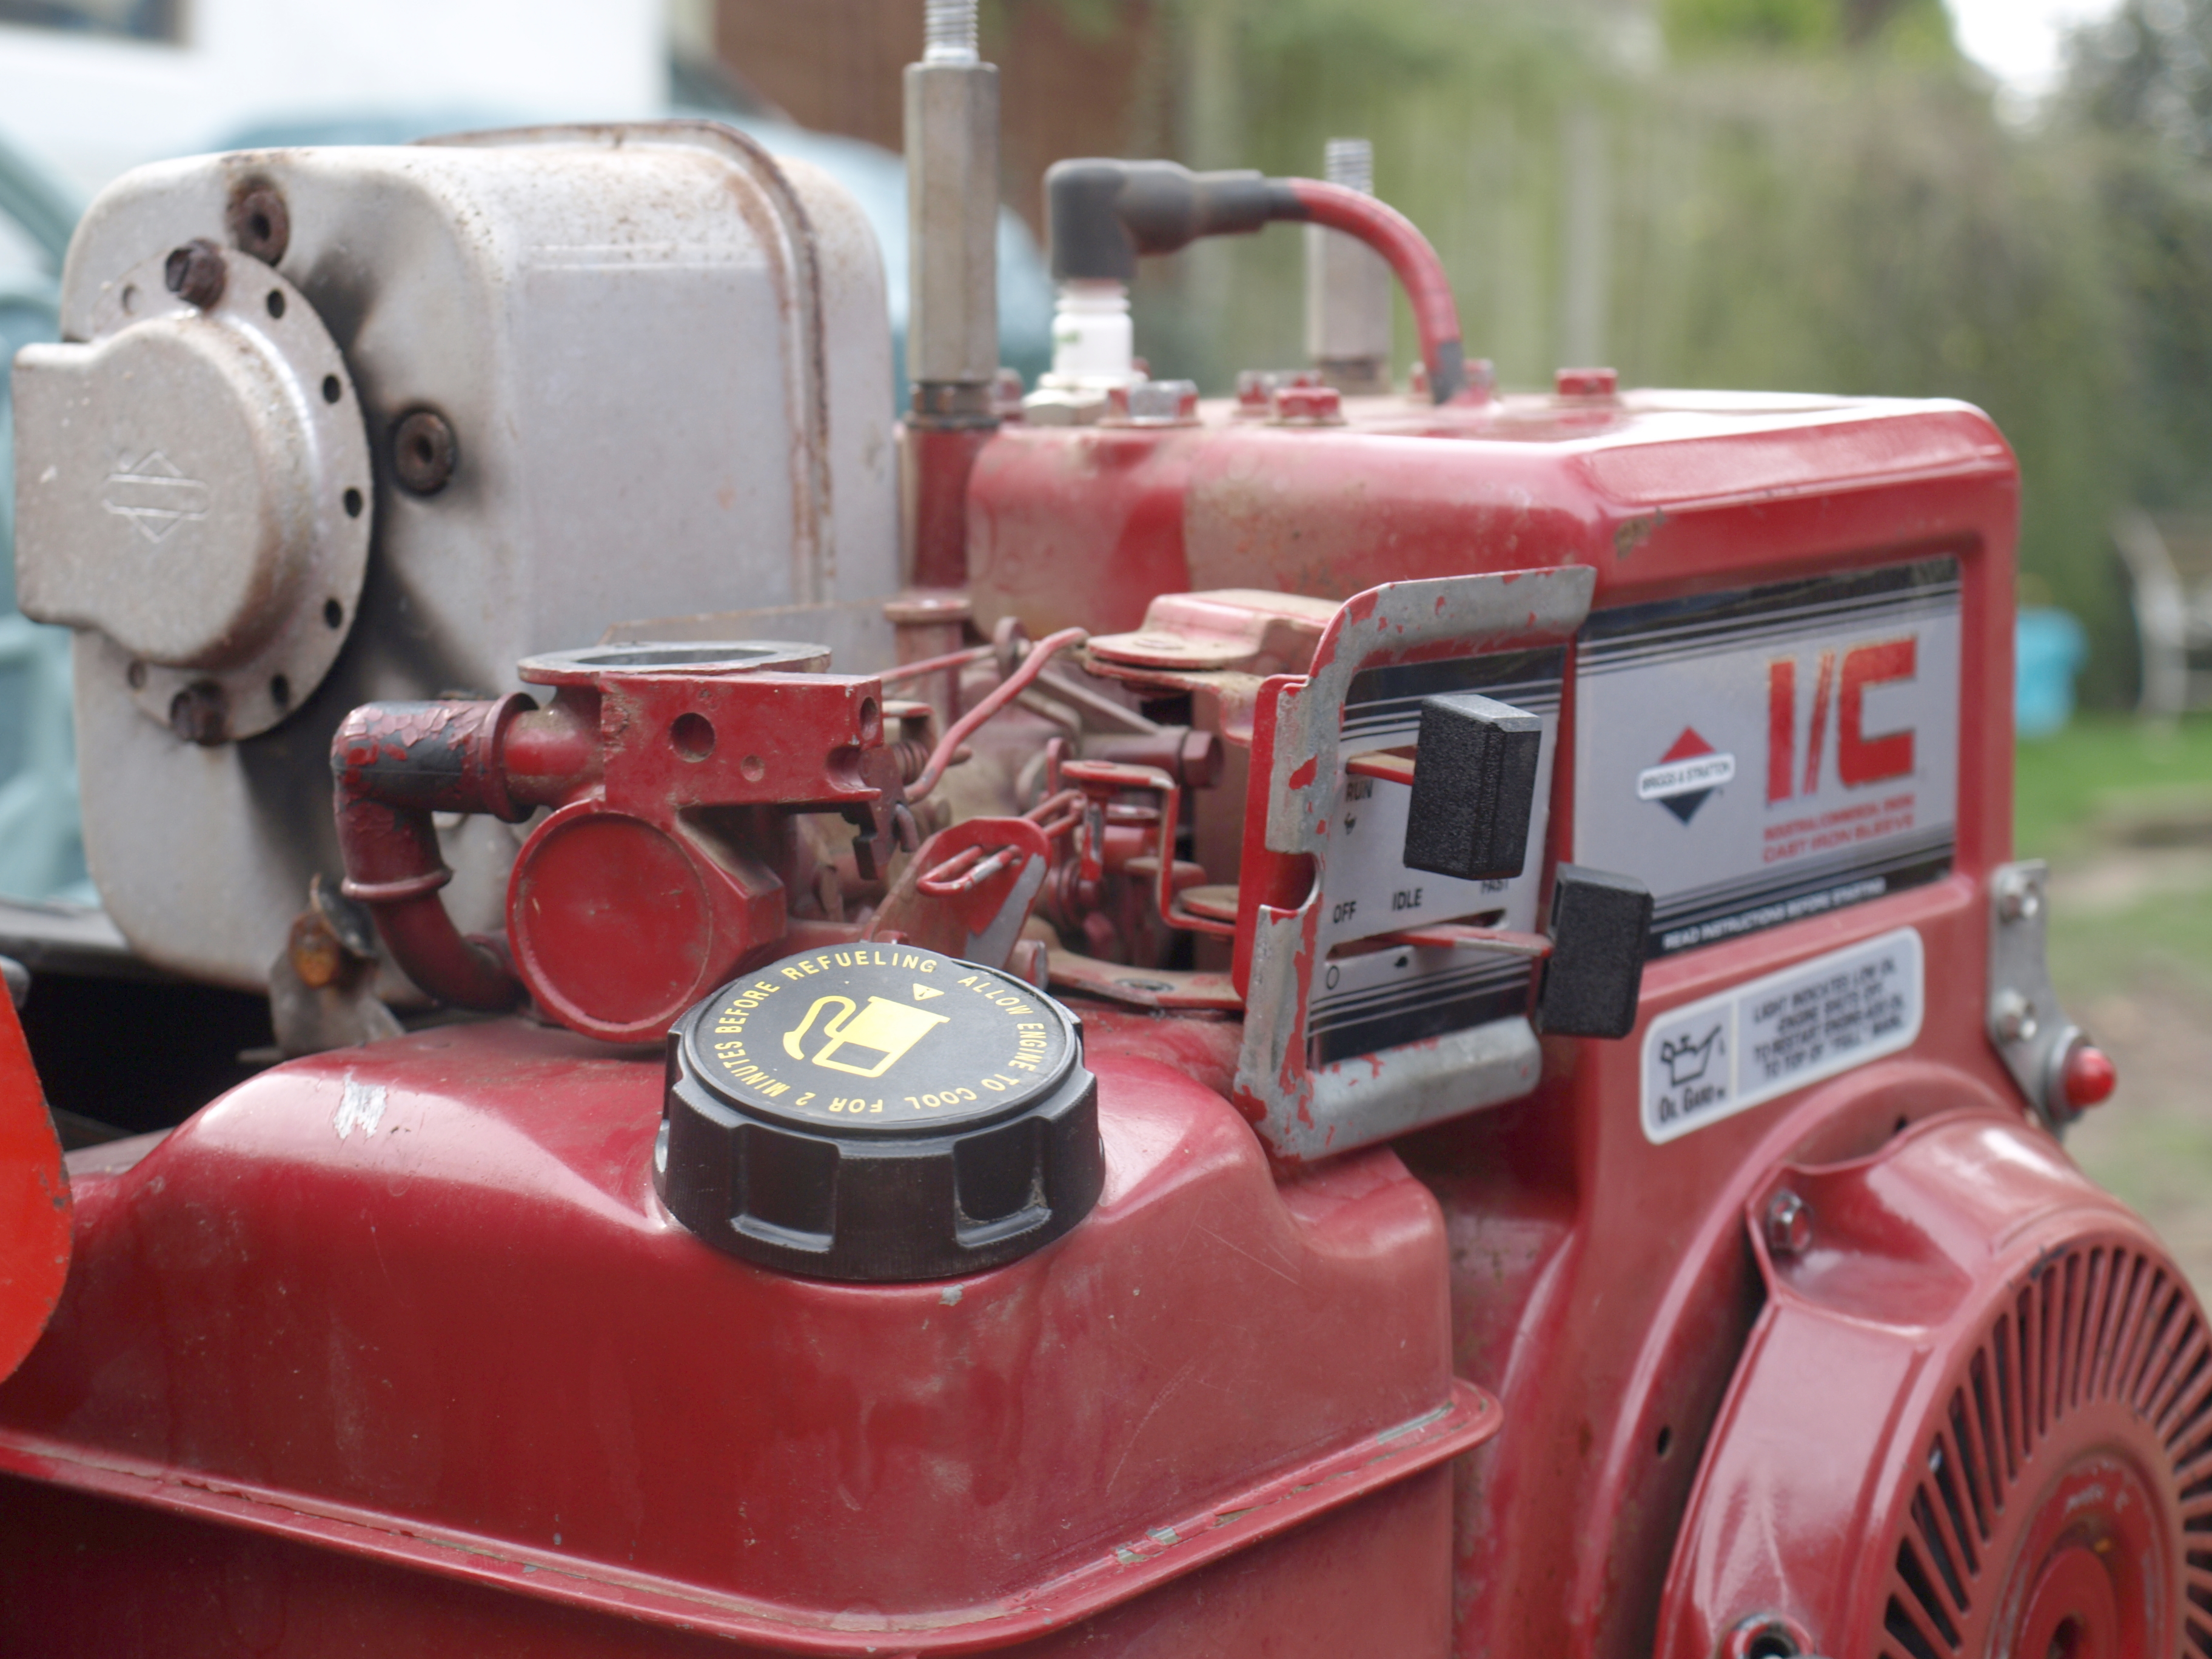
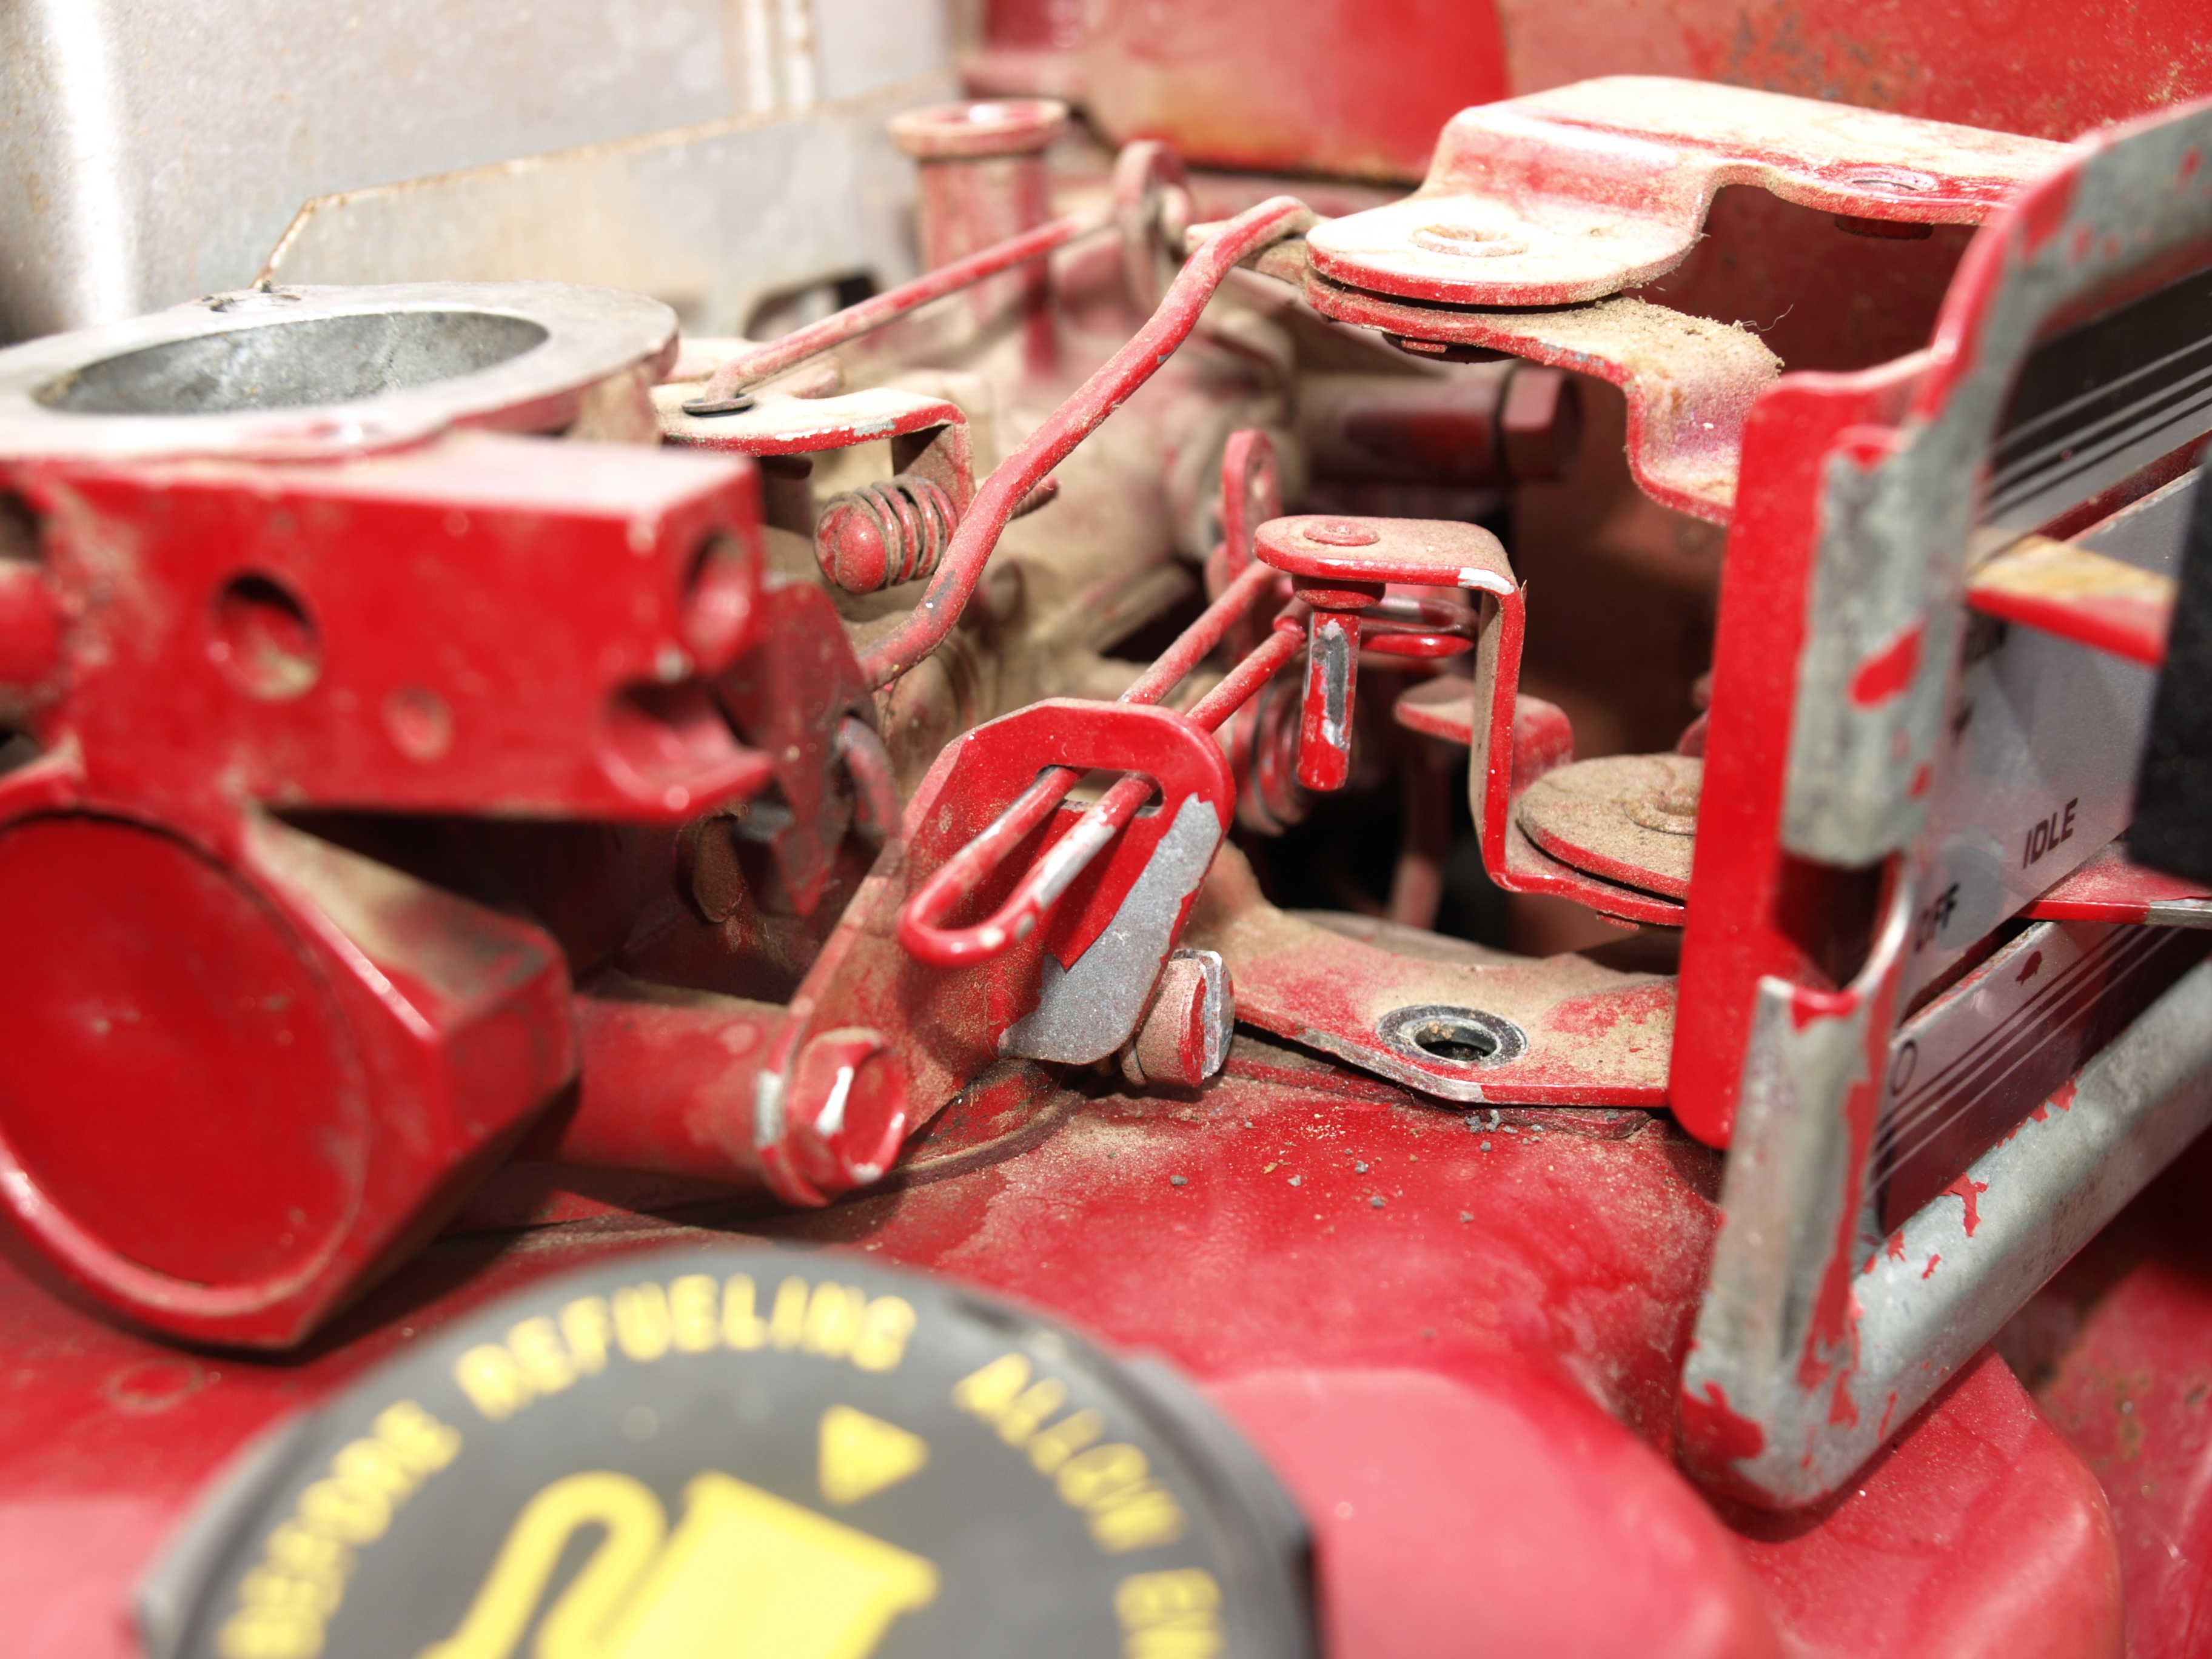
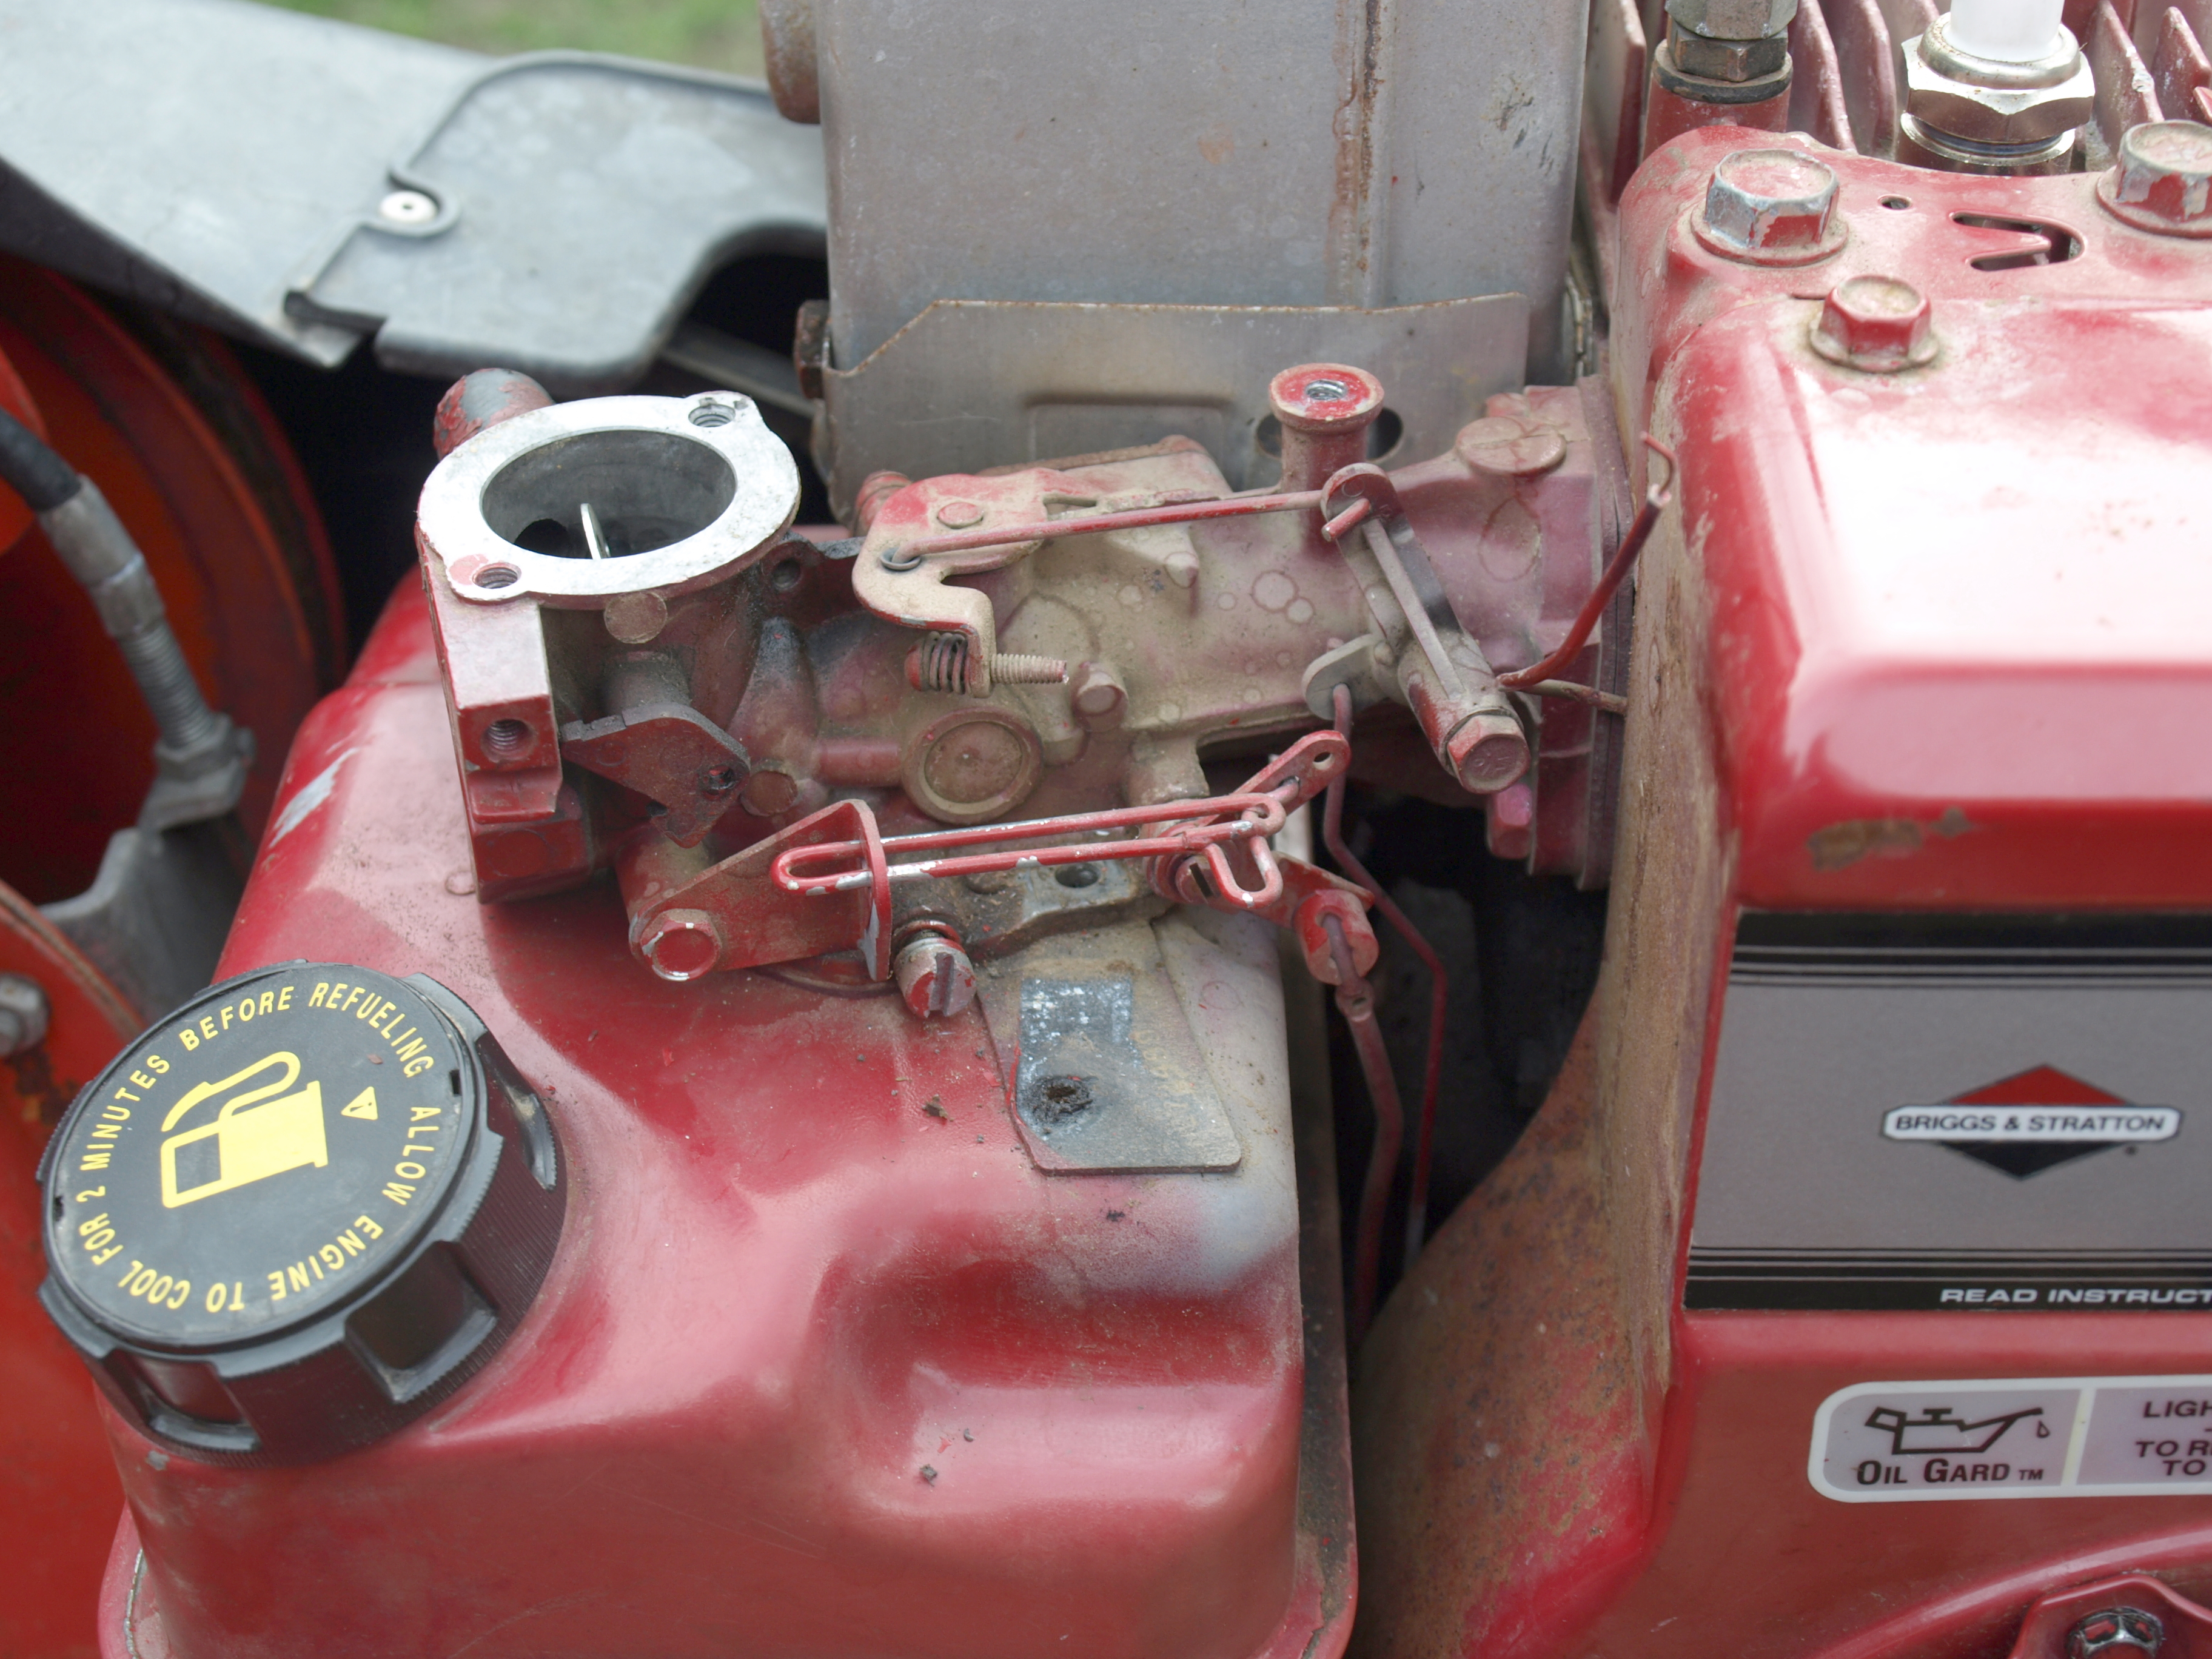
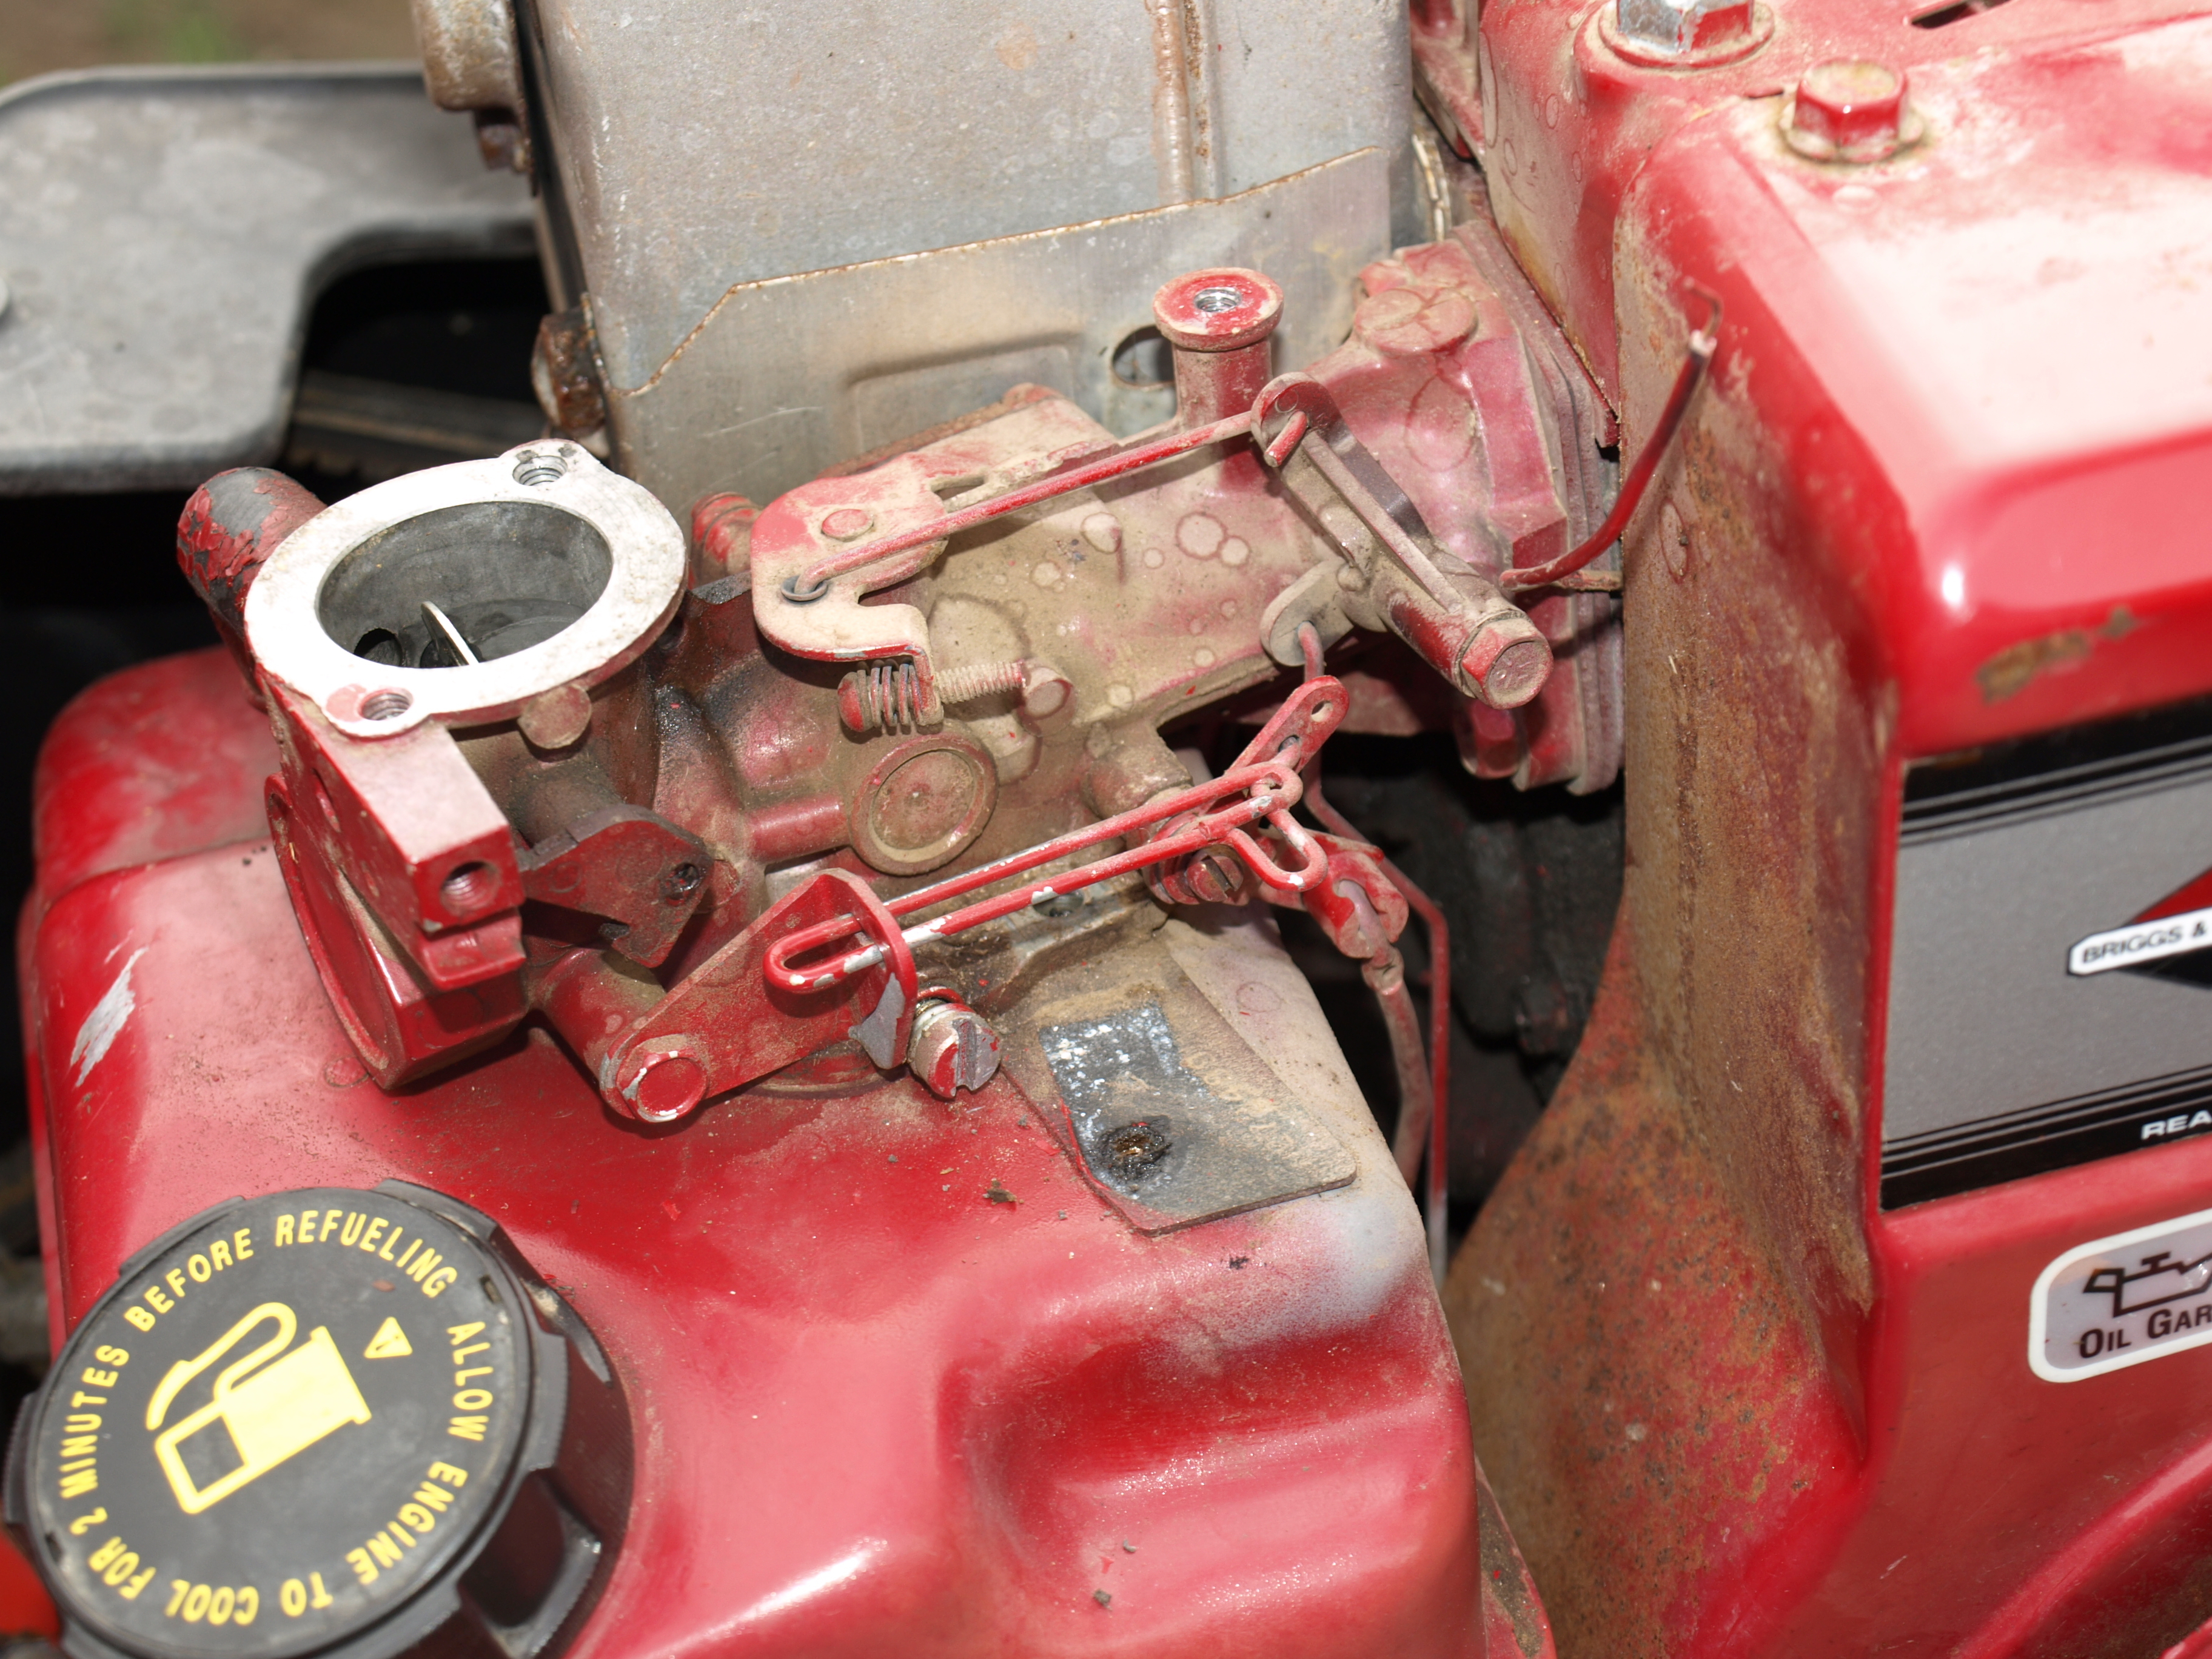
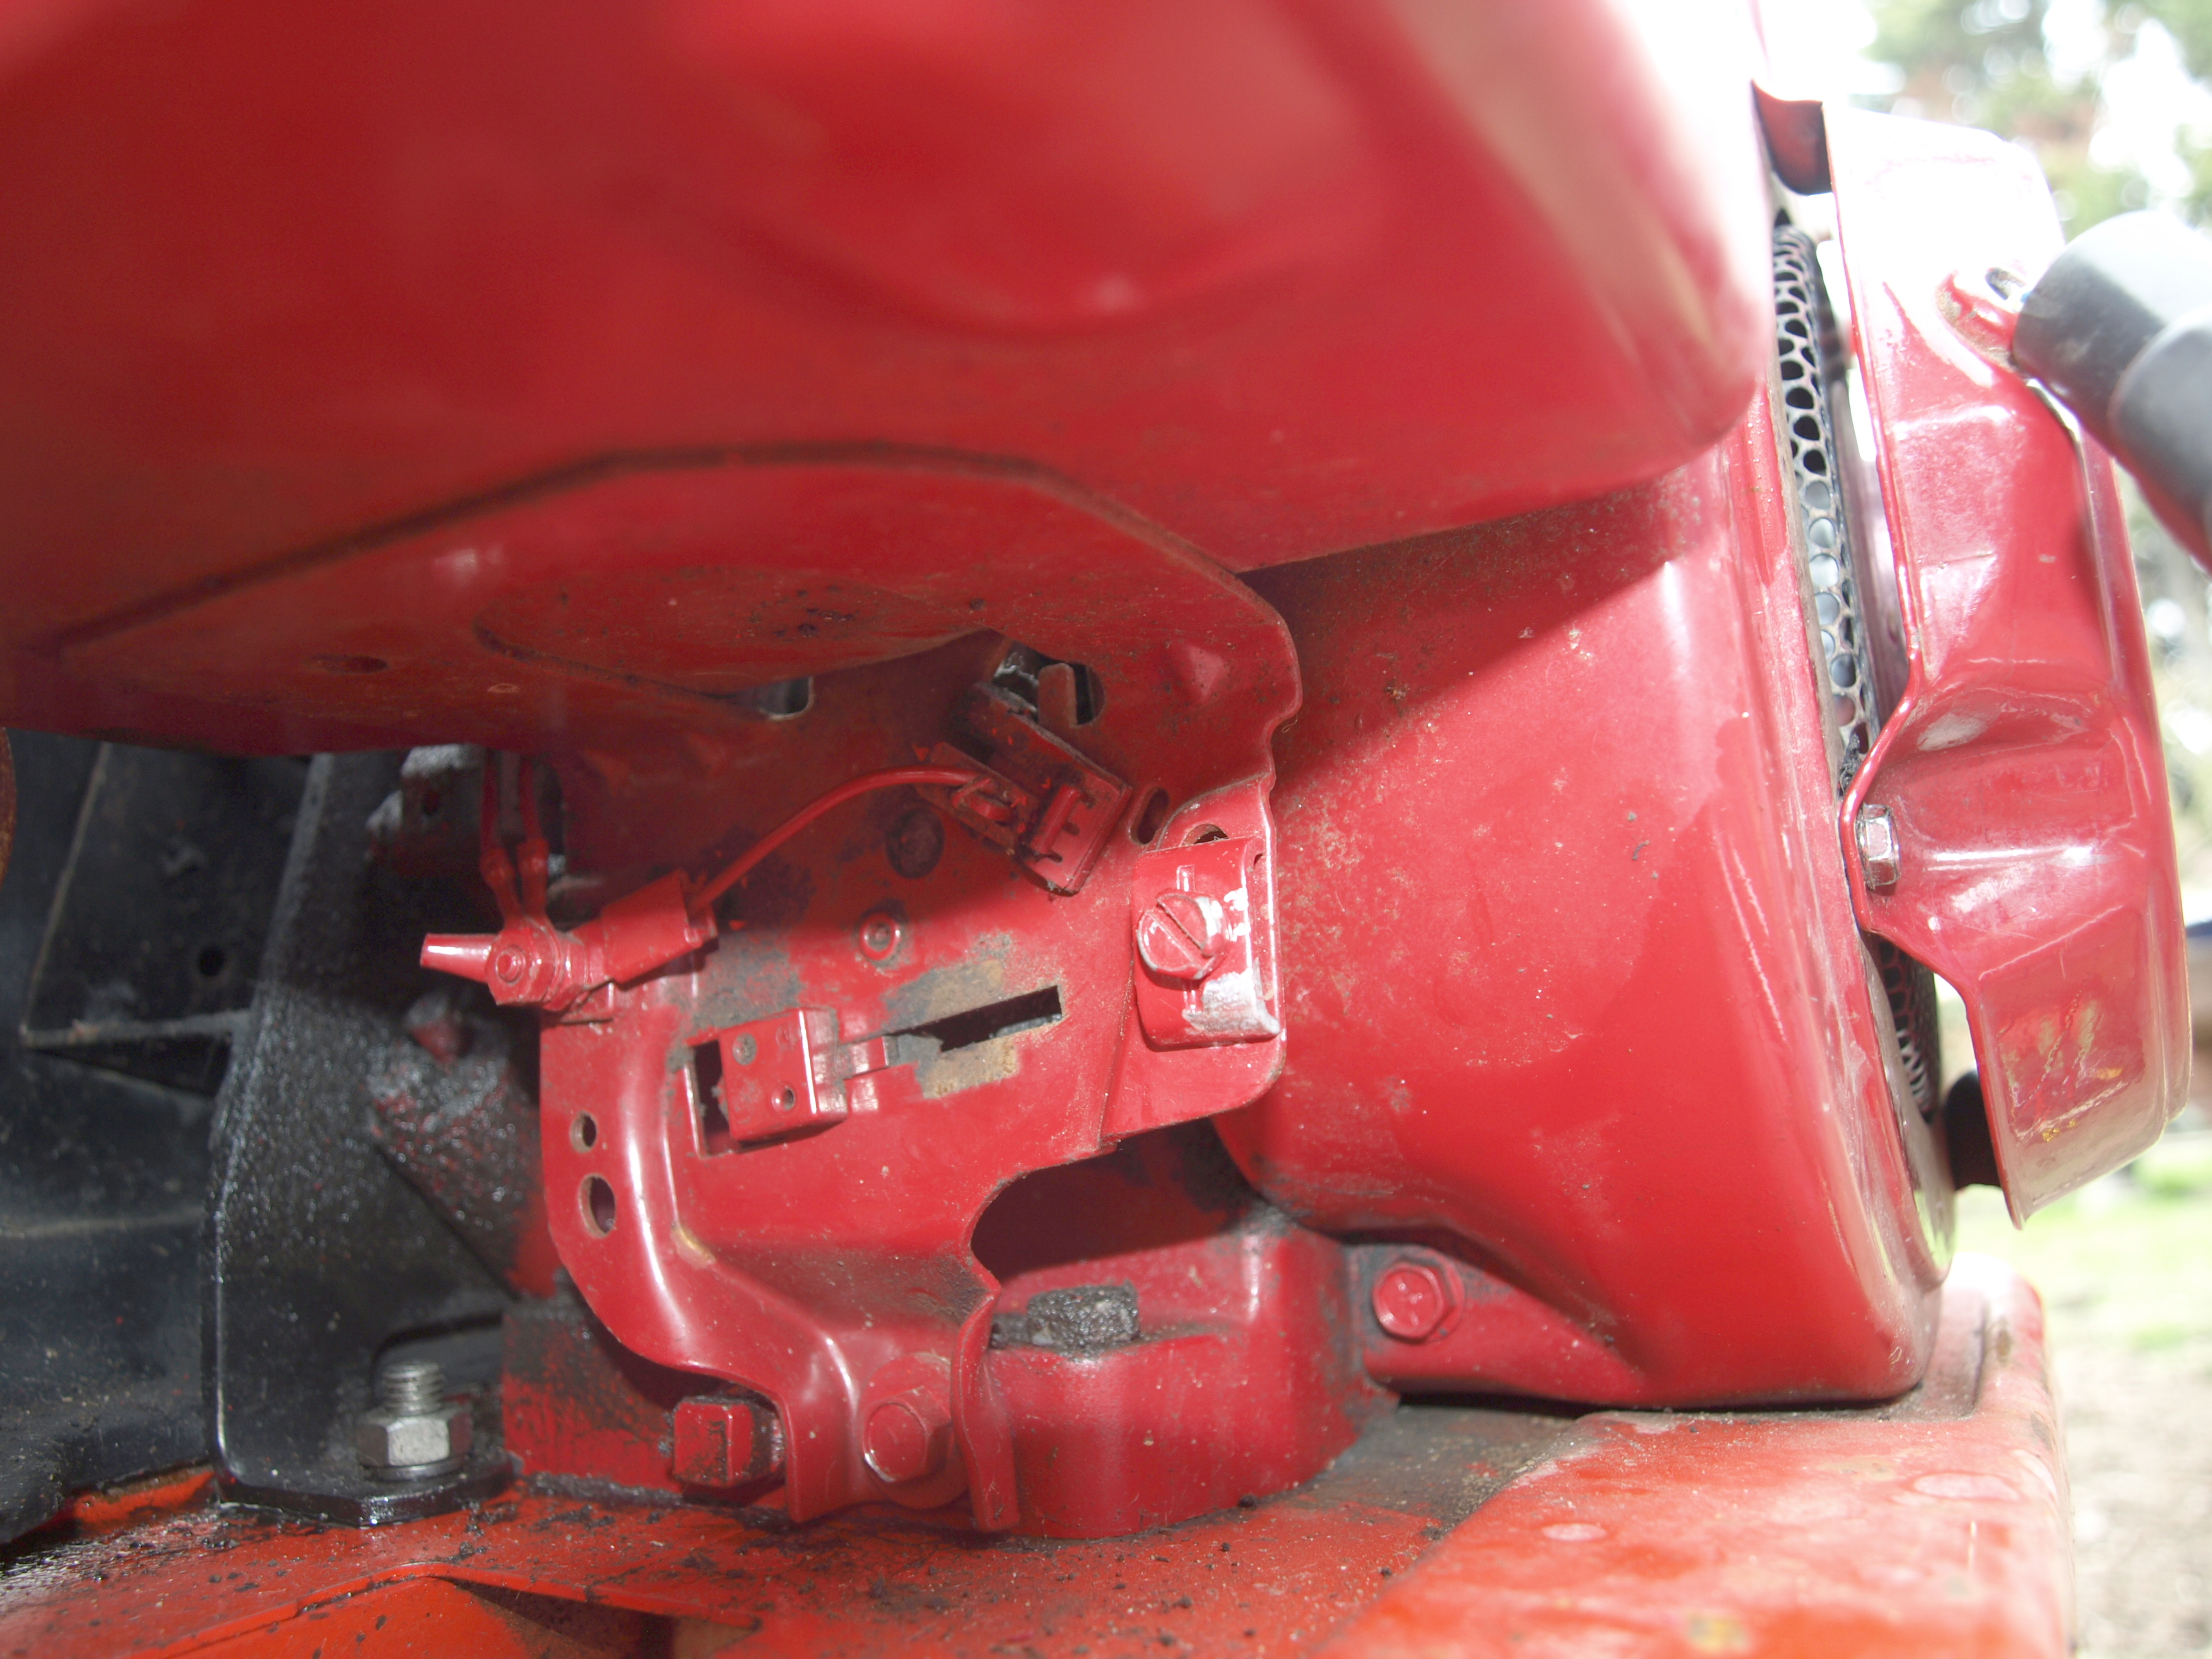
5HP I/C Engine
This images were taken to aid the reassembly. I put them here to aid you if you have a similar engine but not the foresight to take pictures.
 |
 |
 |
 |
 |
 |
 |
 |
|
Click to enlarge
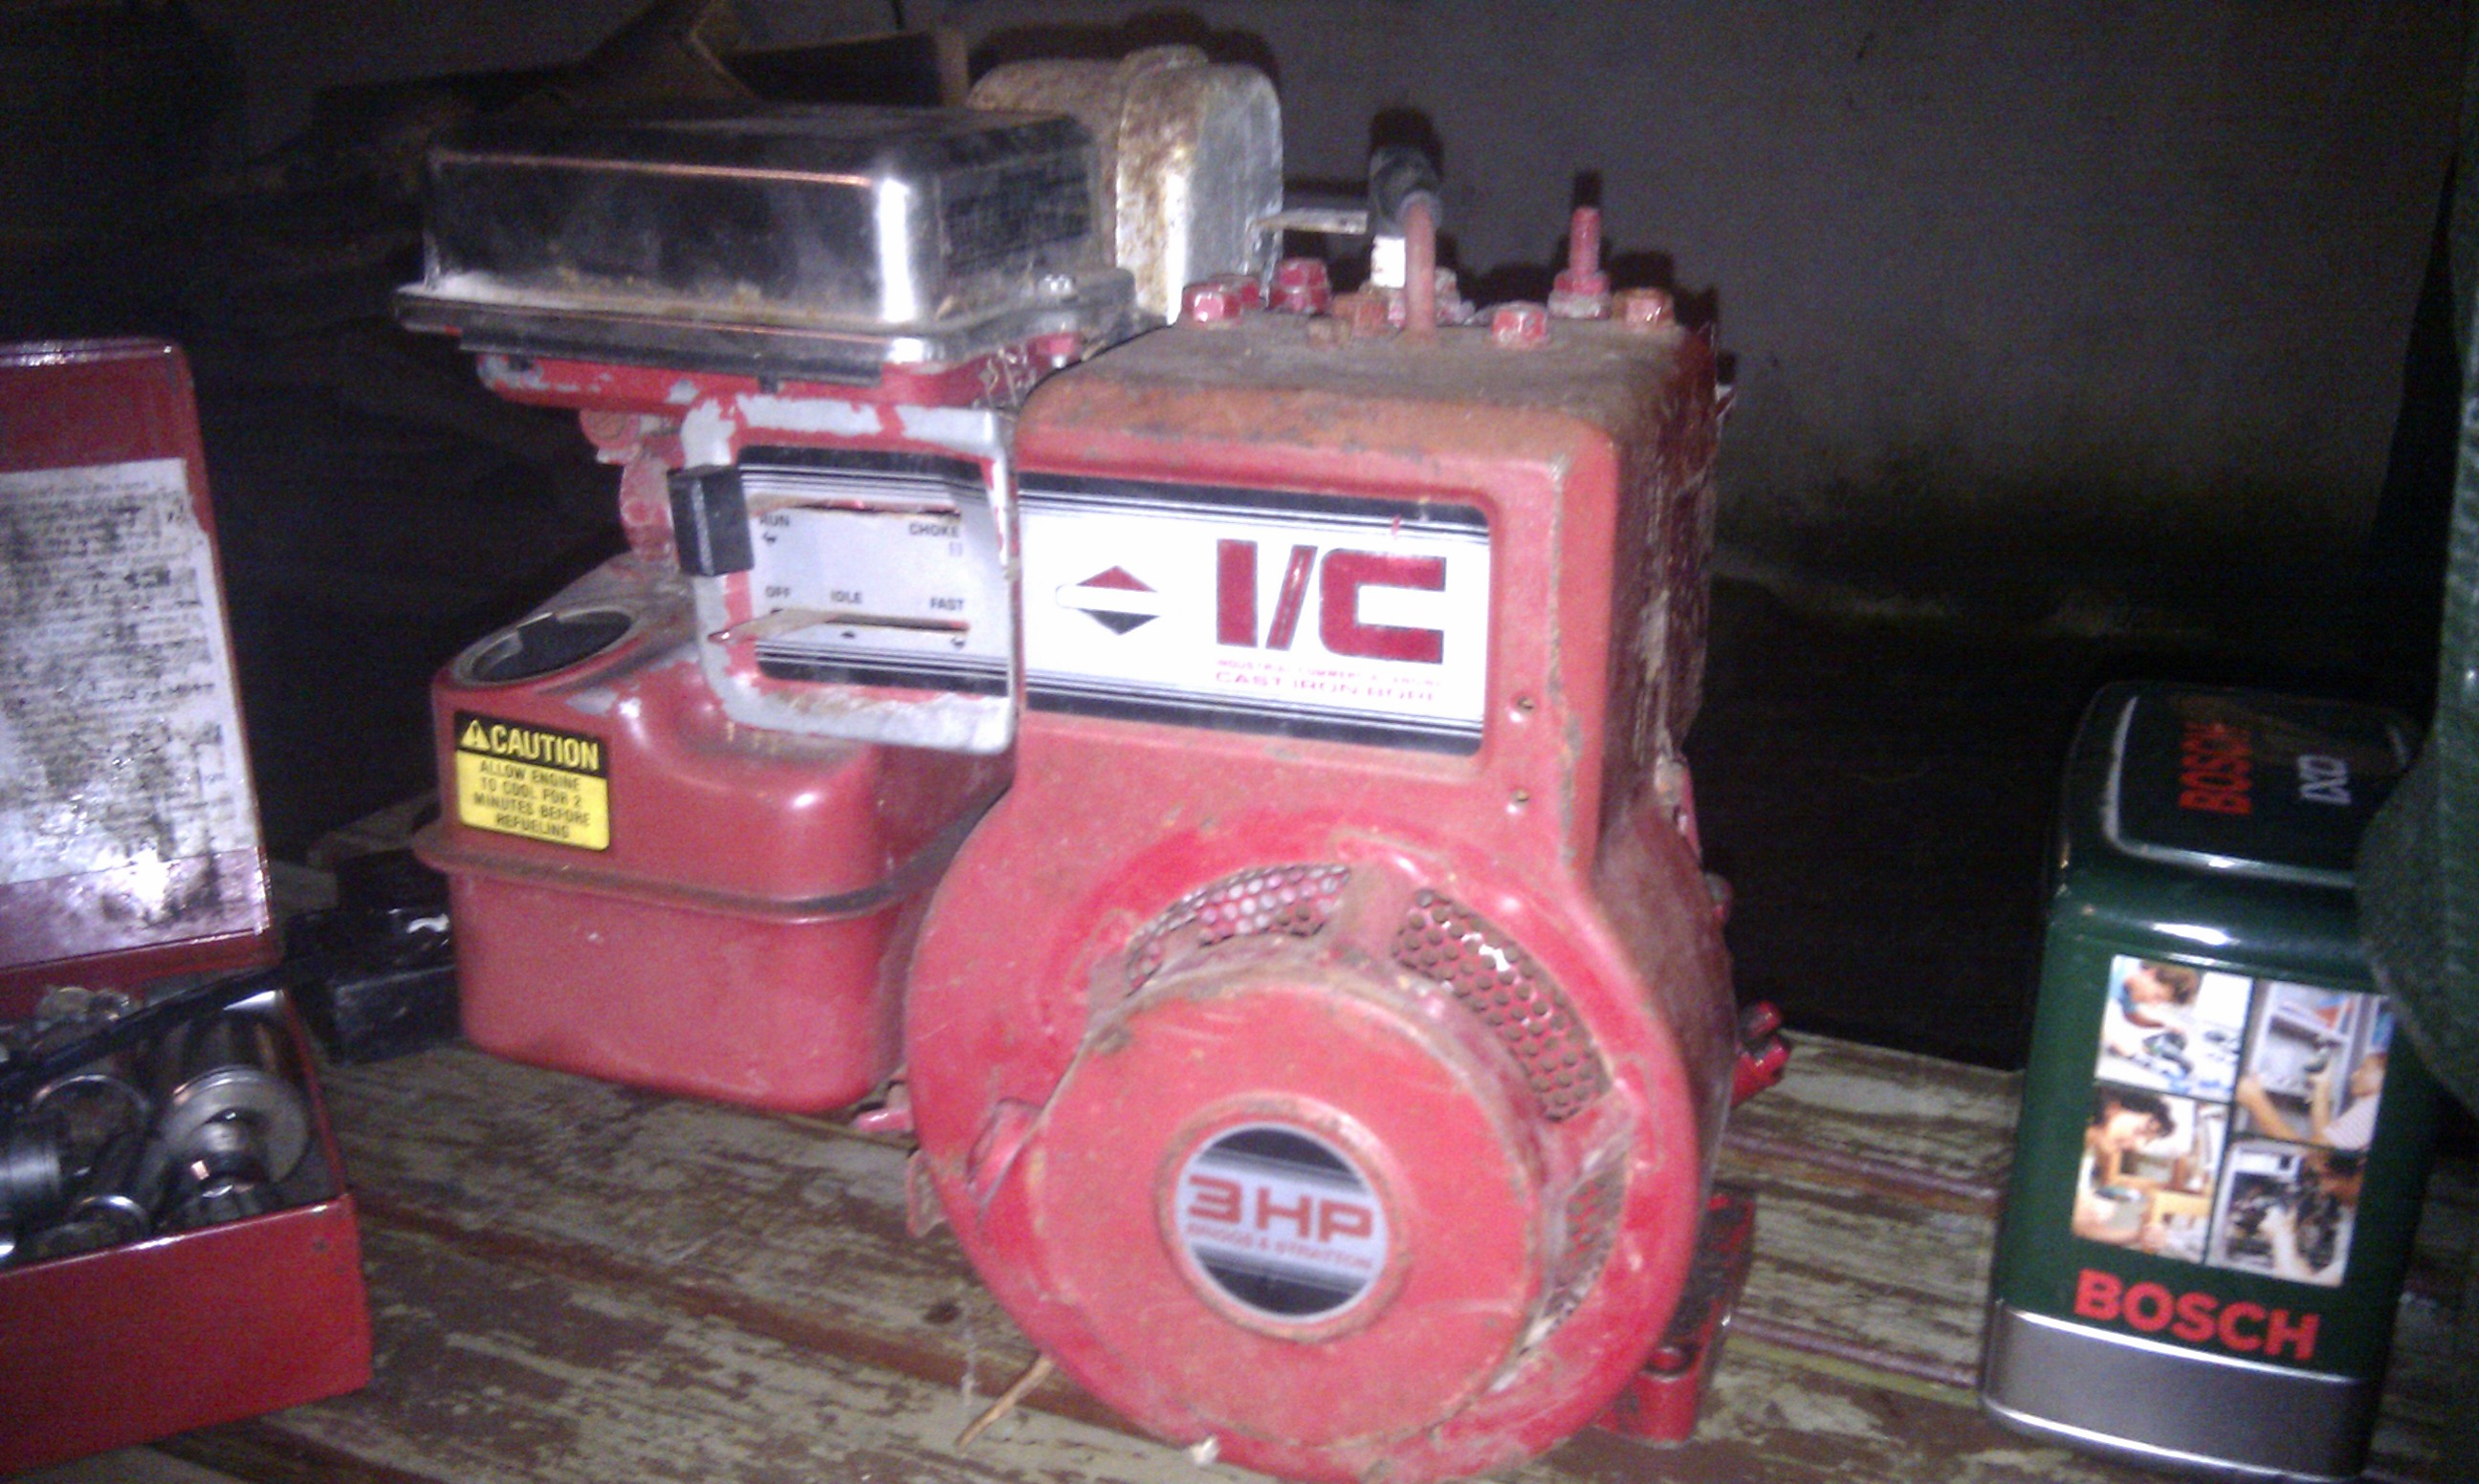
3HP I/C Engine
Spurred on by success with the 5HP rotavator engine, we bought another small 3HP I/C Briggs and Stratton engine on eBay. The engine was advertised as previously work but would no longer start. Having seen the simplicity of the rotavator engine, we decided it would be worth the challenge. We paid £12 for the engine.
 |
 |
 |
 |
 |
 |
 |
Click to enlarge