
As part of my PhD, I used Crossbow TelosB Motes to form a wireless sensor network. This page gives a very basic example of how to download and compile the source code for the motes in a standard accepted way.
Installing the software
Installation of the TinyOS system is pretty straight forward, following the TinyOS Install Instructions. The Two-step Debian install was what I used for my Ubuntu 11.04 office PC.
For completeness I will repeat it here. This page assumes you’re running a Linux distribution that supports Debian packages and the advanced packaging tool (APT). Remove any existing APT source entries.
Add the following line to your /etc/apt/sources.list source file.
deb http://hinrg.cs.jhu.edu/tinyos natty main
You then need to update your repository cache
$ sudo apt-get update
Run the following to install the latest release of tinyos and all its supported tools:
$ sudo apt-get install tinyos
This will likely give you a message telling you to choose between the two available versions. An example to then execute is:
$ sudo apt-get install tinyos-2.1.1
Add the following line to your ~/.bashrc or ~/.profile file in your home directory to set up the environment for TinyOS development at login
#Sourcing the tinyos environment variable setup script
source /opt/tinyos-2.1.1/tinyos.sh
Installing the compiler and such
On the newer versions of Ubuntu, tested on 12.04, you can apt-get install all of the MSP430 stuff.
apt-get install binutils-msp430 gcc-msp430 msp430-libc msp430mcu mspdebug
Thanks very much to http://pfalcon-oe.blogspot.co.uk/2012/03/developing-for-ti-launchpad-msp430.html. This saved me a lot of time recently. The old method of installing these had me compile many of the programs from source and all the associated problems. The job went from being 2 hours of work, to about 20 seconds!
Example Application : Blink
This application is the de-facto test program, and demonstrates how to get from source code to a running mote.
Download The Example
You can download this example program. You need to get all the files in the folder, and save them in the same folder, which will become your project’s working directory.
Compile the program
Once you’re in the working directory, open a terminal there. Compiling the program is as simple as issuing the make command. Here, I am using a Crossbow TelosB mote, and so I pass the telosb argument to make. mica or whatever also works.
$ make telosb
mkdir -p build/telosb
compiling BlinkAppC to a telosb binary
ncc -o build/telosb/main.exe -Os -O -mdisable-hwmul -fnesc-separator=__ -Wall -Wshadow -Wnesc-all -target=telosb
-fnesc-cfile=build/telosb/app.c -board= -DDEFINED_TOS_AM_GROUP=0x22 -DIDENT_APPNAME=\”BlinkAppC\”
-DIDENT_USERNAME=\”gsmart\” -DIDENT_HOSTNAME=\”aristoteles\” -DIDENT_USERHASH=0x948c0a32L
-DIDENT_TIMESTAMP=0x4e79f56bL -DIDENT_UIDHASH=0x90d16962L BlinkAppC.nc -lm
compiled BlinkAppC to build/telosb/main.exe
2648 bytes in ROM
54 bytes in RAM
msp430-objcopy –output-target=ihex build/telosb/main.exe build/telosb/main.ihex
writing TOS image
If the build was successful, it will look as above. If not, you will know about it.
Programming the Mote
The mote is easily programmed again with the make command. Before we program the mote, we can get a list of all those connected by using the motelist program.
$ motelist
Reference Device Description
———- —————- ———————————————
XBNZ7T4K /dev/ttyUSB0 XBOW Crossbow Telos Rev.B
To program this mote, we run the command
$ make install telosb
mkdir -p build/telosb
compiling BlinkAppC to a telosb binary
ncc -o build/telosb/main.exe -Os -O -mdisable-hwmul -fnesc-separator=__ -Wall -Wshadow -Wnesc-all -target=telosb
-fnesc-cfile=build/telosb/app.c -board= -DDEFINED_TOS_AM_GROUP=0x22 -DIDENT_APPNAME=\”BlinkAppC\”
-DIDENT_USERNAME=\”gsmart\” -DIDENT_HOSTNAME=\”aristoteles\” -DIDENT_USERHASH=0x948c0a32L
-DIDENT_TIMESTAMP=0x4e79f56bL -DIDENT_UIDHASH=0x90d16962L BlinkAppC.nc -lm
compiled BlinkAppC to build/telosb/main.exe
2648 bytes in ROM
54 bytes in RAM
msp430-objcopy –output-target=ihex build/telosb/main.exe build/telosb/main.ihex
writing TOS image
cp build/telosb/main.ihex build/telosb/main.ihex.out
found mote on /dev/ttyUSB0 (using bsl,auto)
installing telosb binary using bsl
tos-bsl –telosb -c /dev/ttyUSB0 -r -e -I -p build/telosb/main.ihex.out
MSP430 Bootstrap Loader Version: 1.39-telos-8
Mass Erase…
Transmit default password …
Invoking BSL…
Transmit default password …
Current bootstrap loader version: 1.61 (Device ID: f16c)
Changing baudrate to 38400 …
Program …
2680 bytes programmed.
Reset device …
rm -f build/telosb/main.exe.out build/telosb/main.ihex.out
The above is what programming my TelosB mote looked like.
Verify
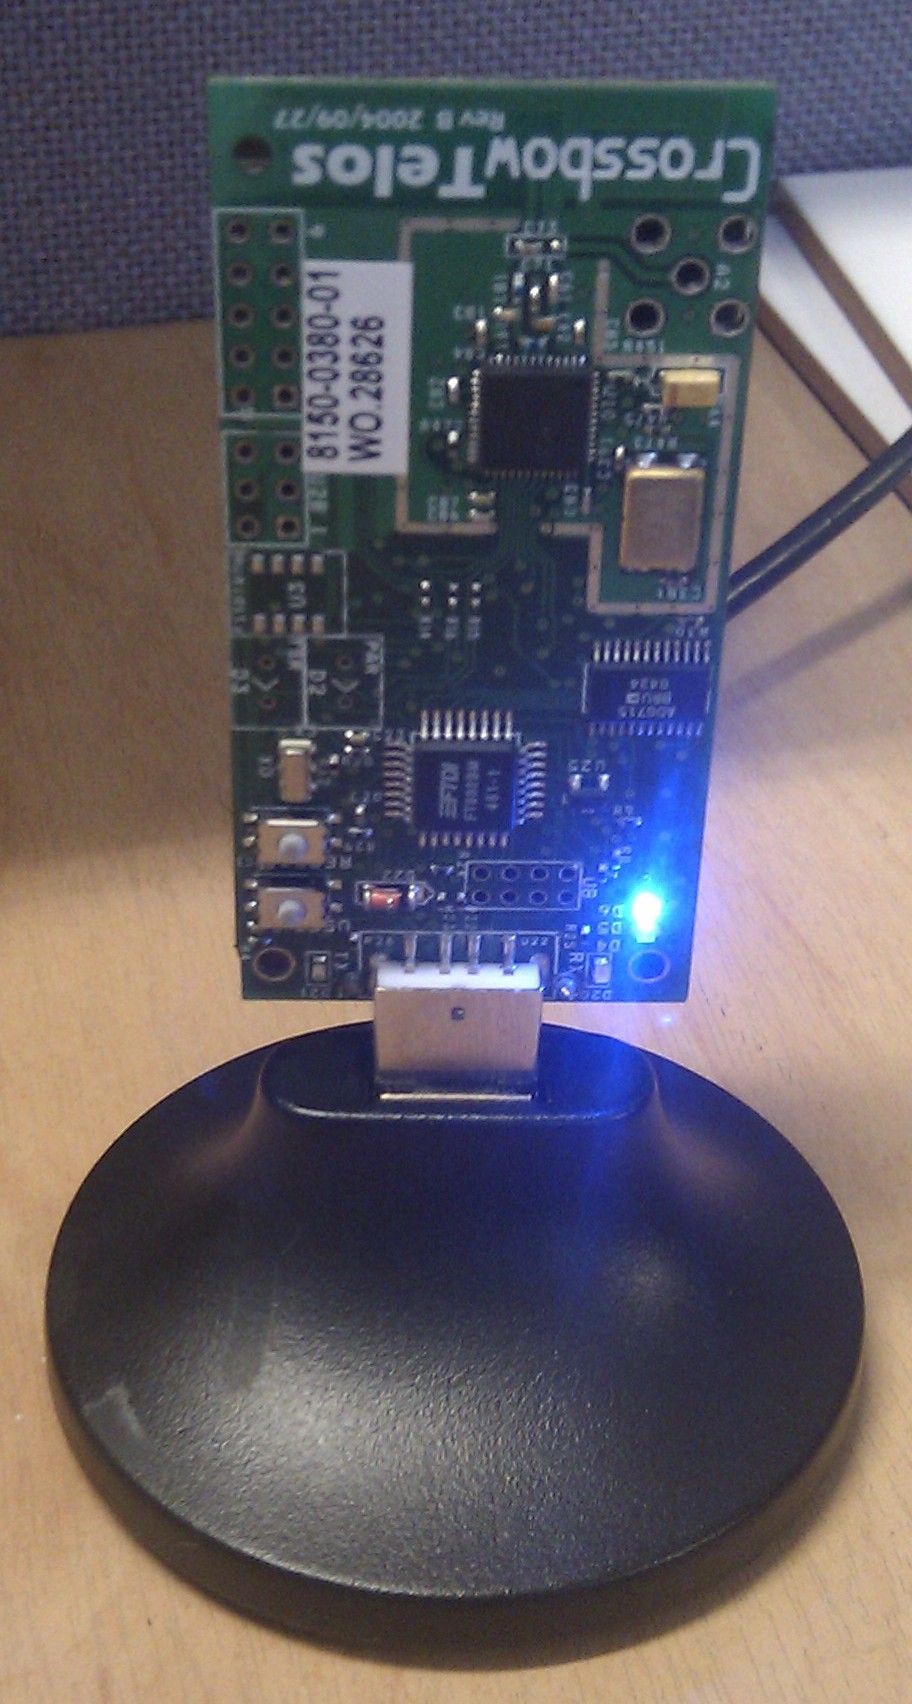
Once the programming has finished, the mote should start running. The image below shows the mote with the blue LED on. When mote runs with all 3 (blue, red and green) LEDs flashing at different rates.
Troubleshooting
mig issue failed parsing RssiDemoMessages.h
george@box:/opt/tinyos-2.1.1/apps/tutorials/RssiDemo/java$ sudo make
mig java -target=null -java-classname=RssiMsg ../RssiDemoMessages.h
RssiMsg -o RssiMsg.java
two source files specified (PLATFORM_NULL and NESC=131)
failed to parse message file ../RssiDemoMessages.h
make: *** [RssiMsg.java] Error 1
george@box:/opt/tinyos-2.1.1/apps/tutorials/RssiDemo/java$
This issue is caused by nesC versions 1.3.2 and older versions when it tries to compile with gcc 4.6.
Solutions:
- add option -target=iris (or telos or whatever mote you’re using, it doesn’t really matter, the generated code is the same) to the mig command to use avr-gcc or msp430-gcc instead of gcc.
- update nesc to 1.3.3. (from here: [http://tinyos.stanford.edu/tinyos/dists/cygwin/ or from source)
- use the patch from here (the bug is in a perl script, so you don’t need to recompile anything): [http://sourceforge.net/tracker/?func=detail&aid=3153727&group_id=56288&atid=480036]
javac: error: cannot find symbol
javac RssiDemo.java RssiMsg.java
/opt/tinyos-2.1.1/support/sdk/java/net/tinyos/message/Message.java:84: error: cannot find symbol
private SerialPacket serialPacket;
^
symbol: class SerialPacket
location: class Message
/opt/tinyos-2.1.1/support/sdk/java/net/tinyos/message/Message.java:676: error: cannot find symbol
public SerialPacket getSerialPacket() {
^
This issue (for me) was caused by something up with the tinyos.jar file.
Solution: Recompile tinyos.jar:
cd /opt/tinyos-2.1.1/support/sdk/java/
make
I also had to run tos-install-jni too. I’ve honestly no idea what it does, but the compiler told me to run it, I did, and it worked. Run as root:
sudo tos-install-jni
That solved my issues with the cannot find symbols error.