
You may also be interested in my Mobile Car Station.
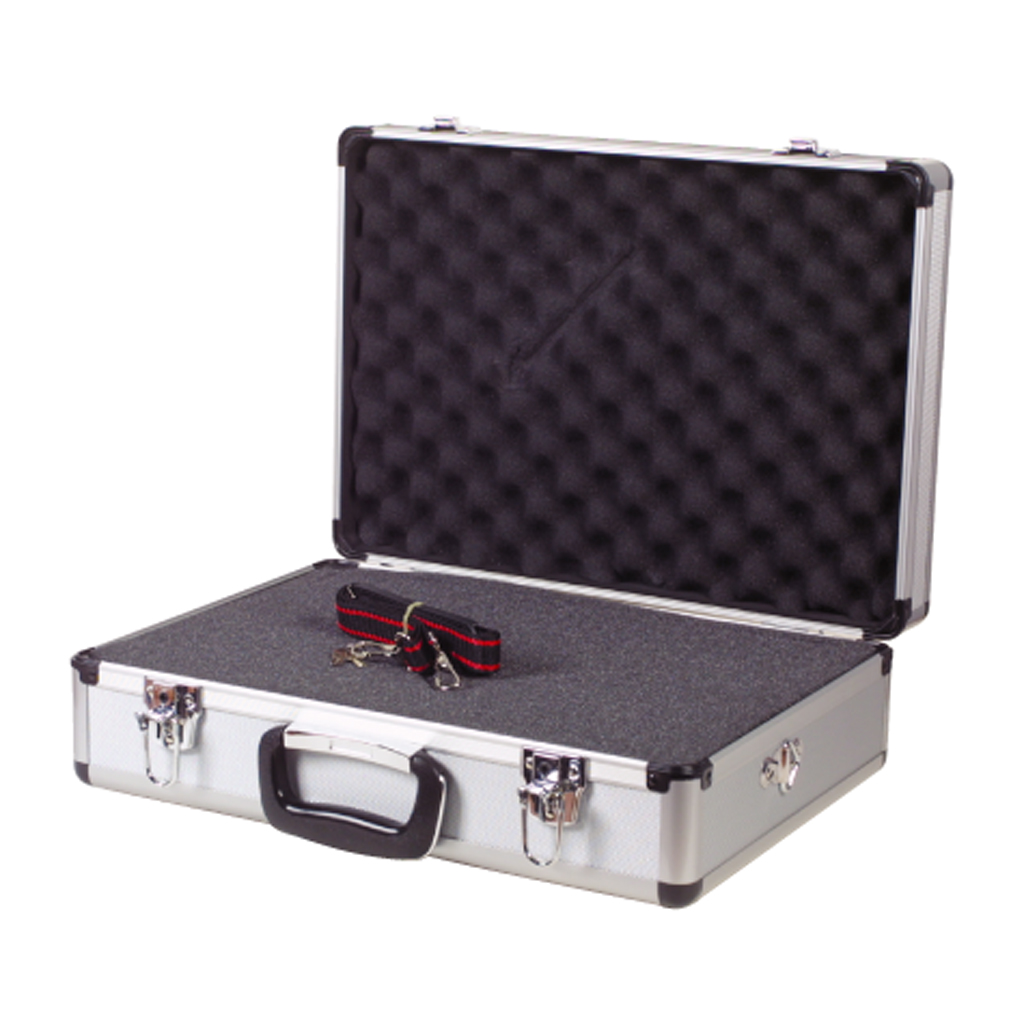
Following the purchase of my Yaesu FT-857D, I decided to go portable as my home QTH is a little to noisy. I bought myself a flight case (part N70AP) in Maplin Electronics and set about making it a home for my portable radio equipment! The first section, Inside The Case is broken down into subsections about each piece of equipment, why I find it useful, etc. Some of the subsections have another main page elsewhere, which is also indicated!
Inside The Case
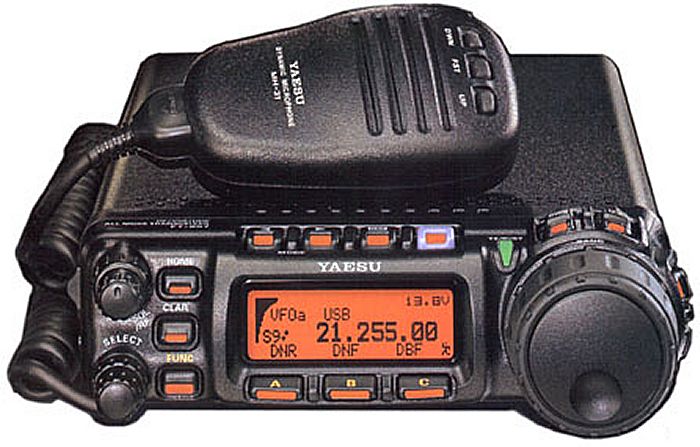
Yaesu FT-857D
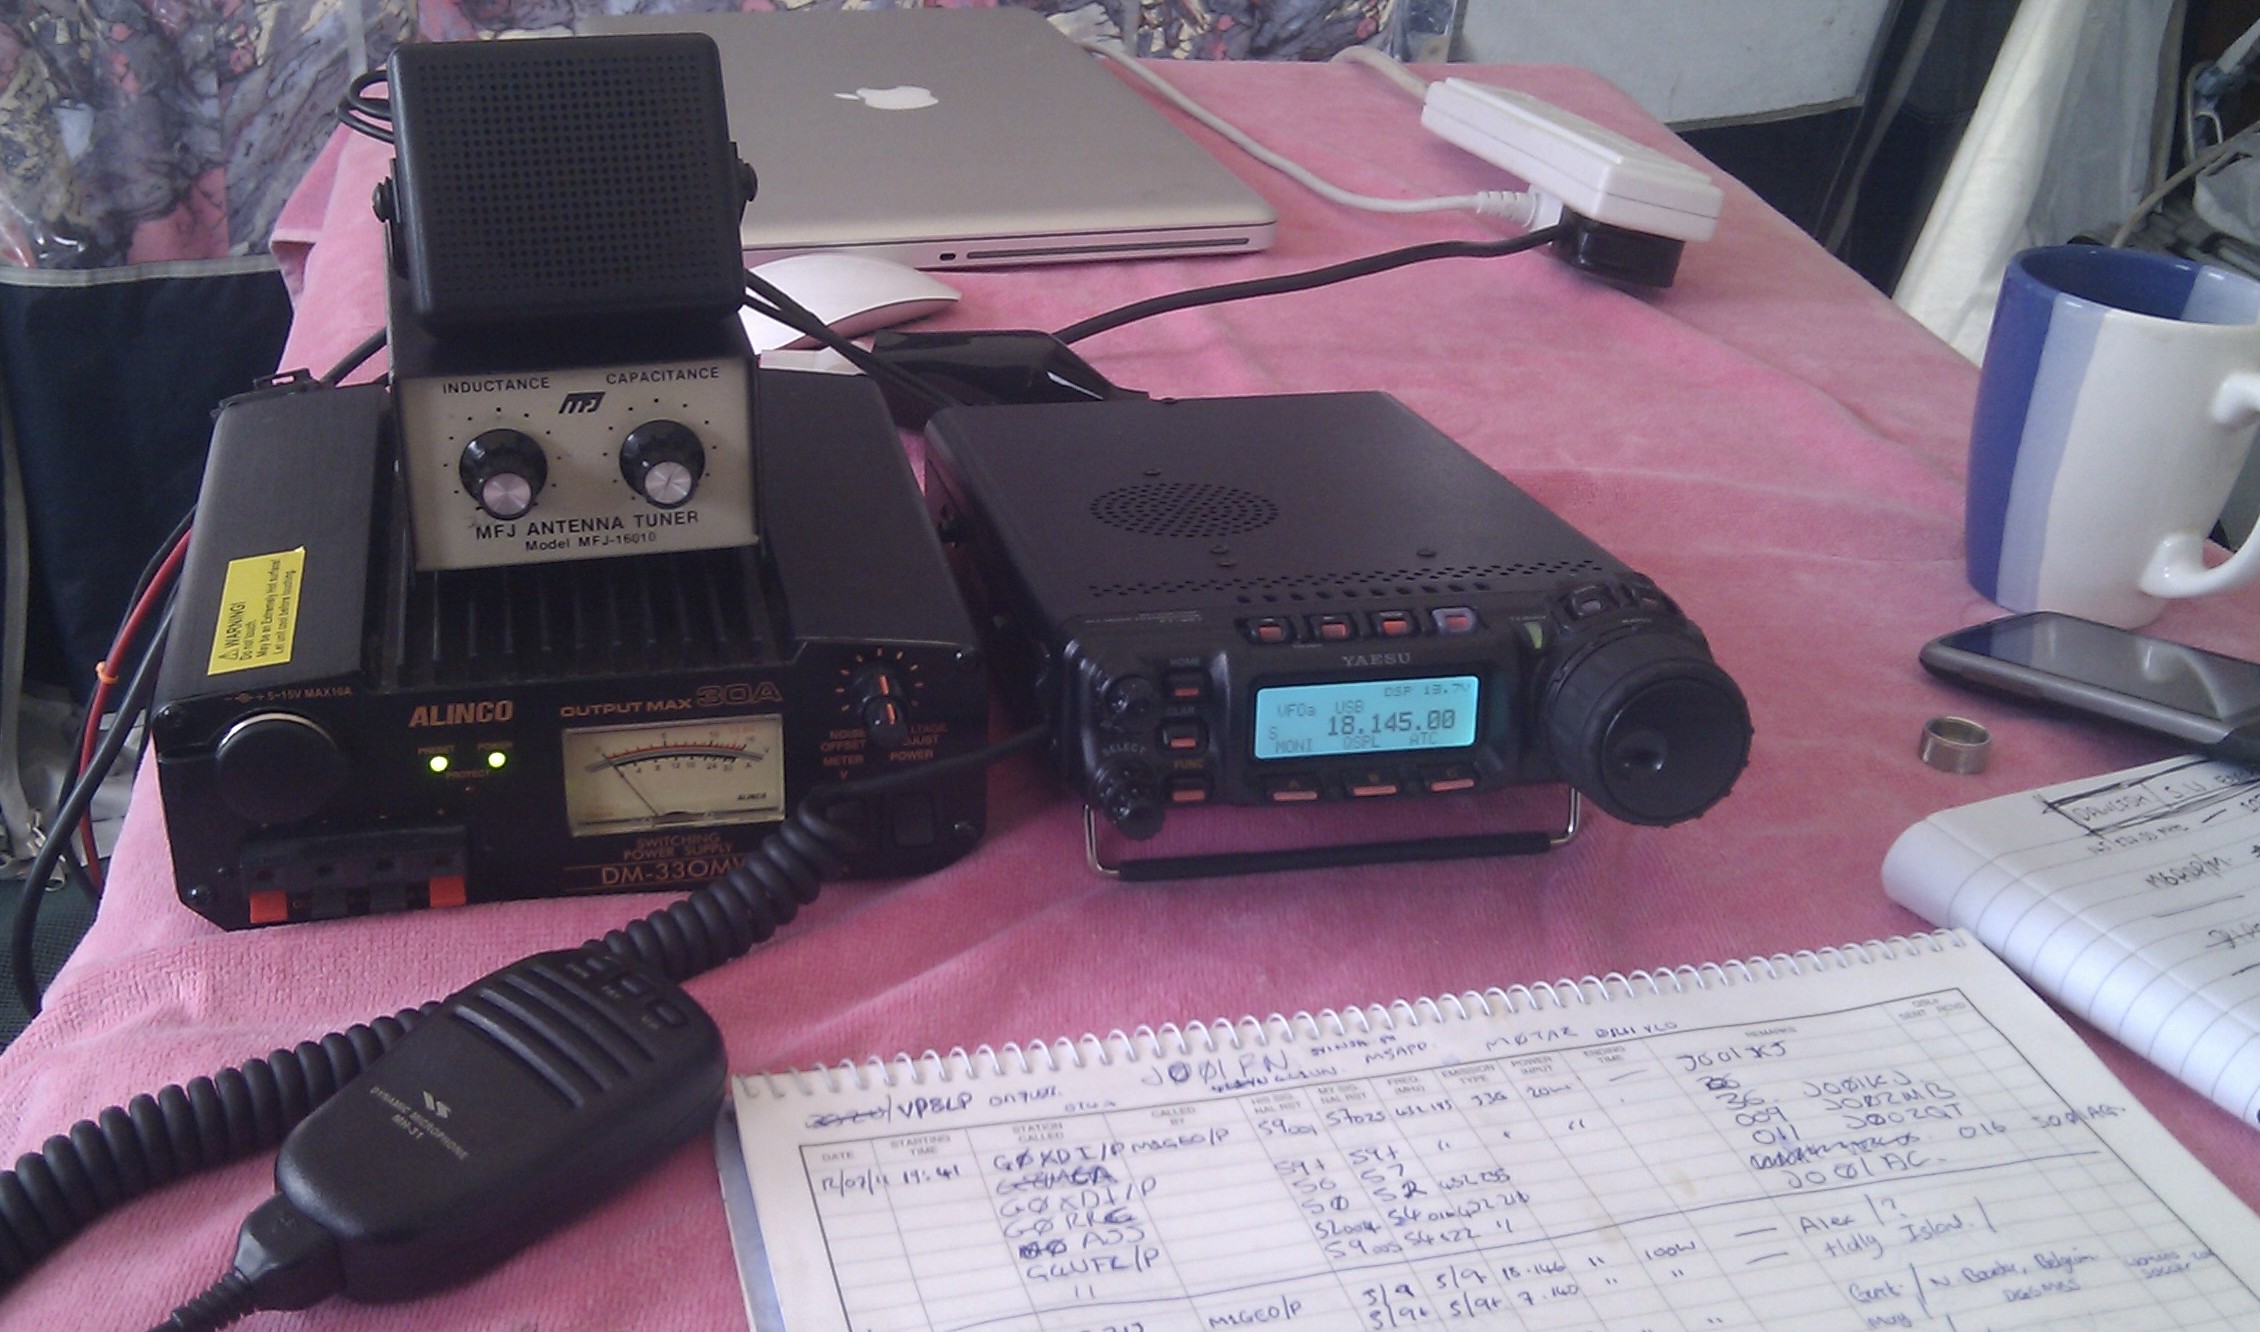
The radio I use for my portable work is the Yaesu FT-857D. It is a 100/50/20 watt transceiver on HF/VHF/UHF. It is small and light-weight, yet feature-full. The full specification of the radio is a total input current of 22 amps at 13.8 volts. There is a need for a suitable power supply, which is discussed later.
MFJ-16010 Portable ATU
The MFJ-16010 is an excellent antenna tuner unit. It is a simple L-match (one inductor, one capacitor) and rated at 200 watts by MFJ (though I wouldn’t fancy my luck with much more than 100 watts, having seen the inside).
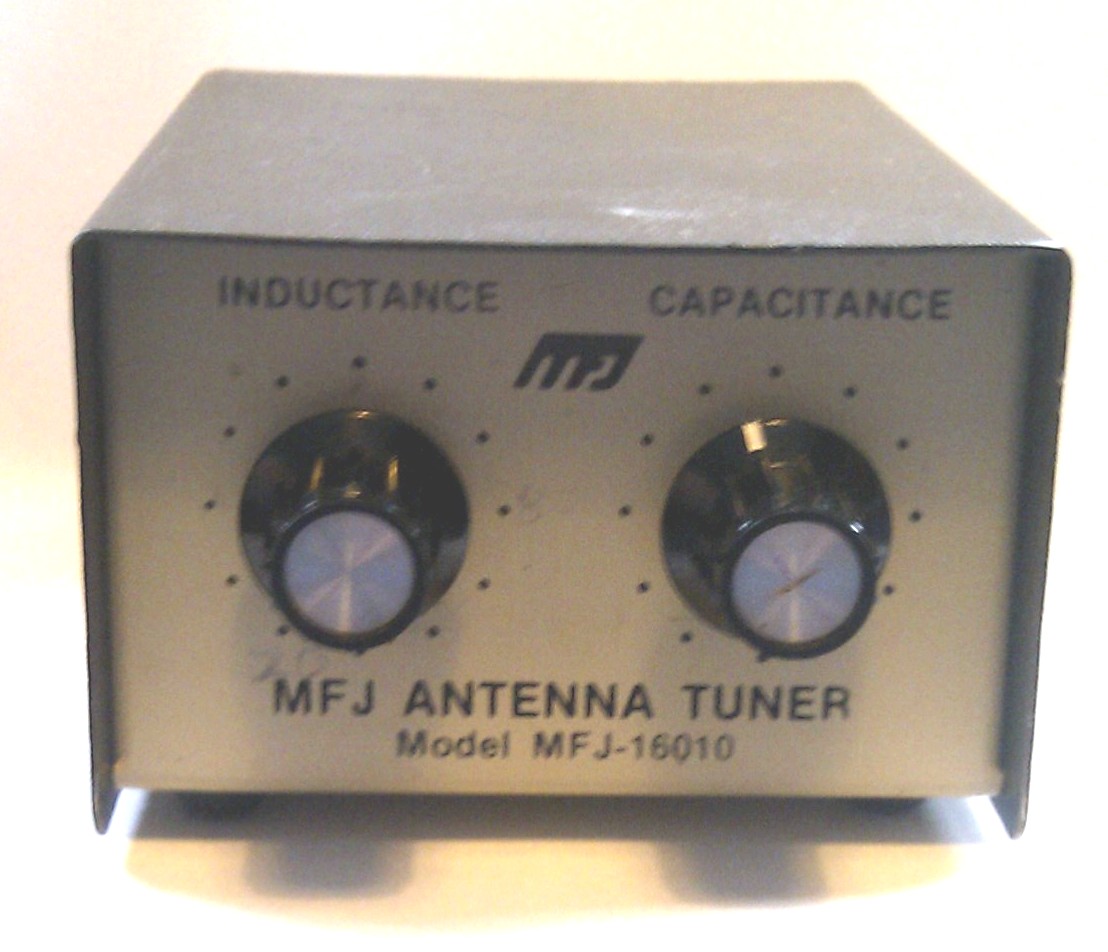
I modified the unit to have a large toggle switch on the backplate to reverse the input and output. With an L-match ATU, the user swaps the input and output depending if the load has a higher or lower impedance than the source. This switch just saves swapping the coaxes over.

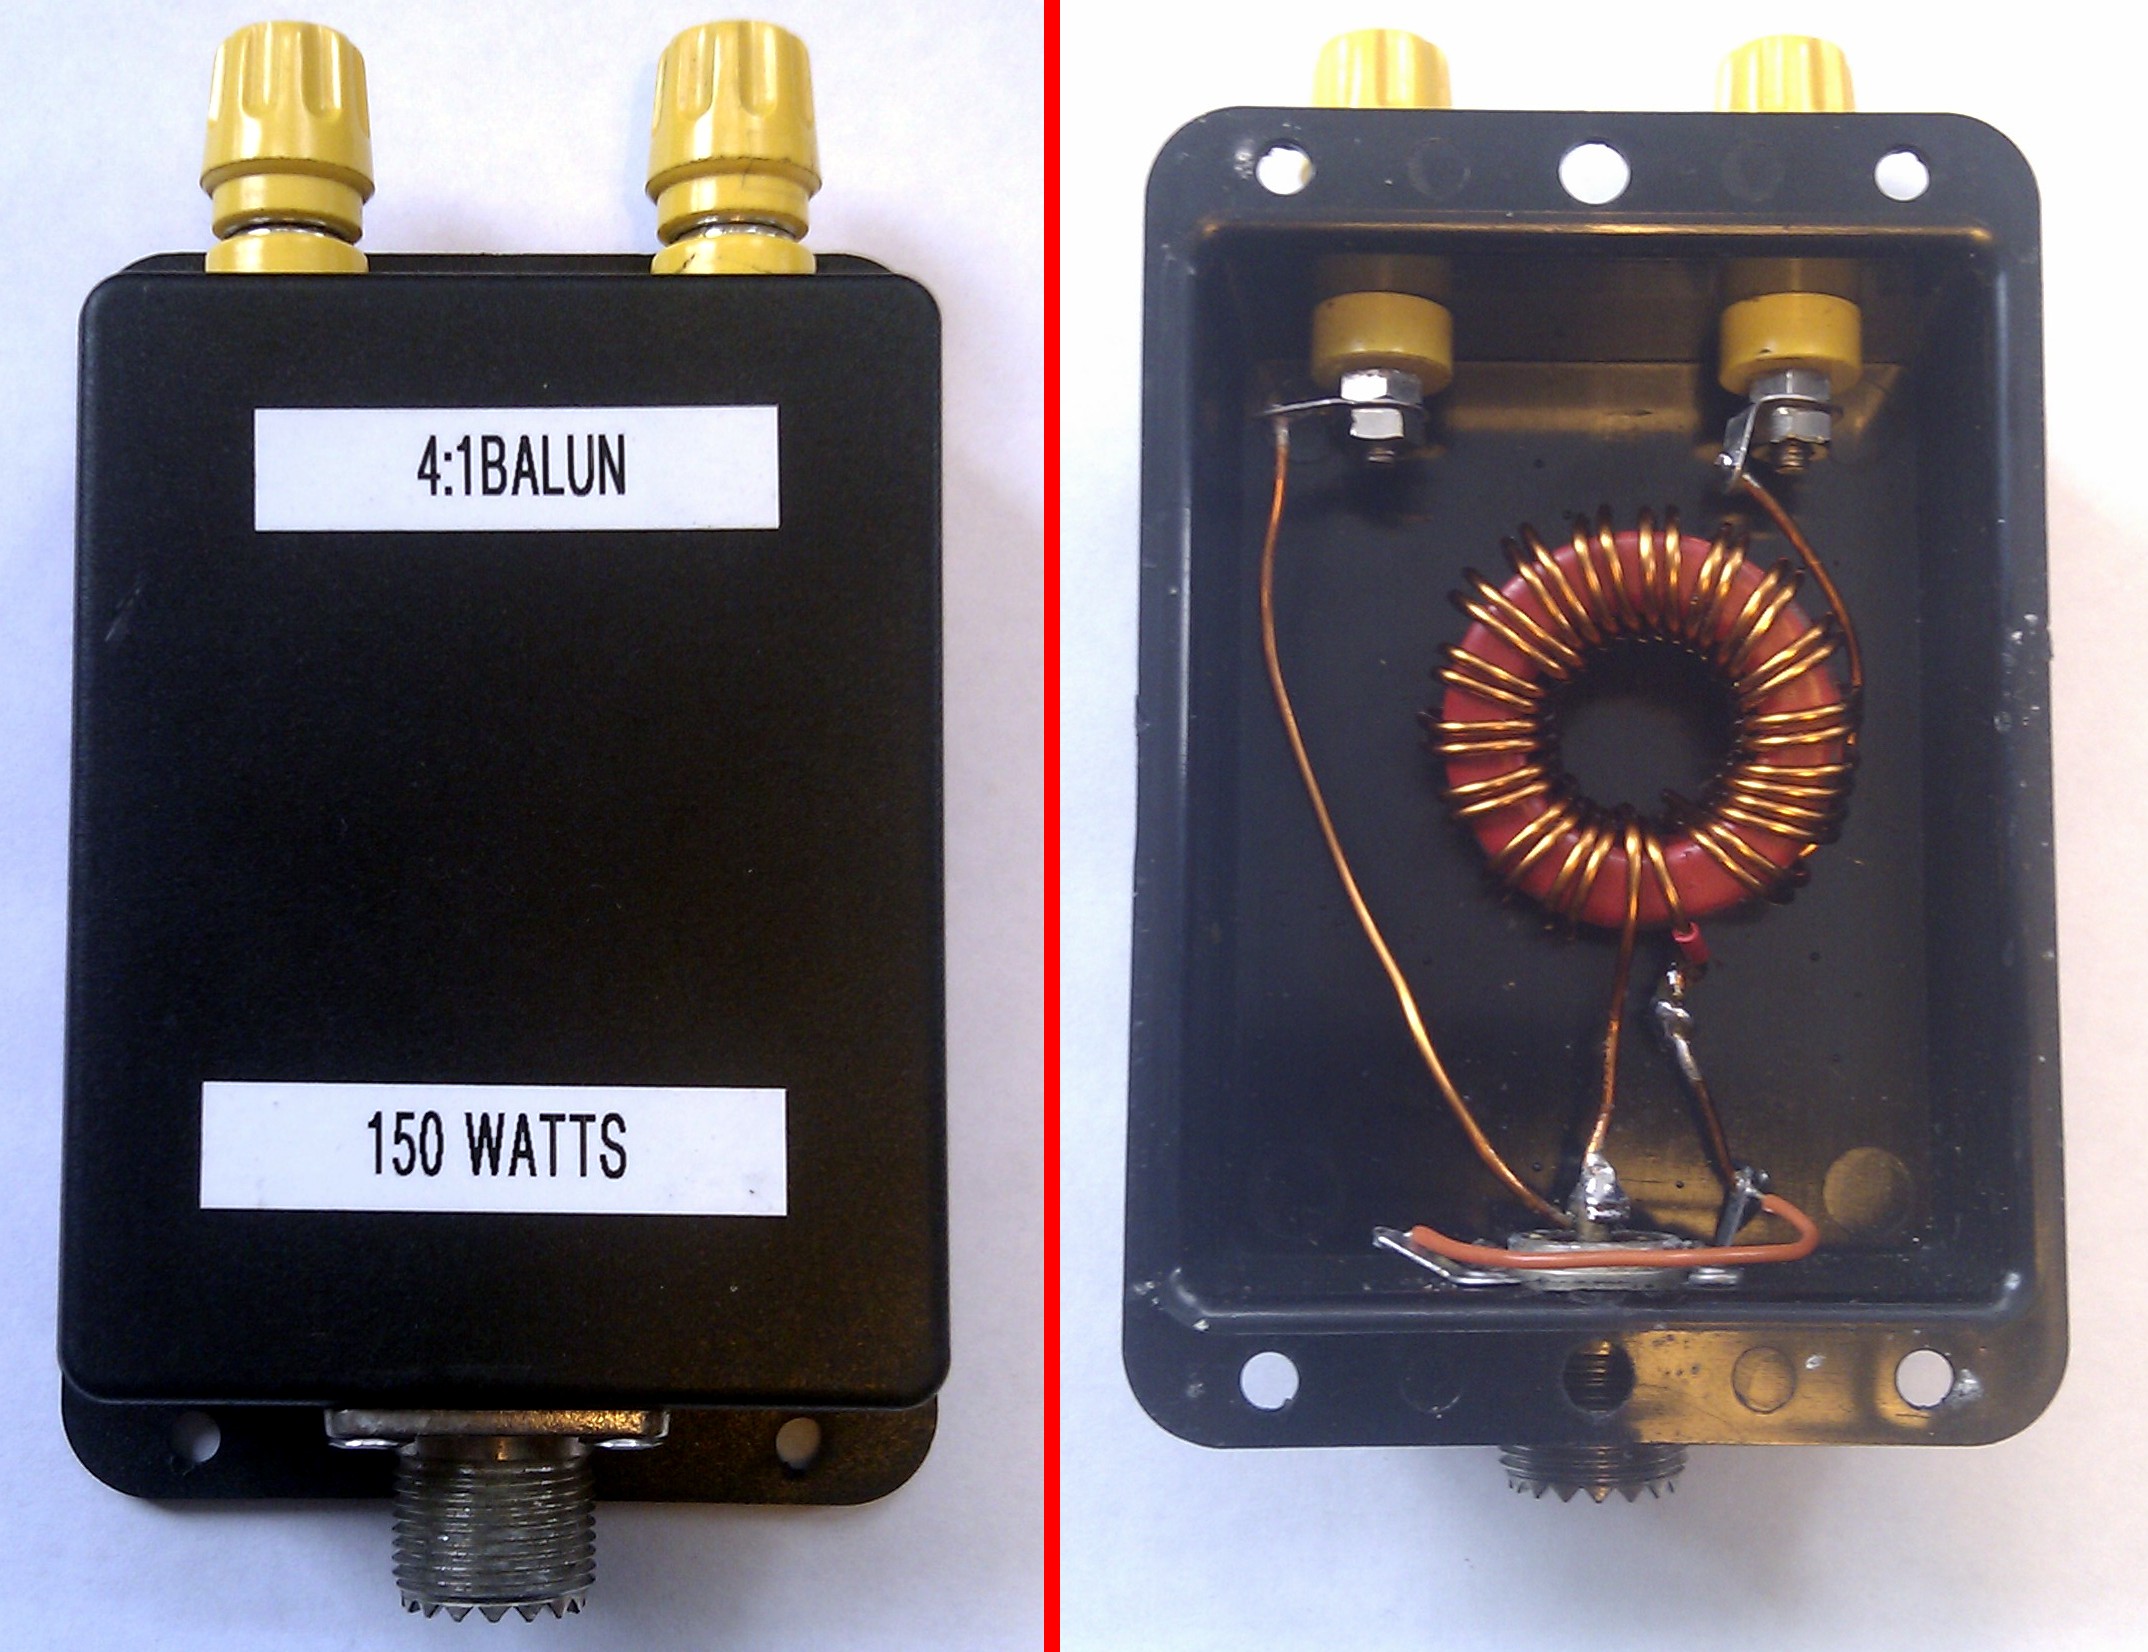
Homebrew 4:1 Balun
My homebrew is capable of handling 150 watts and was based on a design by N1HFX. There’s nothing more to add about it’s construction, Michael’s design works flawlessly! I use it with the 10 metre vertical (to smooth out some of the peaks and troughs in the response) and to match into the Delta-Loop (mentioned below).
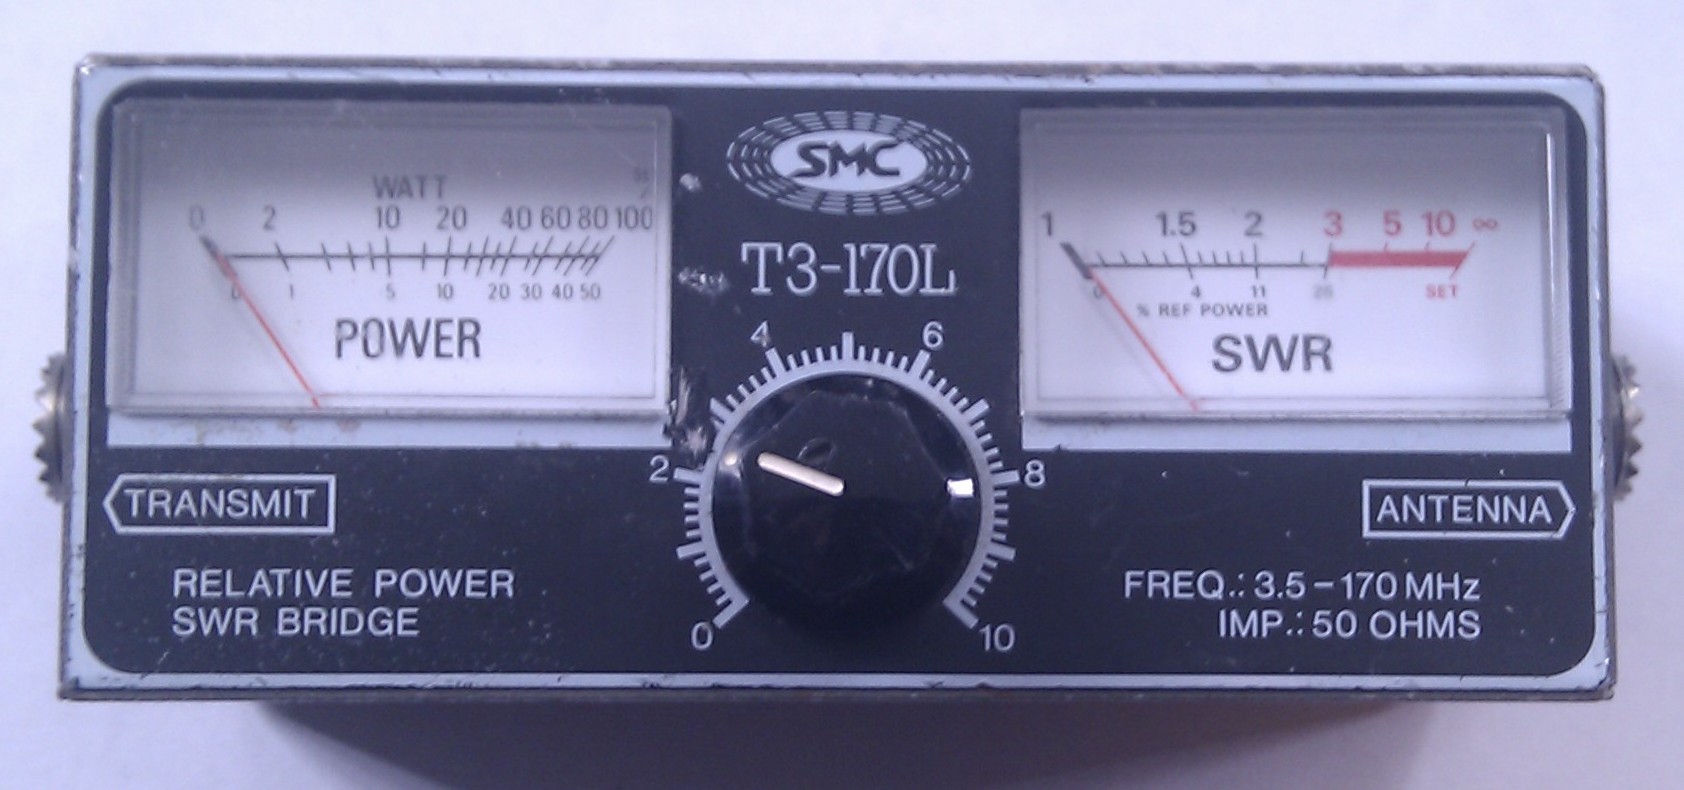
SMC T3-170L SWR Bridge
This SWR Bridge is useful as it gives a higher resolution than the Yaesu FT-857D‘s internal SWR bridge. I know very little about it other than I paid £1 for it at a ham-radio rally a few years back and that it seems to work well. It is apparently made by South Midlands Communications.
Patch Leads & 10-metres of RG58
This one is pretty self explanatory. I use this coax to connect from the ATU to the antenna. I use it on all frequency ranges. I have looked at the losses for this exact coax, and the results are presented here.
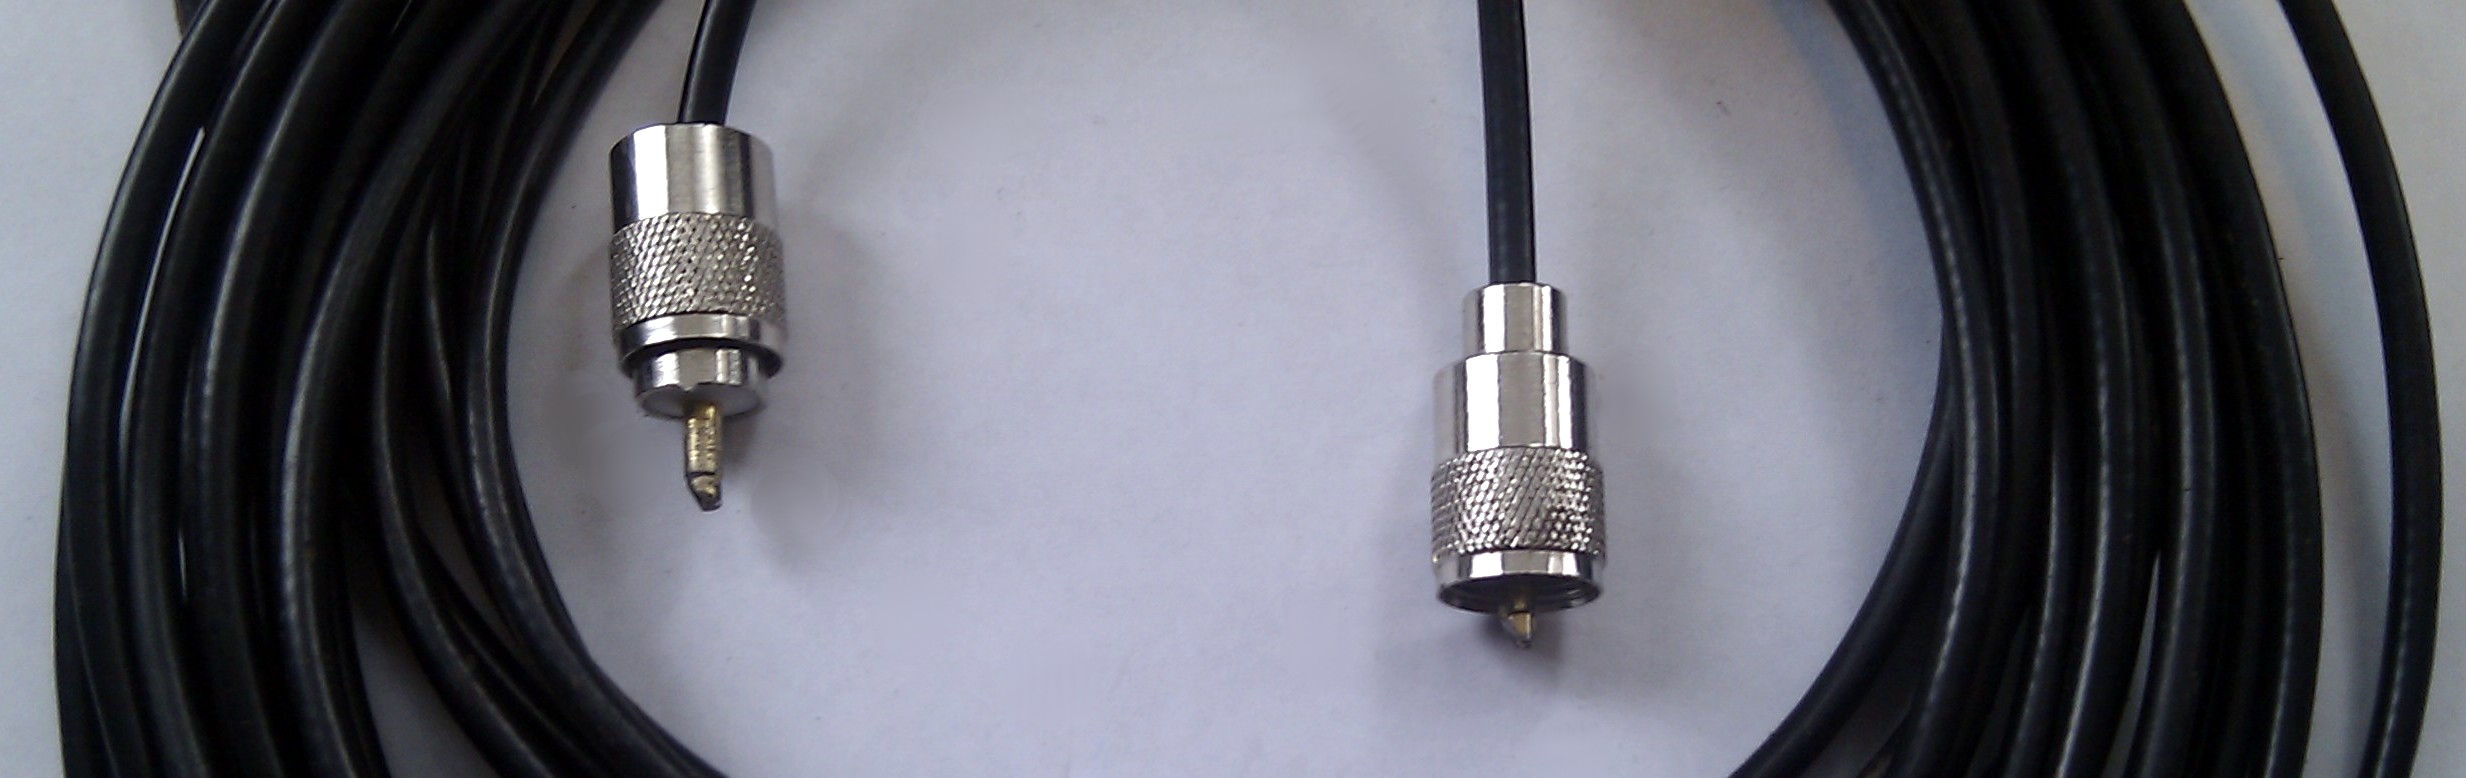
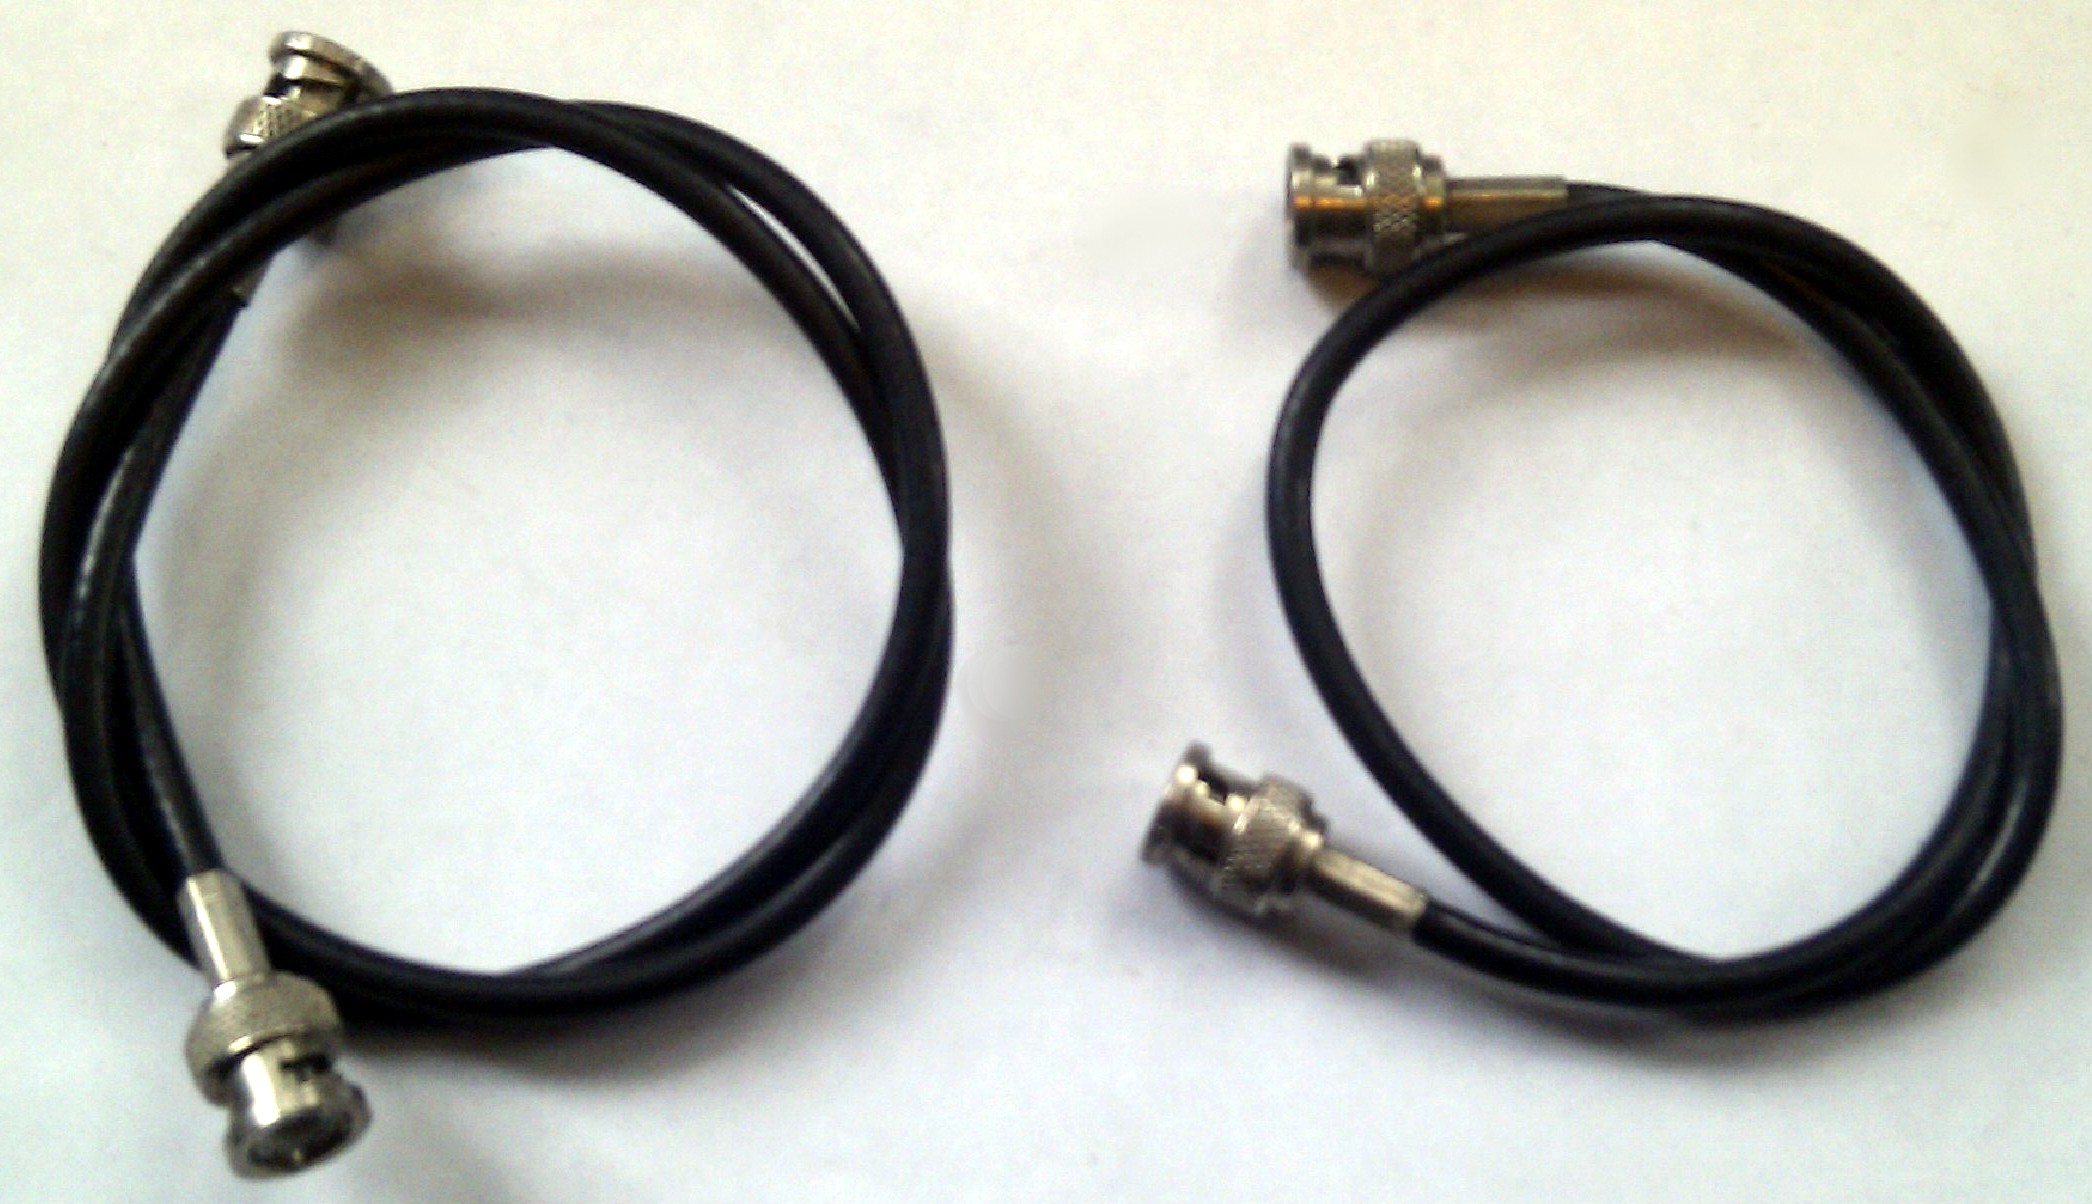
It is also handy to have a few patch leads (short cables) to connect from the radio to and from the ATU and SWR bridge. I have 2 PL-259 patch leads, and 2 BNC patch leads.
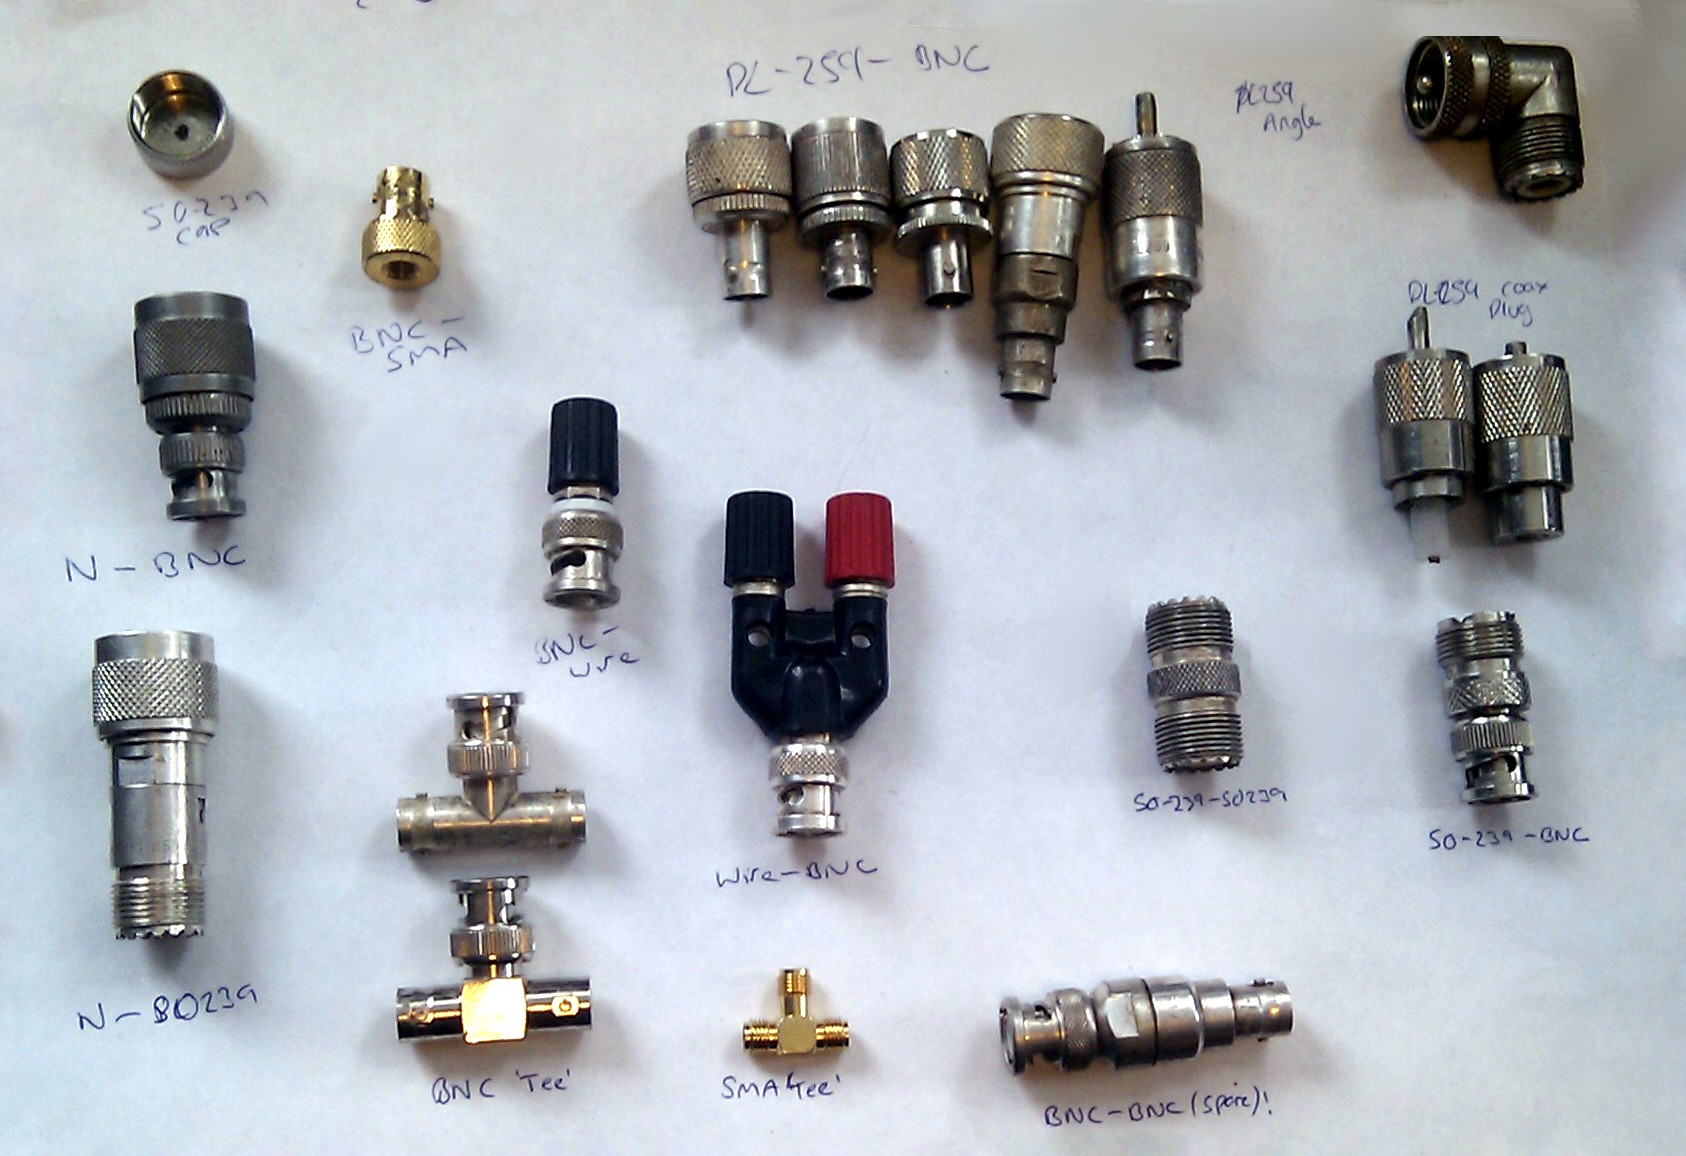
Adapters
It is important to have a selection of any adaptors for any connectors you’re likely to encounter. I’ve (foolishly) settled for the PL-259/SO-239 as my standard connector, as it is in common use with Radio Amateurs (for some unknown reason – they’re terrible connectors). I have some adapters two/from N-type connectors (the Yaesu FT-857D VHF/UHF output is an N-type connector, thankfully!) and some two/from BNC. And everything in between. These are shown below.
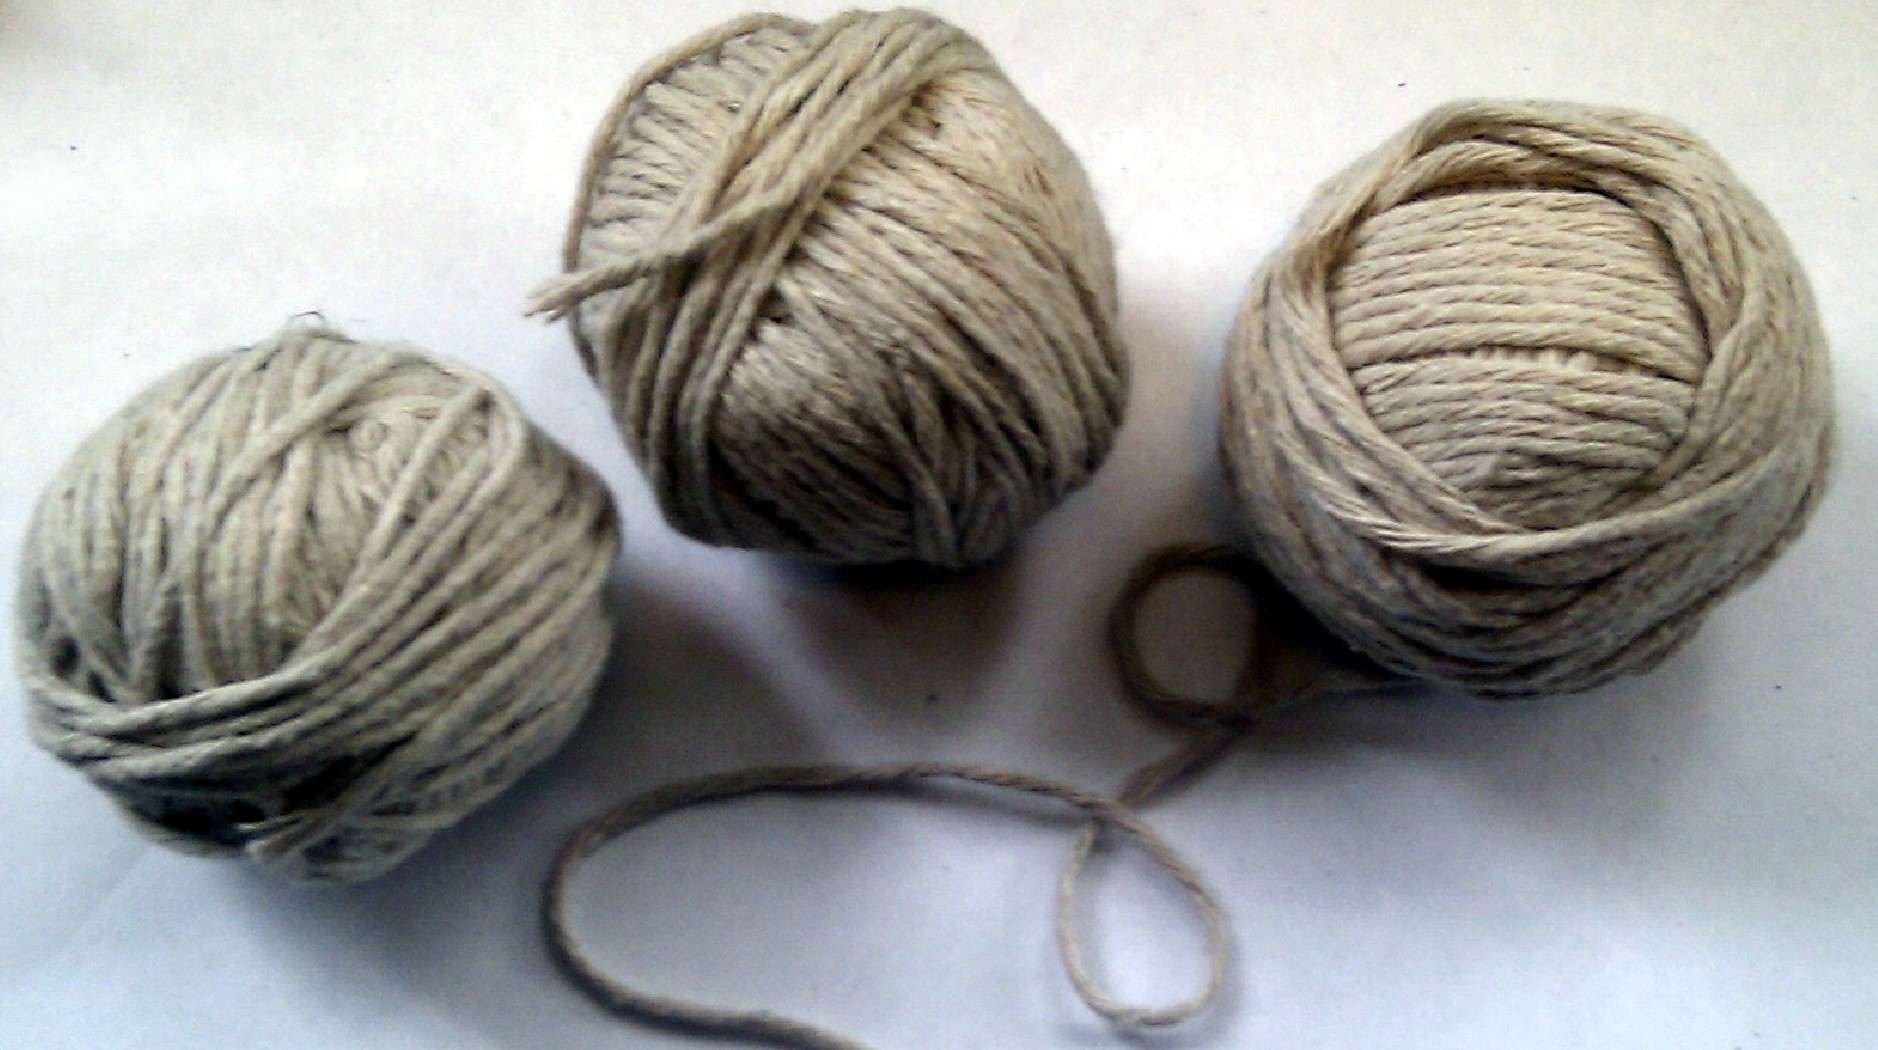
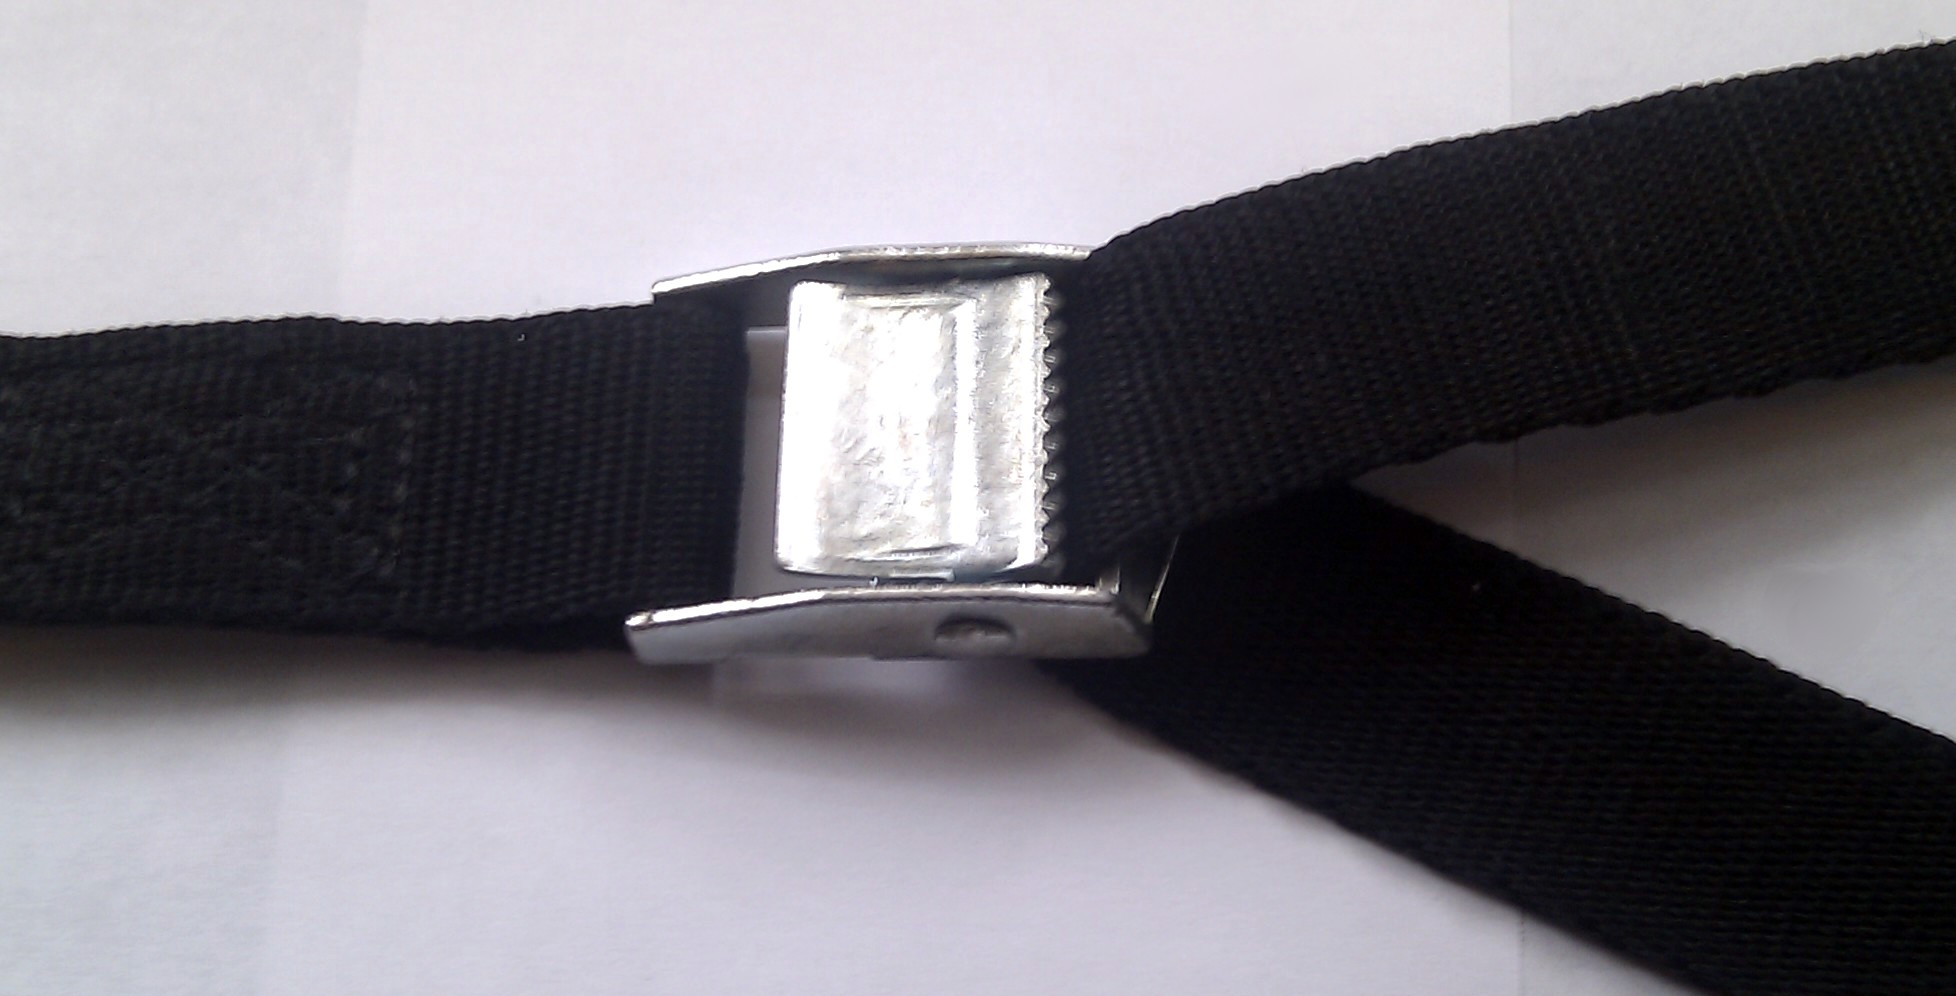
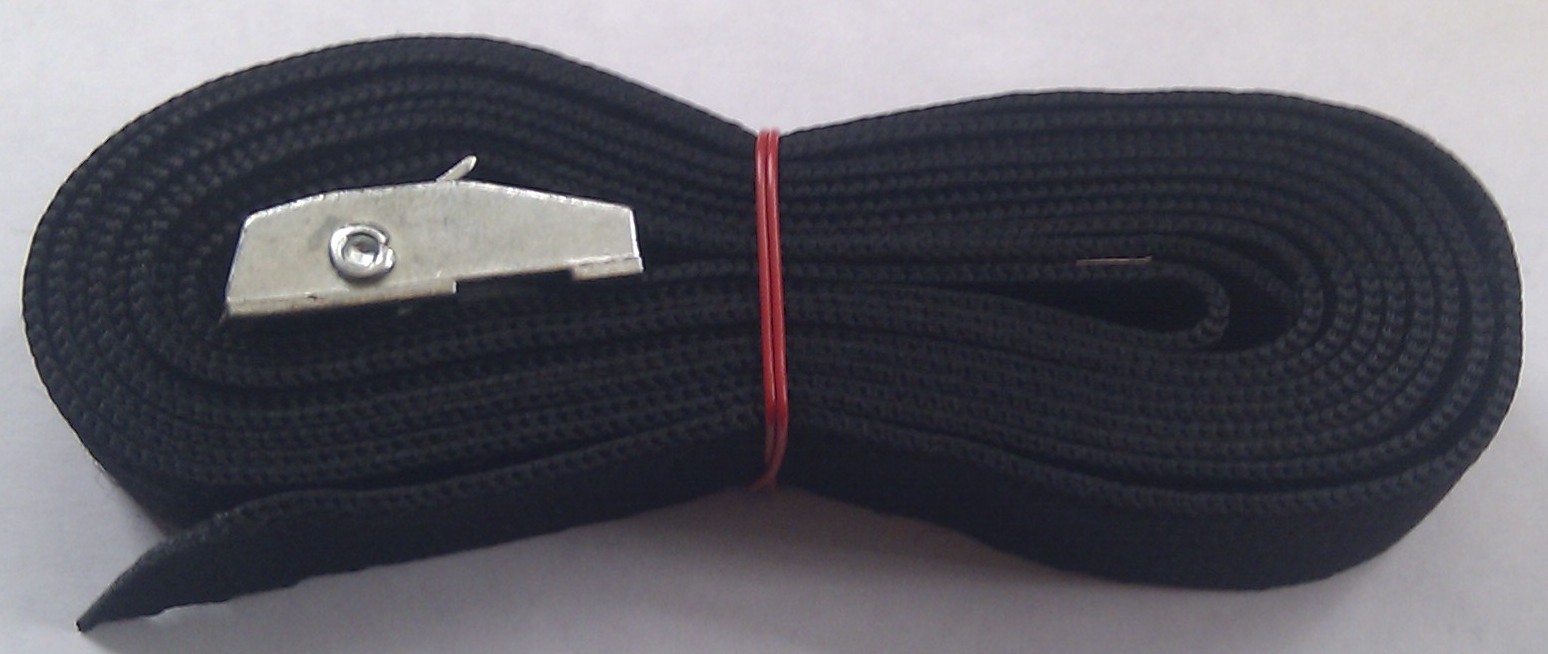
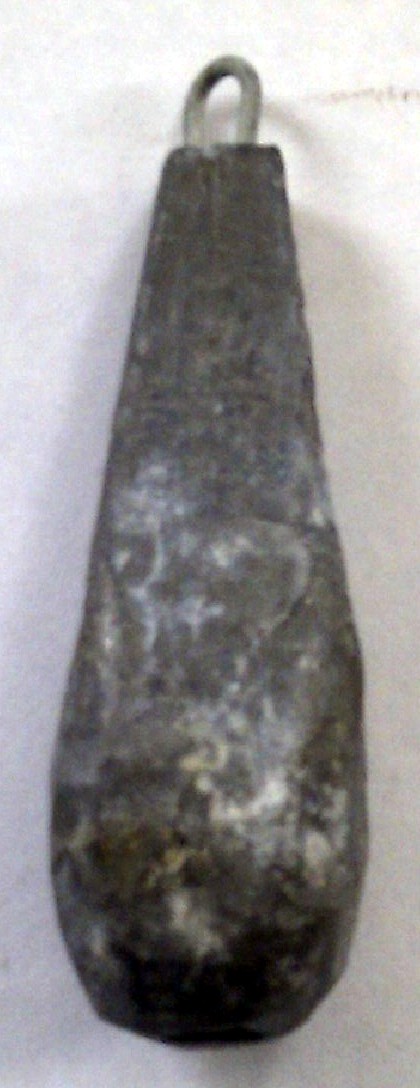
String, Belts, Weights & Pegs
I find it handy to have a few spools of string. I mainly use these to secure the Delta-Loop (below), but they’re also useful for putting up wire antennas such as dipoles.
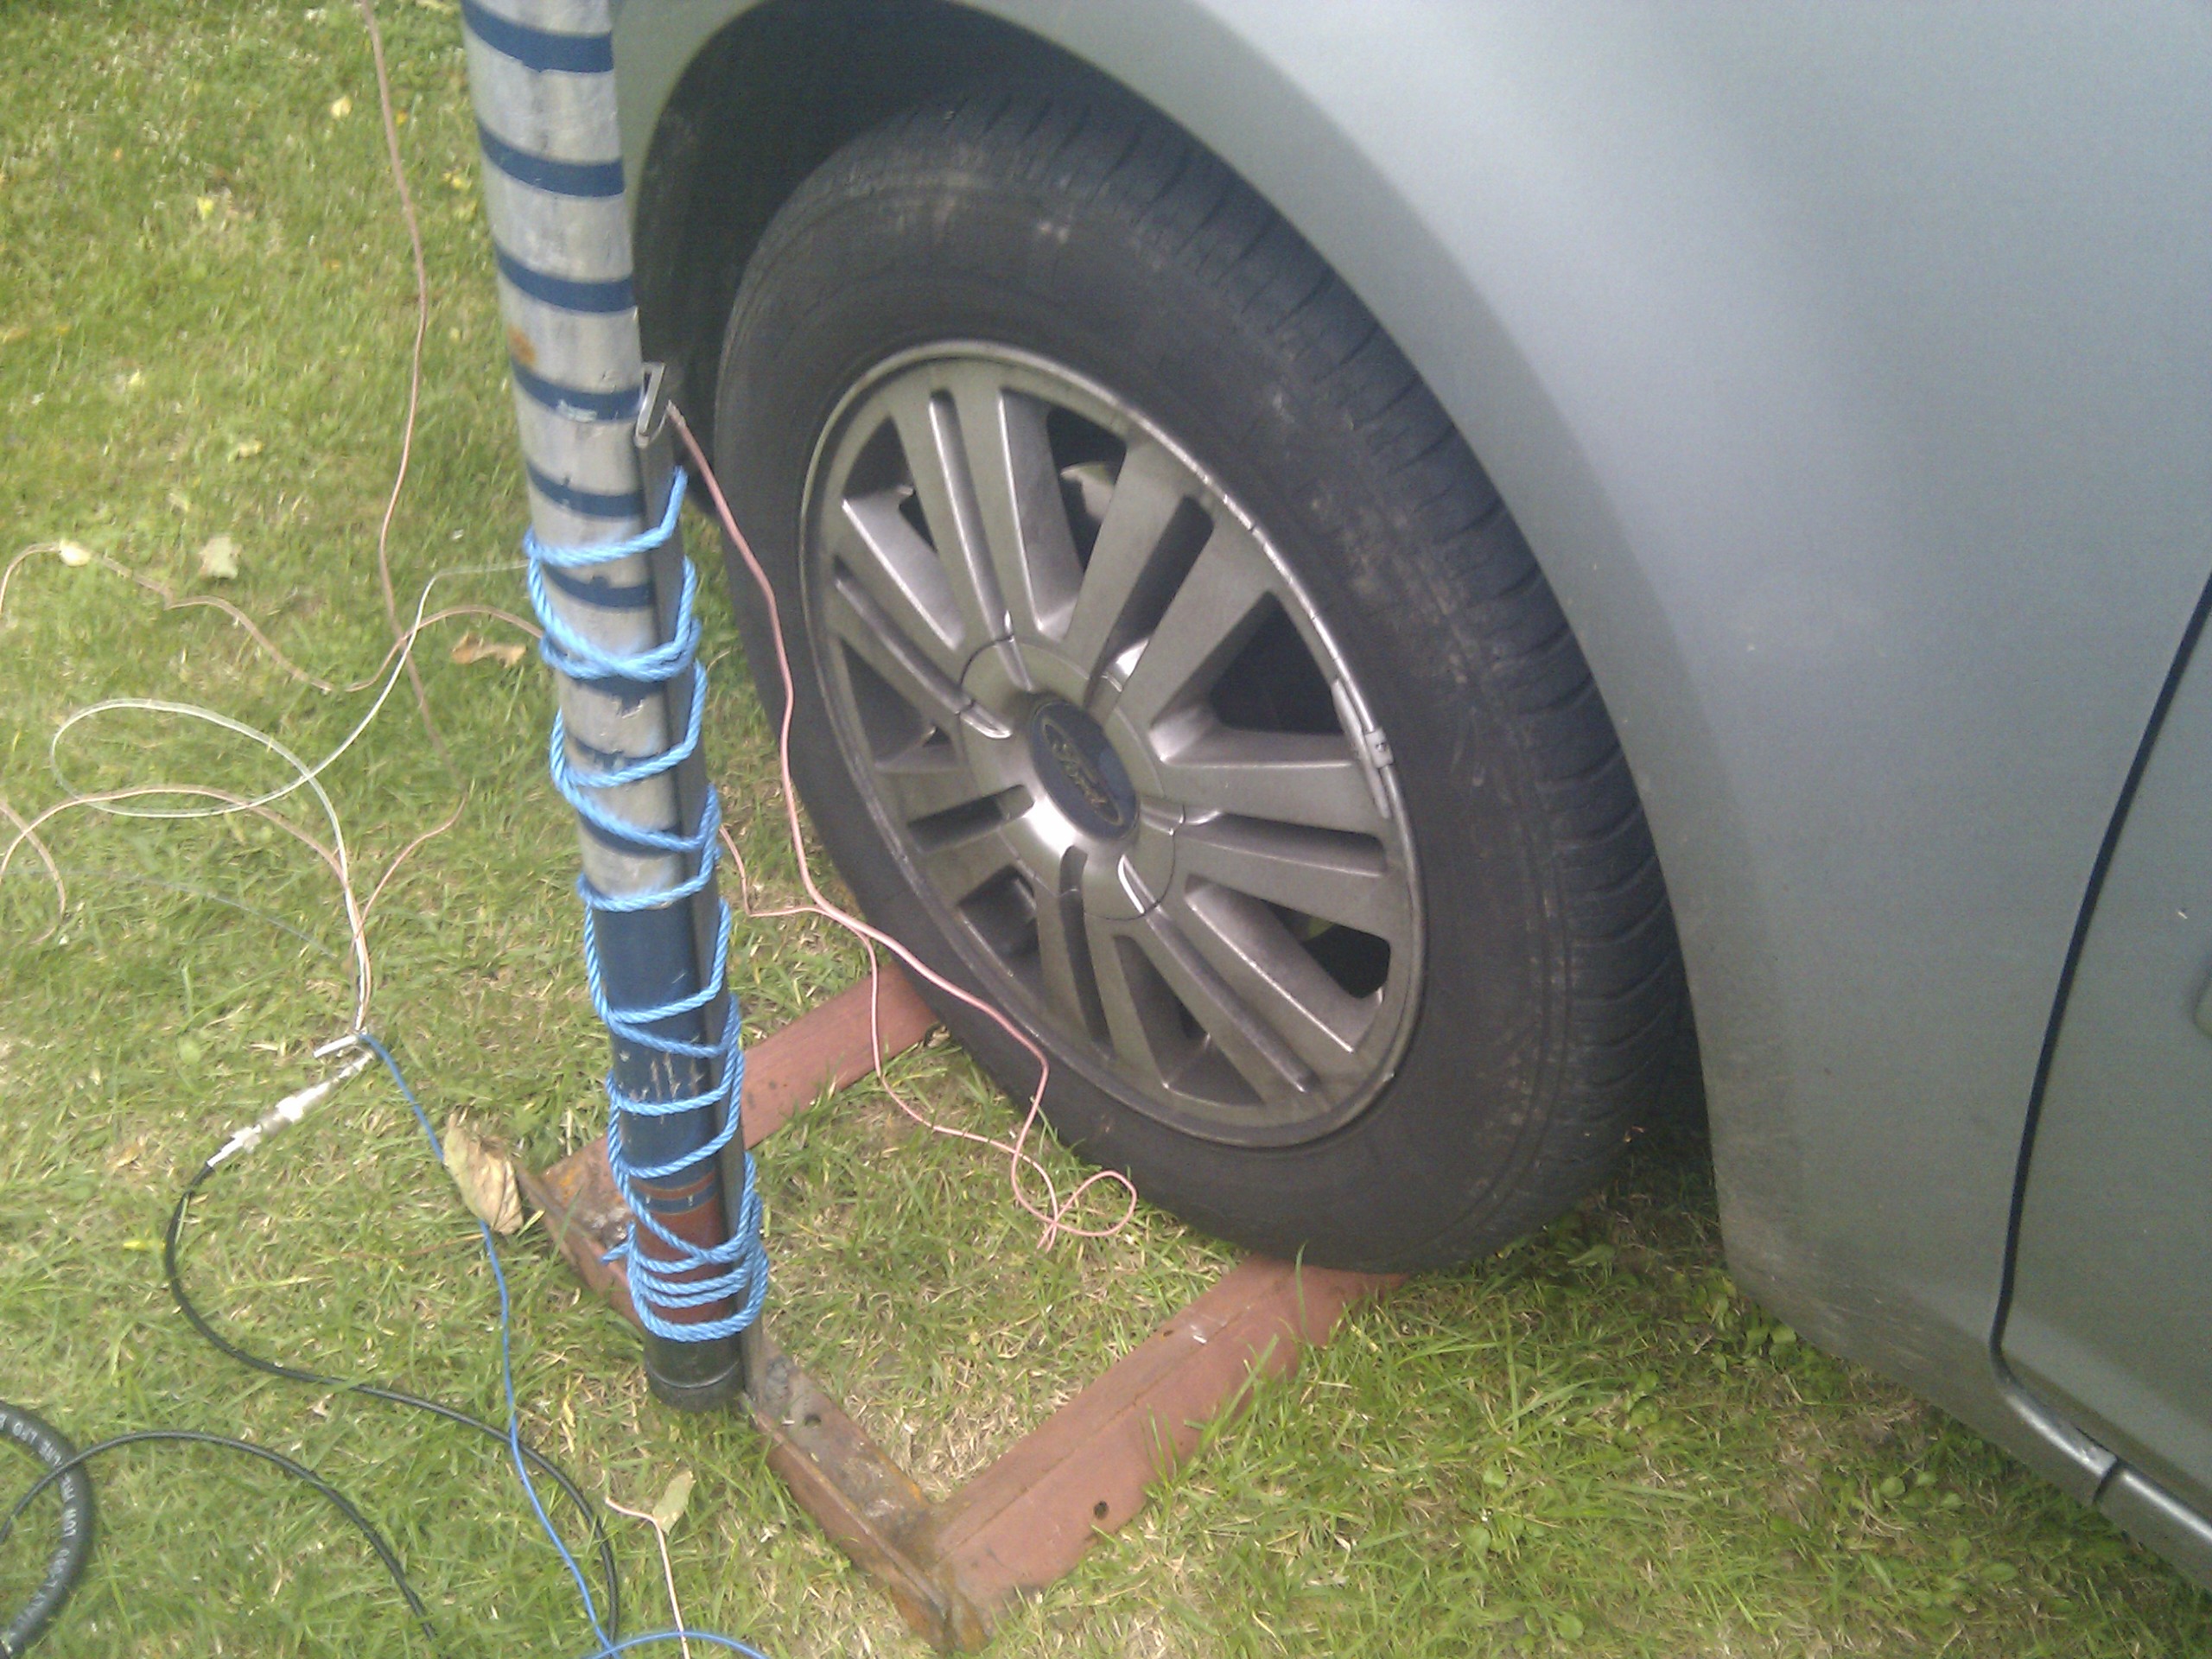
I use the locking belt to secure my vertical to posts and my car-wheel stand (see below).
A lead weight is useful for getting string into trees for erecting temporary antennas. This can either be thrown (if you can throw), swung up, or catapulted.
Finally, a few tent pegs are good for securing string to the ground. Again, I use these with the Delta-Loop set up.

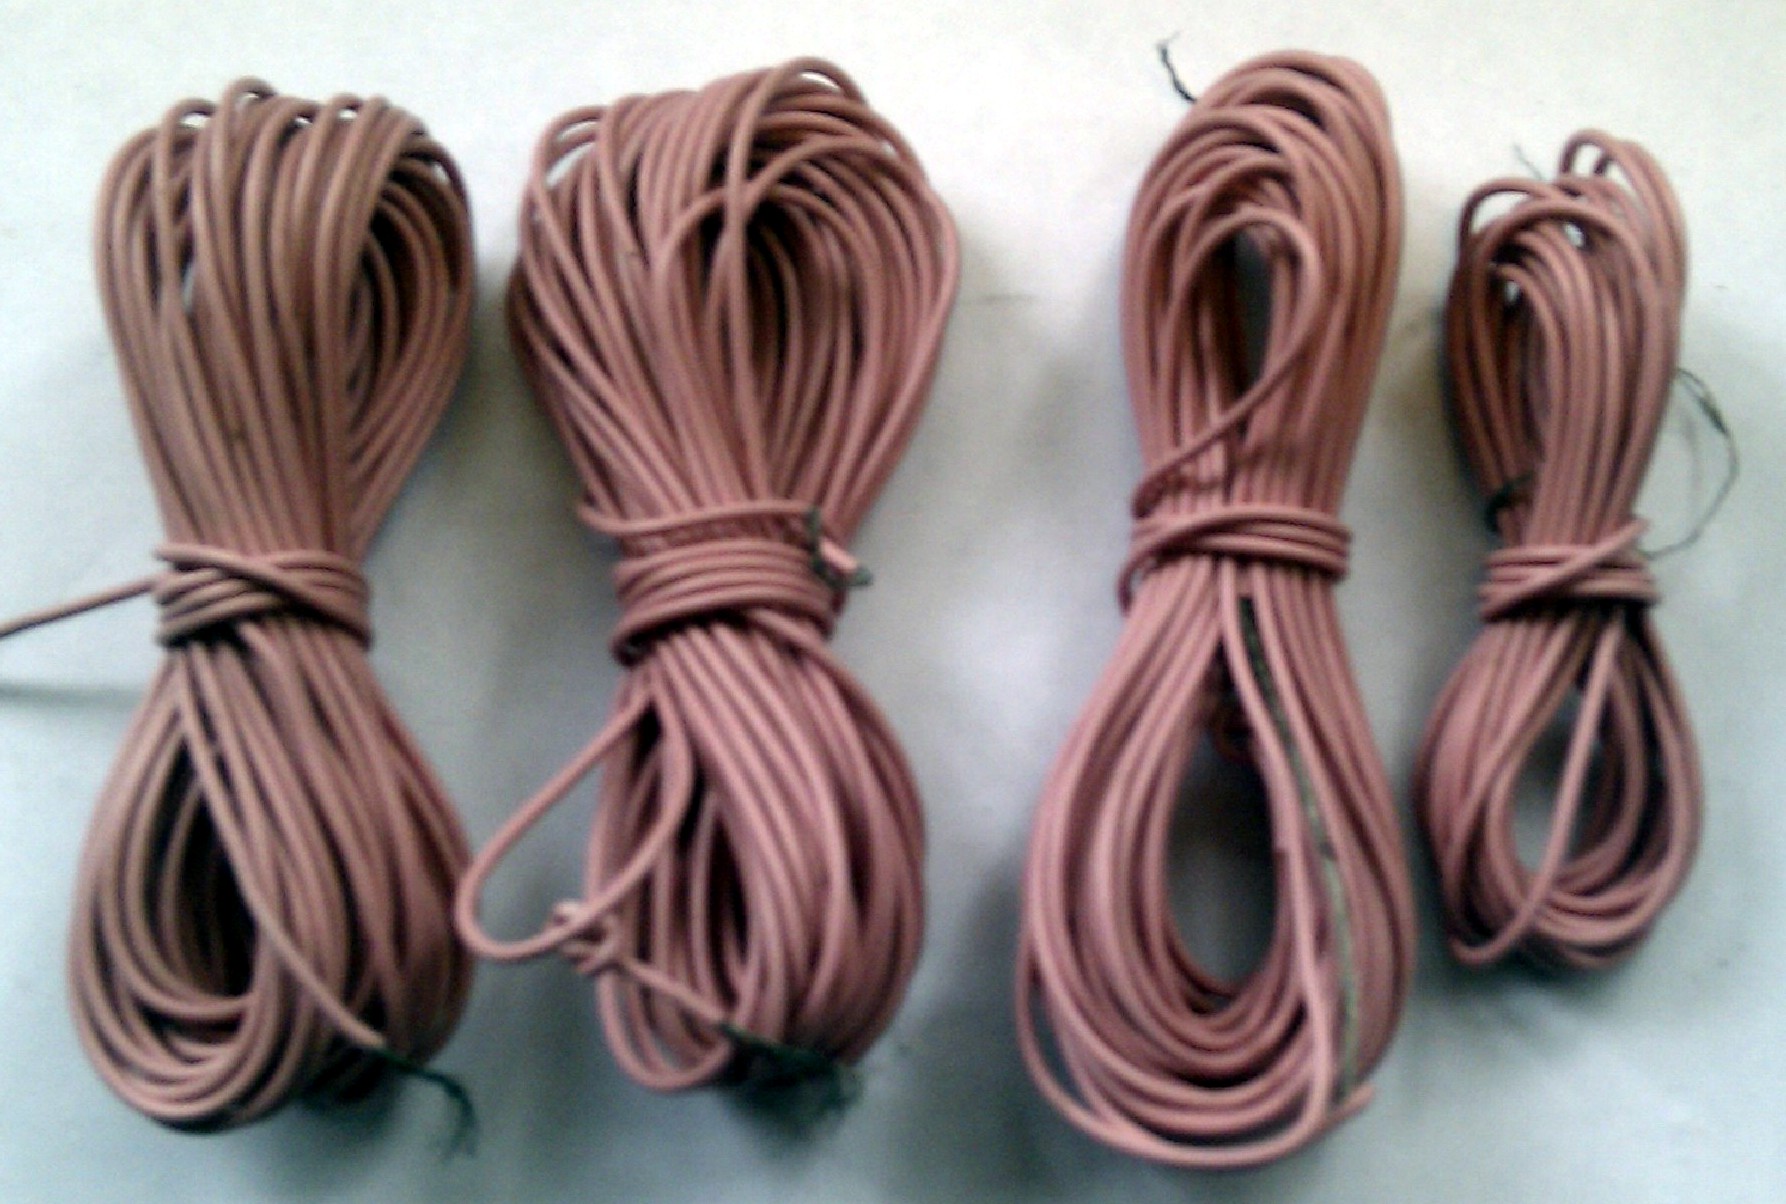
Wire
I have wire in precut lengths, as I usually use the same lay out every time. This sees me needing some wire for the vertical element, and 4 radials. I also have a reel of wire that I take in case I fancy anything different.
Power Supply
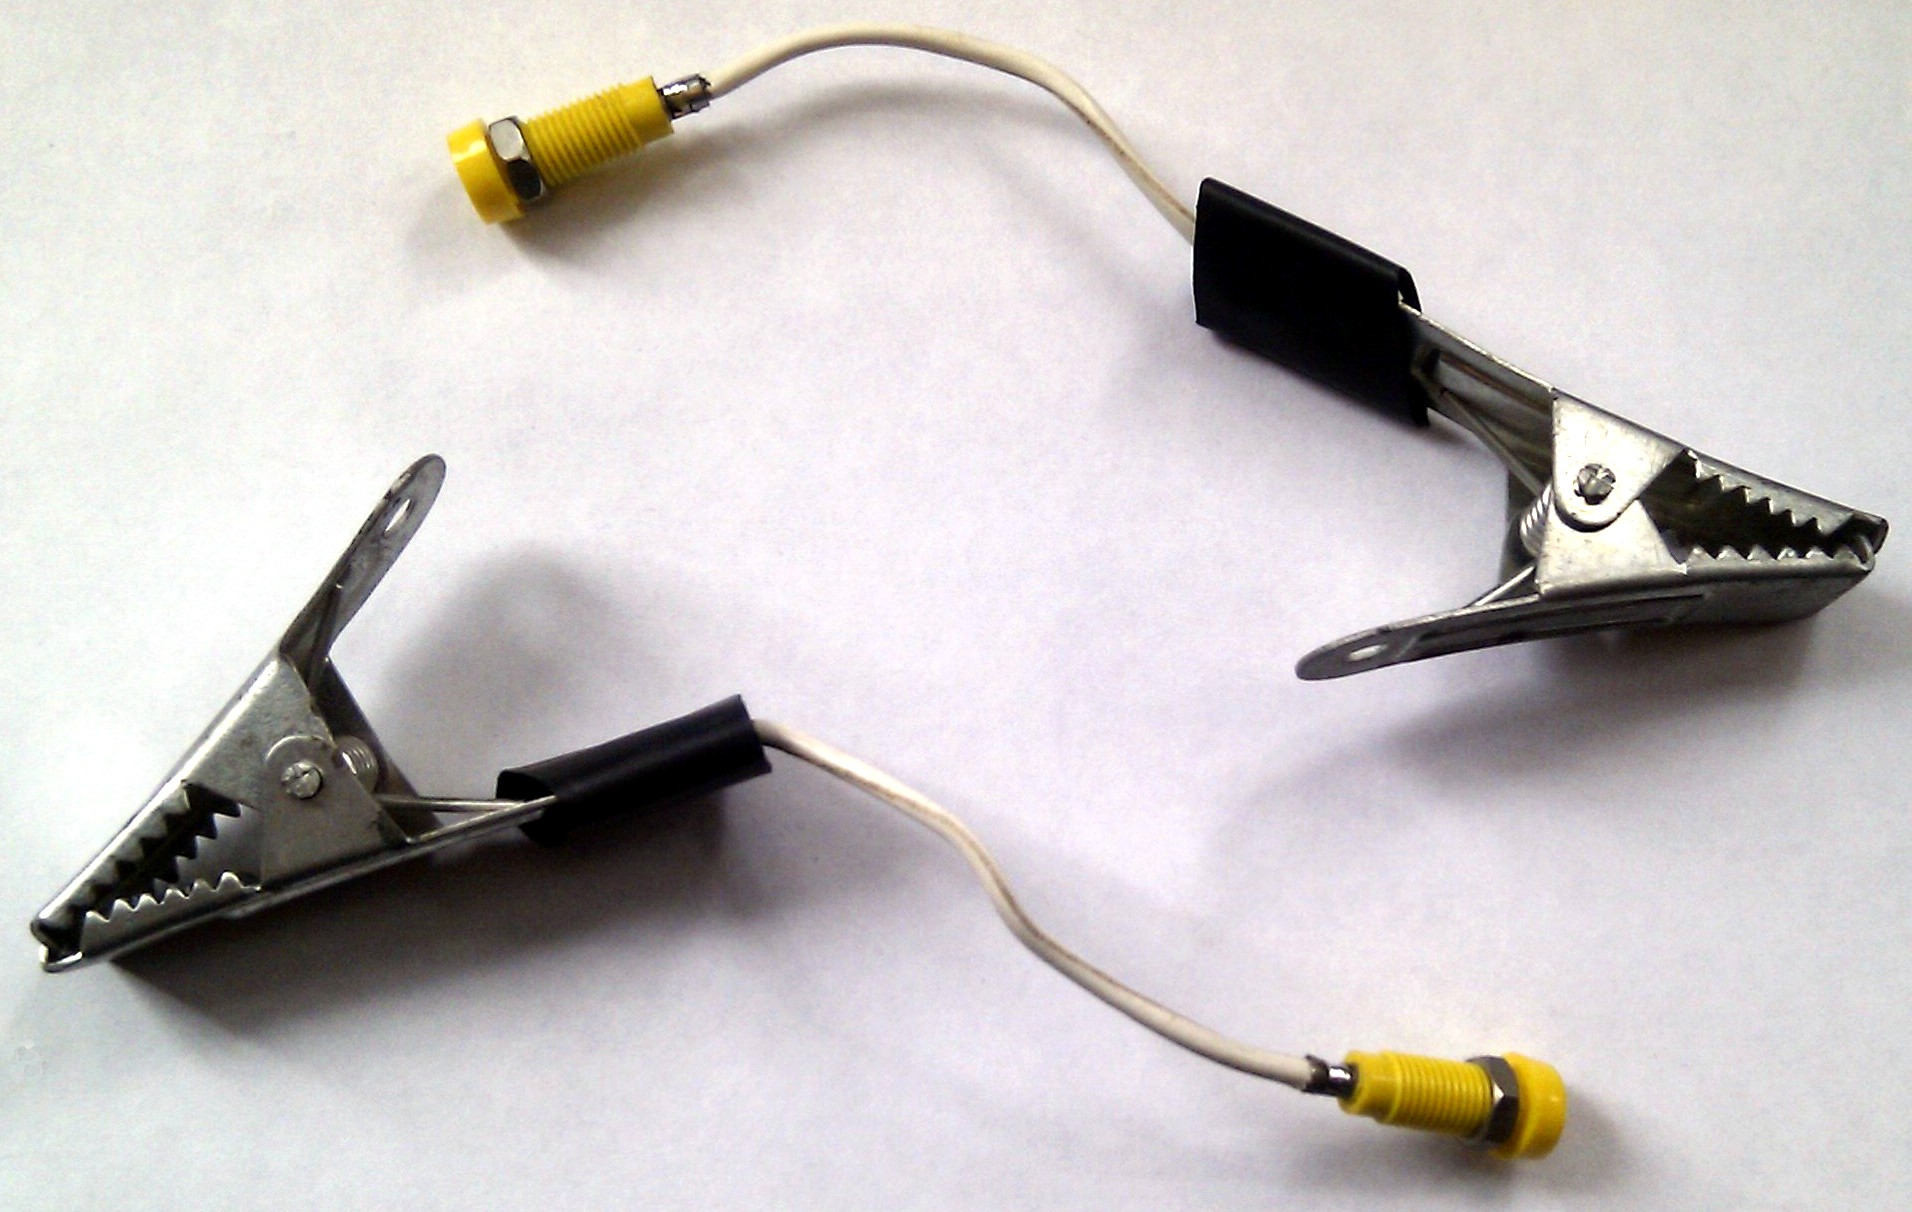
For a typical excursion out, I would take batteries; usually my home-made bank of 4 sealed lead-acid batteries, 12V at 48Ah, which provides enough power for a day out running the Yaesu FT-857D. I also have an 12V 80Ah leisure battery (similar to a car battery, only a bit more rugged, heavy and expensive). A couple of large crocodile clips are used to connect onto the batteries, and they end with banana connectors which I have equipped my radio’s power lead with.
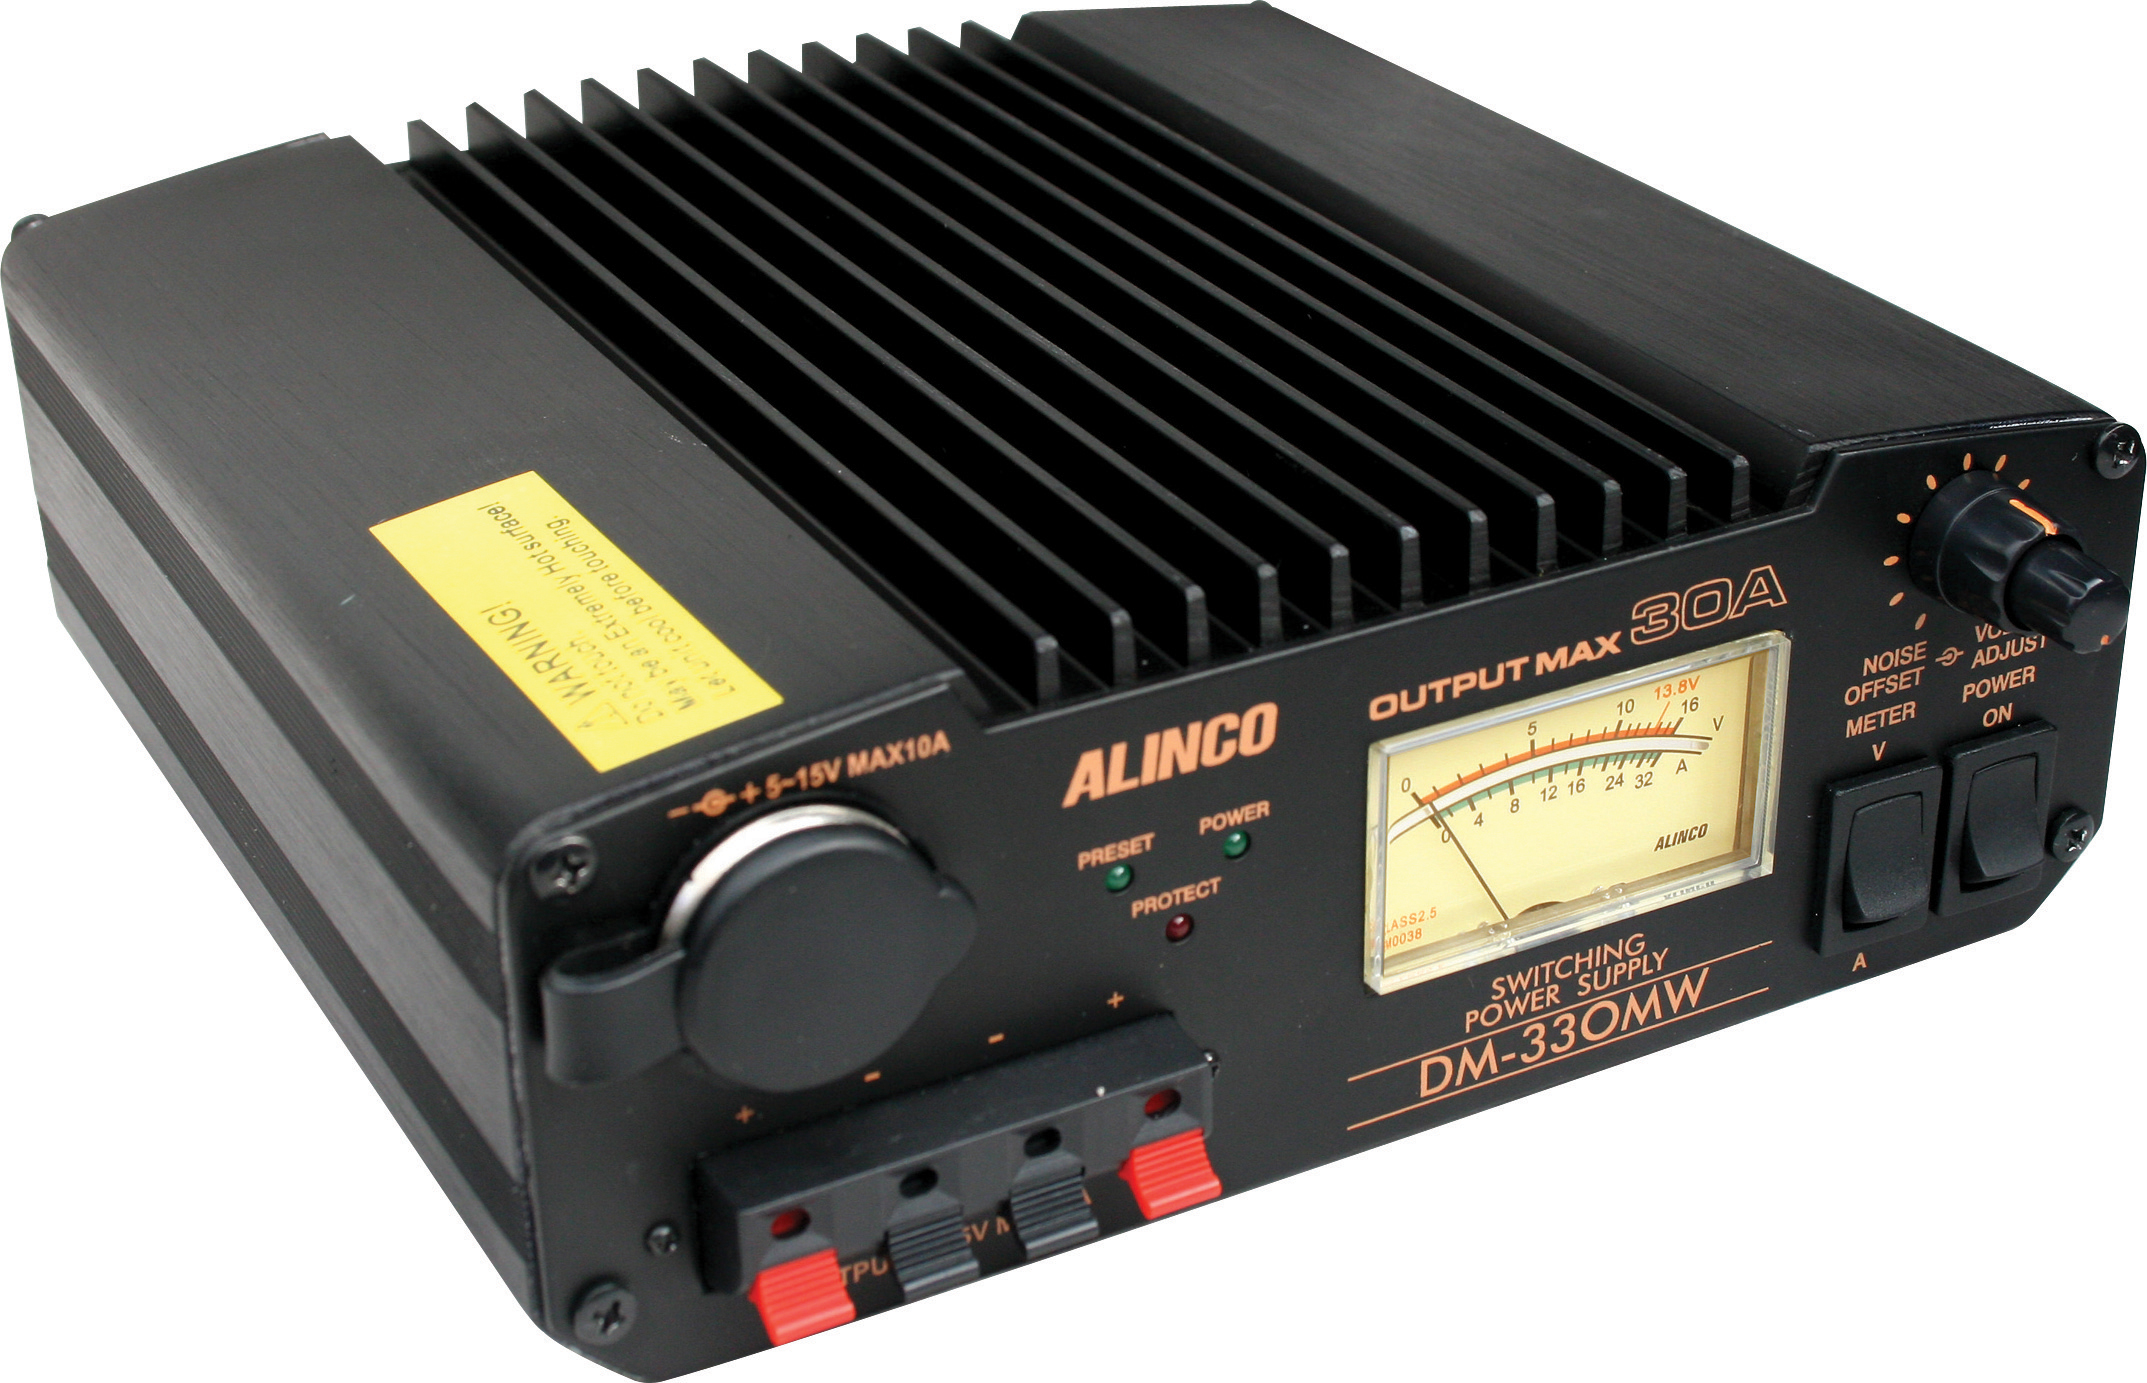
I also have an Alinco DM-330MW 30A switching power supply for operation with mains power.
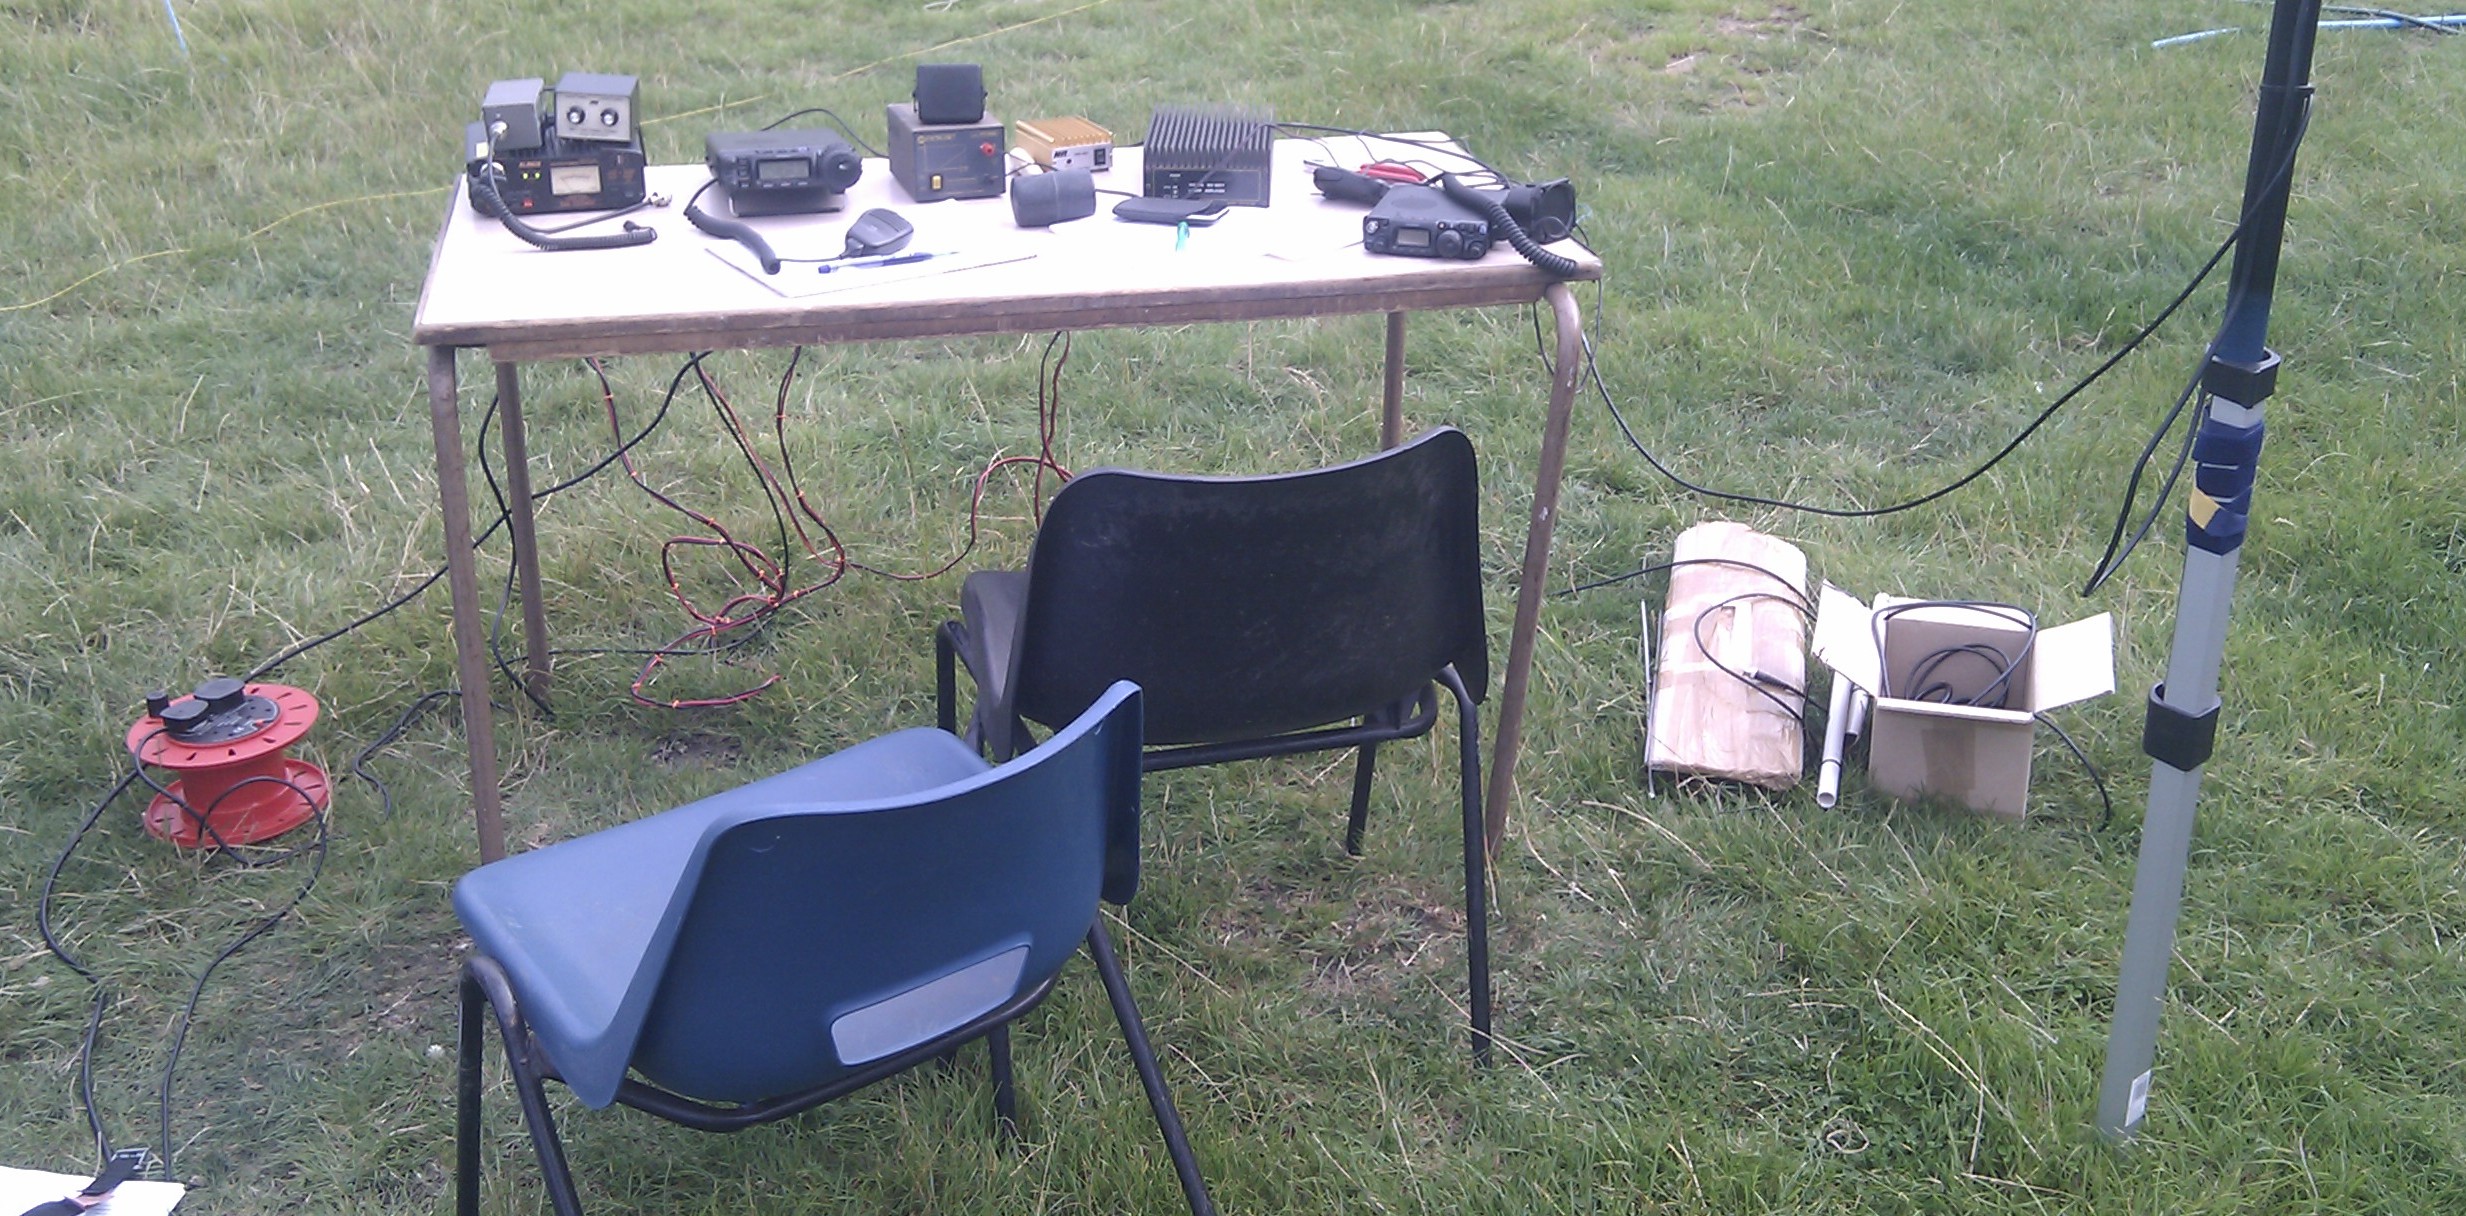
The Portable Station
Below follows a few images of my portable station, in various configurations and various evolutionary stages.
In The Tent
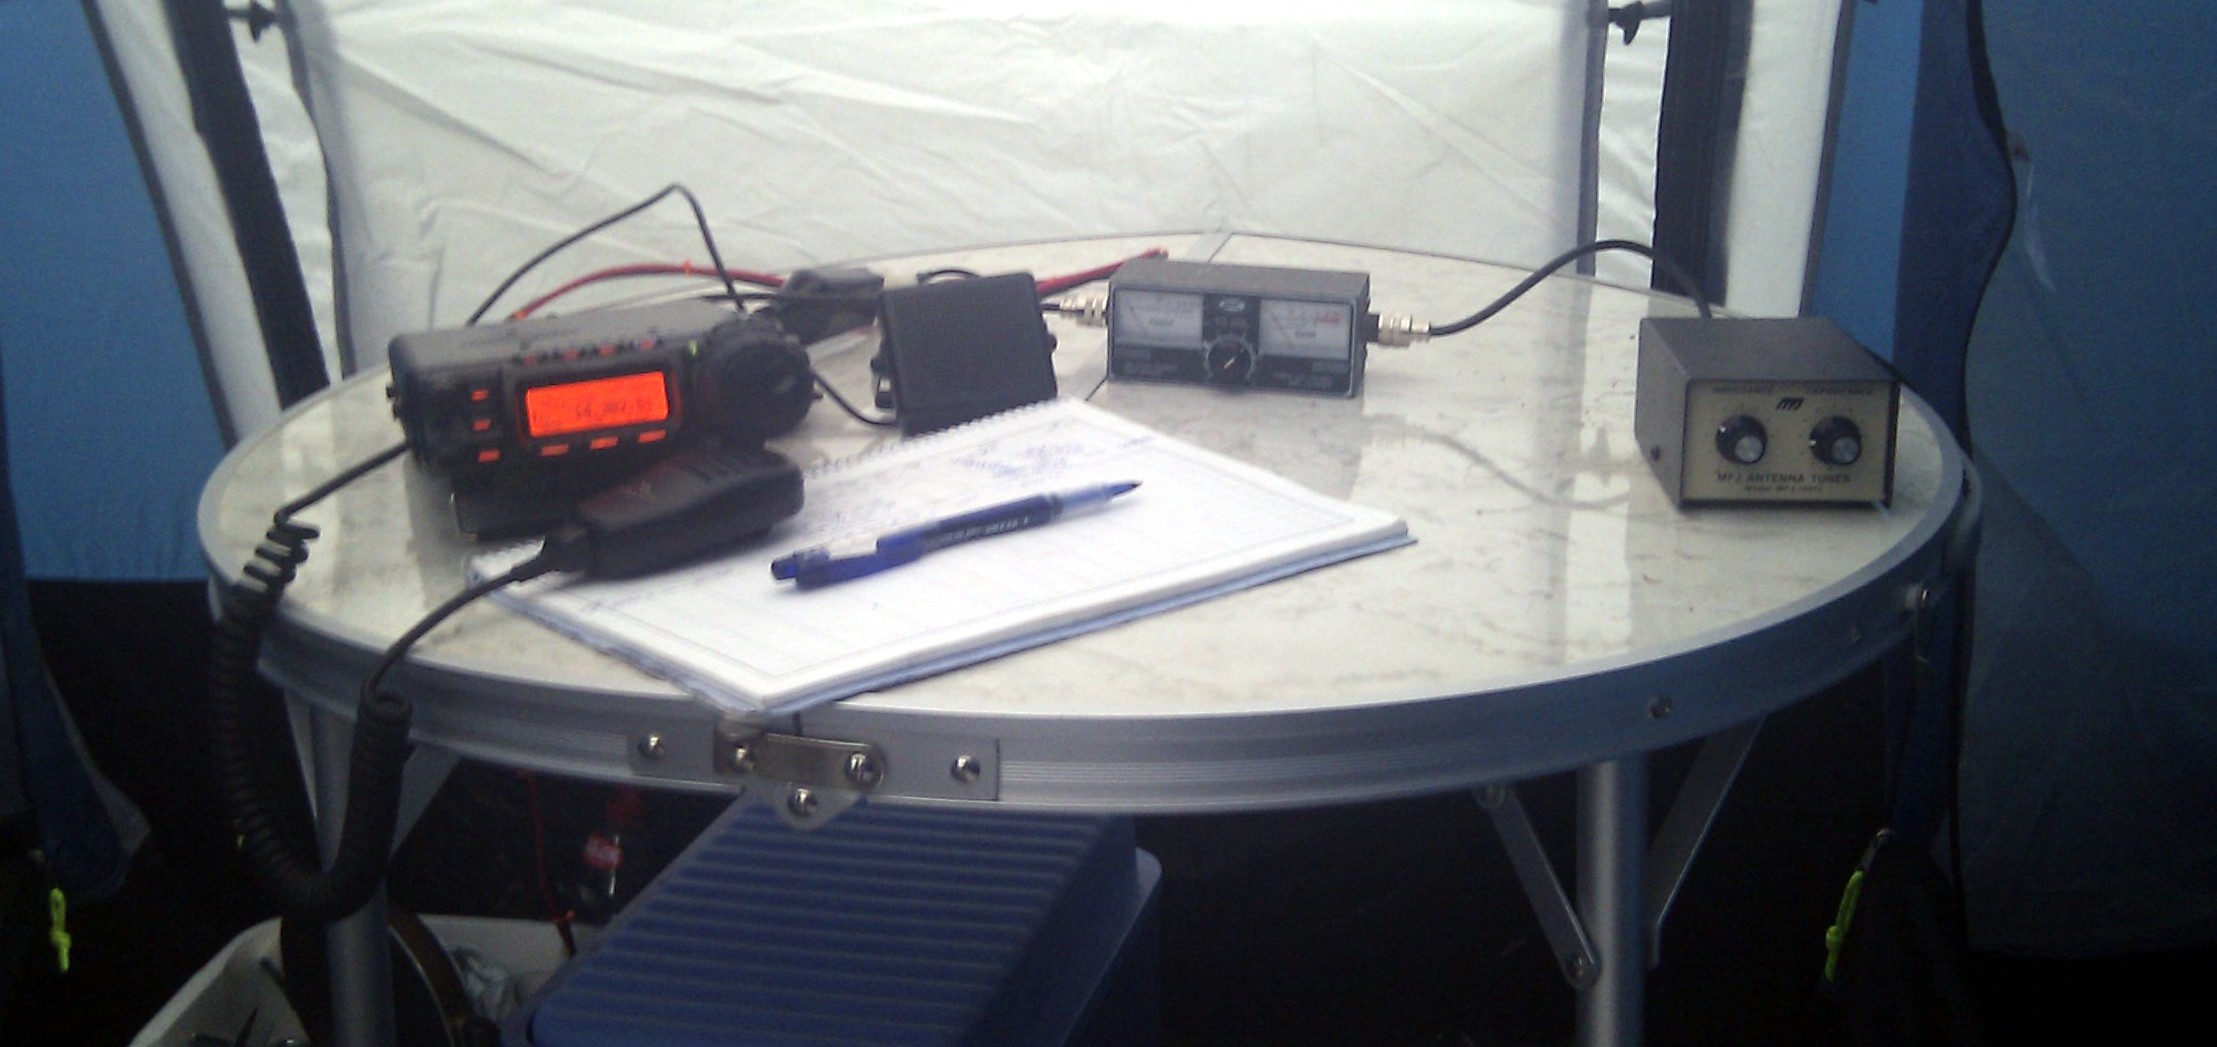
The above image is from inside my 6-man tent, set up in Saint Agnes, Cornwall, UK. Dad and I went camping for a week and took radio gear with us. Here we had no mains power so we run from batteries which we charged from the car when we went out each day.
I used my car-wheel base to attach the antenna to.
In The Caravan
The caravan set up was in the awning and this time features the Alinco power supply as we had mains. The jockey wheel holder of the caravan was used to hold the base of the vertical.
RSGB NFD 2011
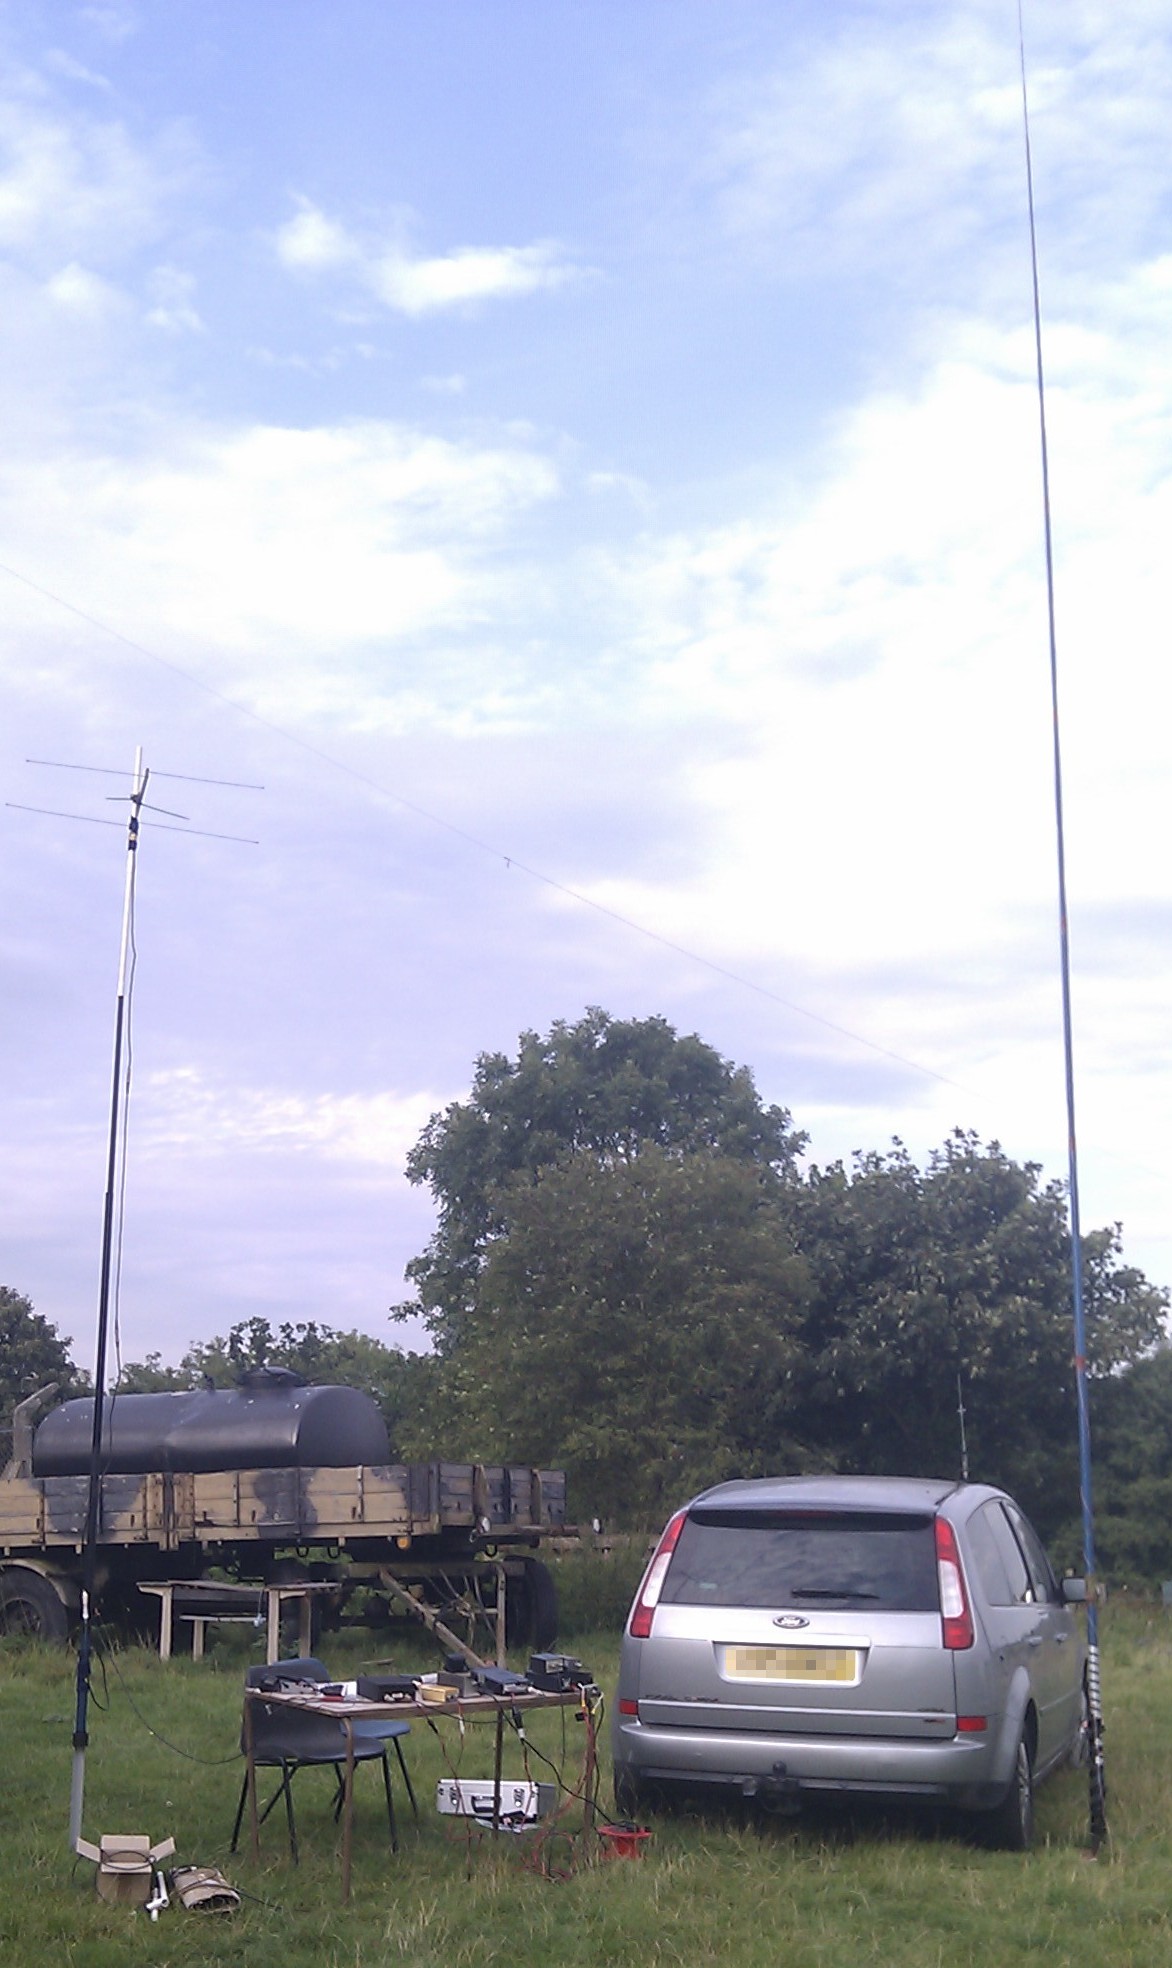
Here we operated from atop the Keveldon Hatch Secret Nuclear Bunker. Above the bunker is a mobile phone tower which our actual bunker station (GB0SNB) as antennas mounted. However, the sight is high and we decided to use our own antennas. We had a HF vertical and a Dave‘s odd (unknown configuration) 3-element VHF beam up at about 6 meters. The table and chairs (see image below) lives on the site.
10m Vertical
The diagram to the right depicts a schematic set up of the 10 metre vertical HF antenna. At the core is a 10 metre roach pole (long fibreglass fishing pole). This is tied (using the belts mentioned above) to the car wheel base (see the tent images). A piece of wire is then tired to the top of the antenna, and the roach pole extended skyward. This wire is then attached to one side of the 4:1 (9:1 preferable) balun. A ground spike is driven into the ground, and various radials extended from it. This is then attached to the other side of the balun. Although this is strictly now how a balun is intended to be used (as both the output and input are unbalanced), it yields satisfactory results (and I can’t carry a 4:1 balun, 9:1 balun, 4:1 unun and a 9:1 unun, else I’d never lift the box up!). The balun isn’t necessary but it does help to smooth out some of the spikes in the tuning (thanks to Dave for this tip). Ideally, an Unun would be better. This then feeds the portable ATU.
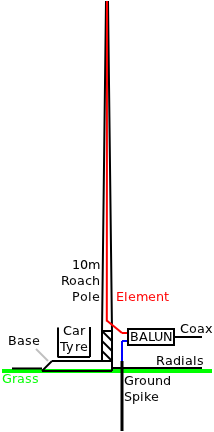
NB: The box labelled ‘BalUn’ should of course be an ‘UnUn’, since it is unbalanced to unbalanced.
Delta Loop
The Delta Loop was the reason I made the Balun mentioned above. The Delta-Loop design was based on W5SDC’s Delta Loop Page which has lots of useful information. The loop I made was for 17 metres, which W5SDC claims should have a total length of 55.469 feet (16.9069512 metres). I made my loop 17 metres long, resulting in each side being approximately 5.6 metres long. I tied small loops at each corner of the triangle to make it easier to find and put up quickly next time. The diagram on the left shows the set up I usually use when using the Delta-Loop.

The feed point (shown with a red dot on the below image) alters how the Delta Loop performs. I went for vertical polarisation with a low angle of radiation, style D.

- A – Horizontal Polarisation – Moderately high angle of radiation
- B – Horizontal Polarisation – High angle of radiation
- C – Horizontal Polarisation – Moderately high angle of radiation (
 )
) - D – Vertical Polarisation – Low angle of radiation (the one I use)
2 Metre Beam
Main article 144MHz Yagi.
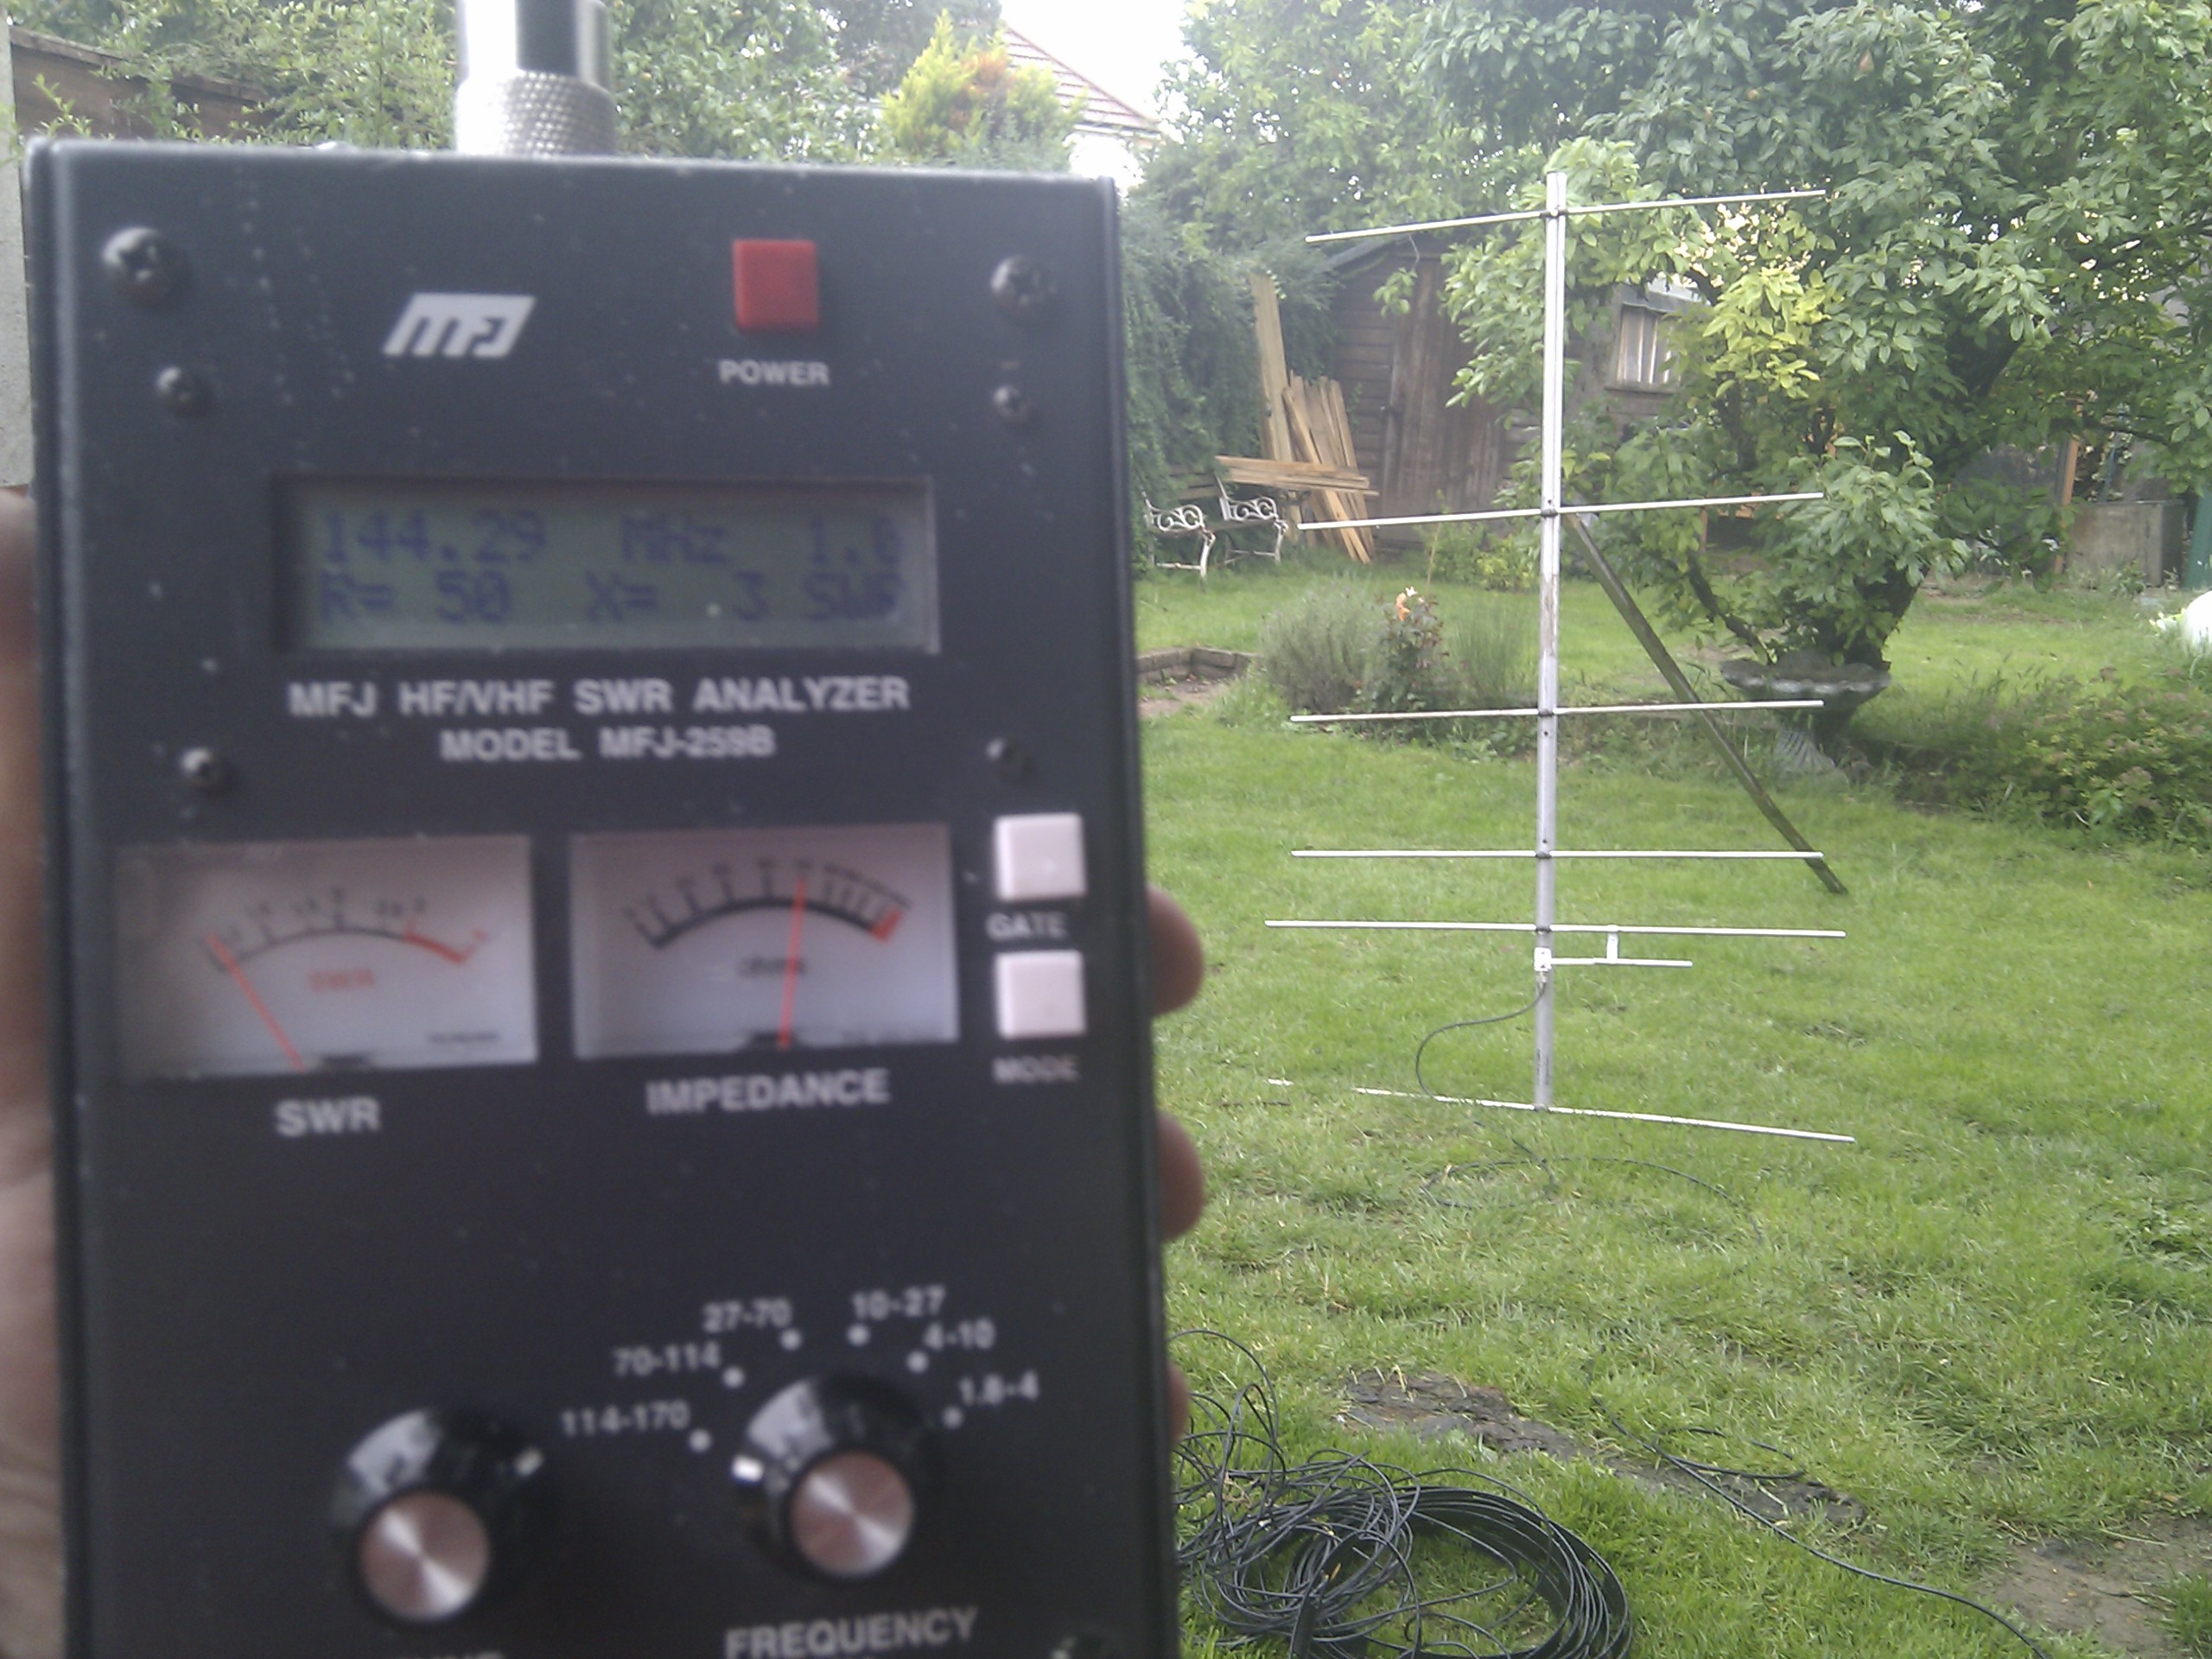
The 2-metre beam gets used for VHF UKAC contest. It is usually attached low down on the roach pole, at about 4 metres above the car roof. This gives a reasonable clearance from the car, but means that the roach pole has some chance of holding the beam’s weight.
70 Centimetre Beam
Main article 432MHz Yagi.
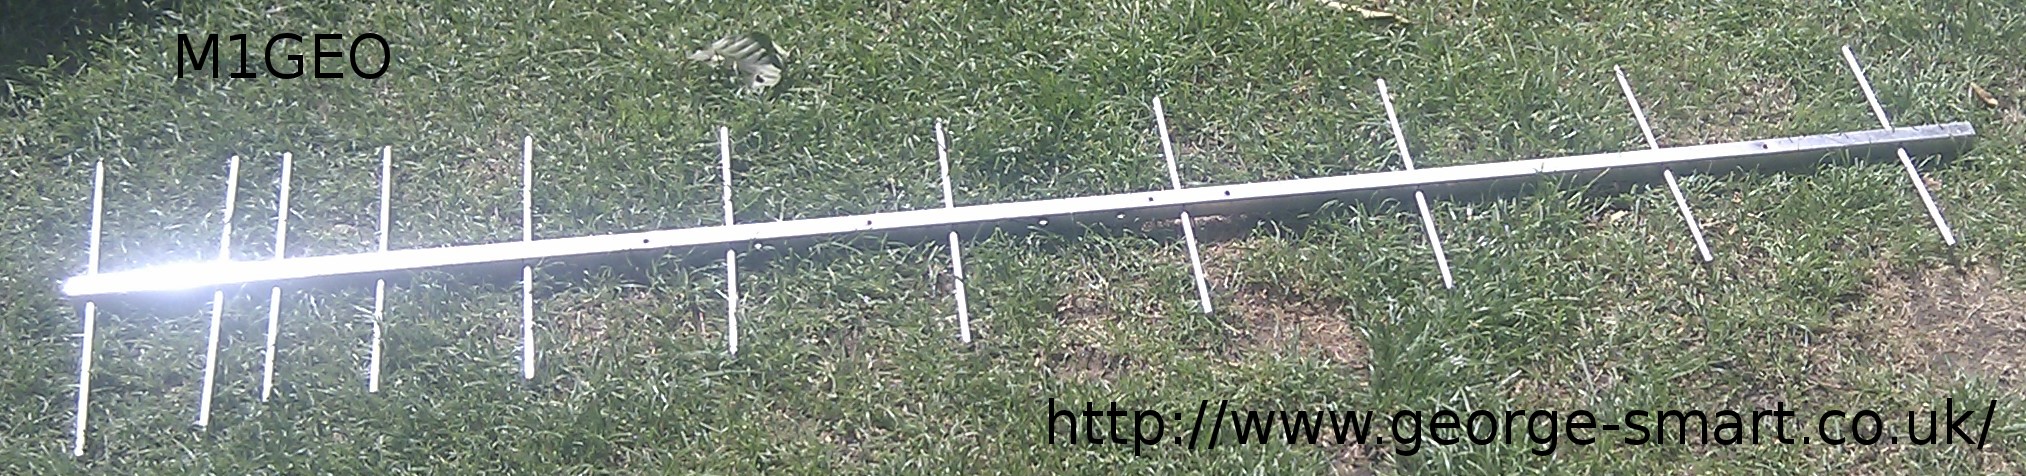
The 70cms beam gets used for UHF UKAC contest. The set up is very similar to the 2-metre beam described above, attached low down on the roach pole.