
This page details the hardware and the behind the scenes technical information of my EchoLink node. If you’re just interested in the user side of the node, then you need to be on this page. Otherwise, read on.
Motivation
I had been running my Echolink node for some time on my Server. Probably around 2 years now. I was using the official Echolink software under wine as the only officially supported computer platform is Windows. When I rebuilt the server I never re set up Echolink because I didn’t like the wine idea as a permanent thing – it ate up RAM on my webserver – I think Echolink has some kind of memory leak?
While looking at local nodes, I noticed that there was a station in Belgium running Echolink on a Raspberry Pi and so I decided to have a look. This page details how I linked the RPi with my UHF Tait T800 Series II Repeater.
I wanted to use a small computer to run the node. Having seen it done on a Raspberry Pi (and having one spare) I decided this would be my target platform. I have two Pi’s now, so I would still have one for messing about with (see my other Pi projects). Reports on other sites (I know this has been done and documented before) seemed to suggest that the Pi was more than powerful enough for the task so the hardware was set.
Licence Details
Here are the legalities of the node, if anyone is interested.
- Callsign: M1GEO-L (Show on EchoLink Site)
- Node Number: 524497
- License NoV: DCC/ETCC: M1GEO Gateway Details
- Location: North East London, UK (Show on Map)
- * Latitude: 51°33.08′ N
- * Longitude: 0°12.22′ E
- * Locator Sq: JO01cn
- Frequency: 434.5250 MHz (Simplex)
- CTCSS: 77.0Hz
- RF Power: 7dBW (5 Watts)
- Antenna: Dual Band Co-linear, 3dBd gain on 70cms.
- Status: Link Status Page
Getting the Raspberry Pi Going
I’m using a cheap SD card from Maplin Electronics, 4GB class 10. I also picked up a PiBow case.

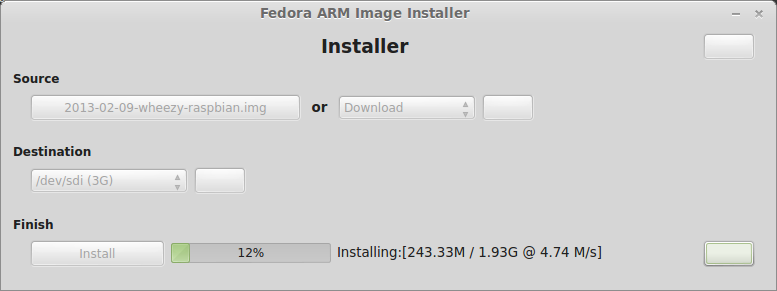
I have used the Pi many times before, but always like to start with a fresh install. I downloaded the latest version (2013-02-09-wheezy-raspbian.zip at time of writing) of the Rasbian Wheezy from here and flashed the SD card as described – here, I’m using the flakey looking ARM Installer for Fedora (under MintLinux):
Next set the Pi up how you like it. I suggest setting up SSH access to it as a minimum. I intend for mine to be run headless (without graphics) to keep memory use down.
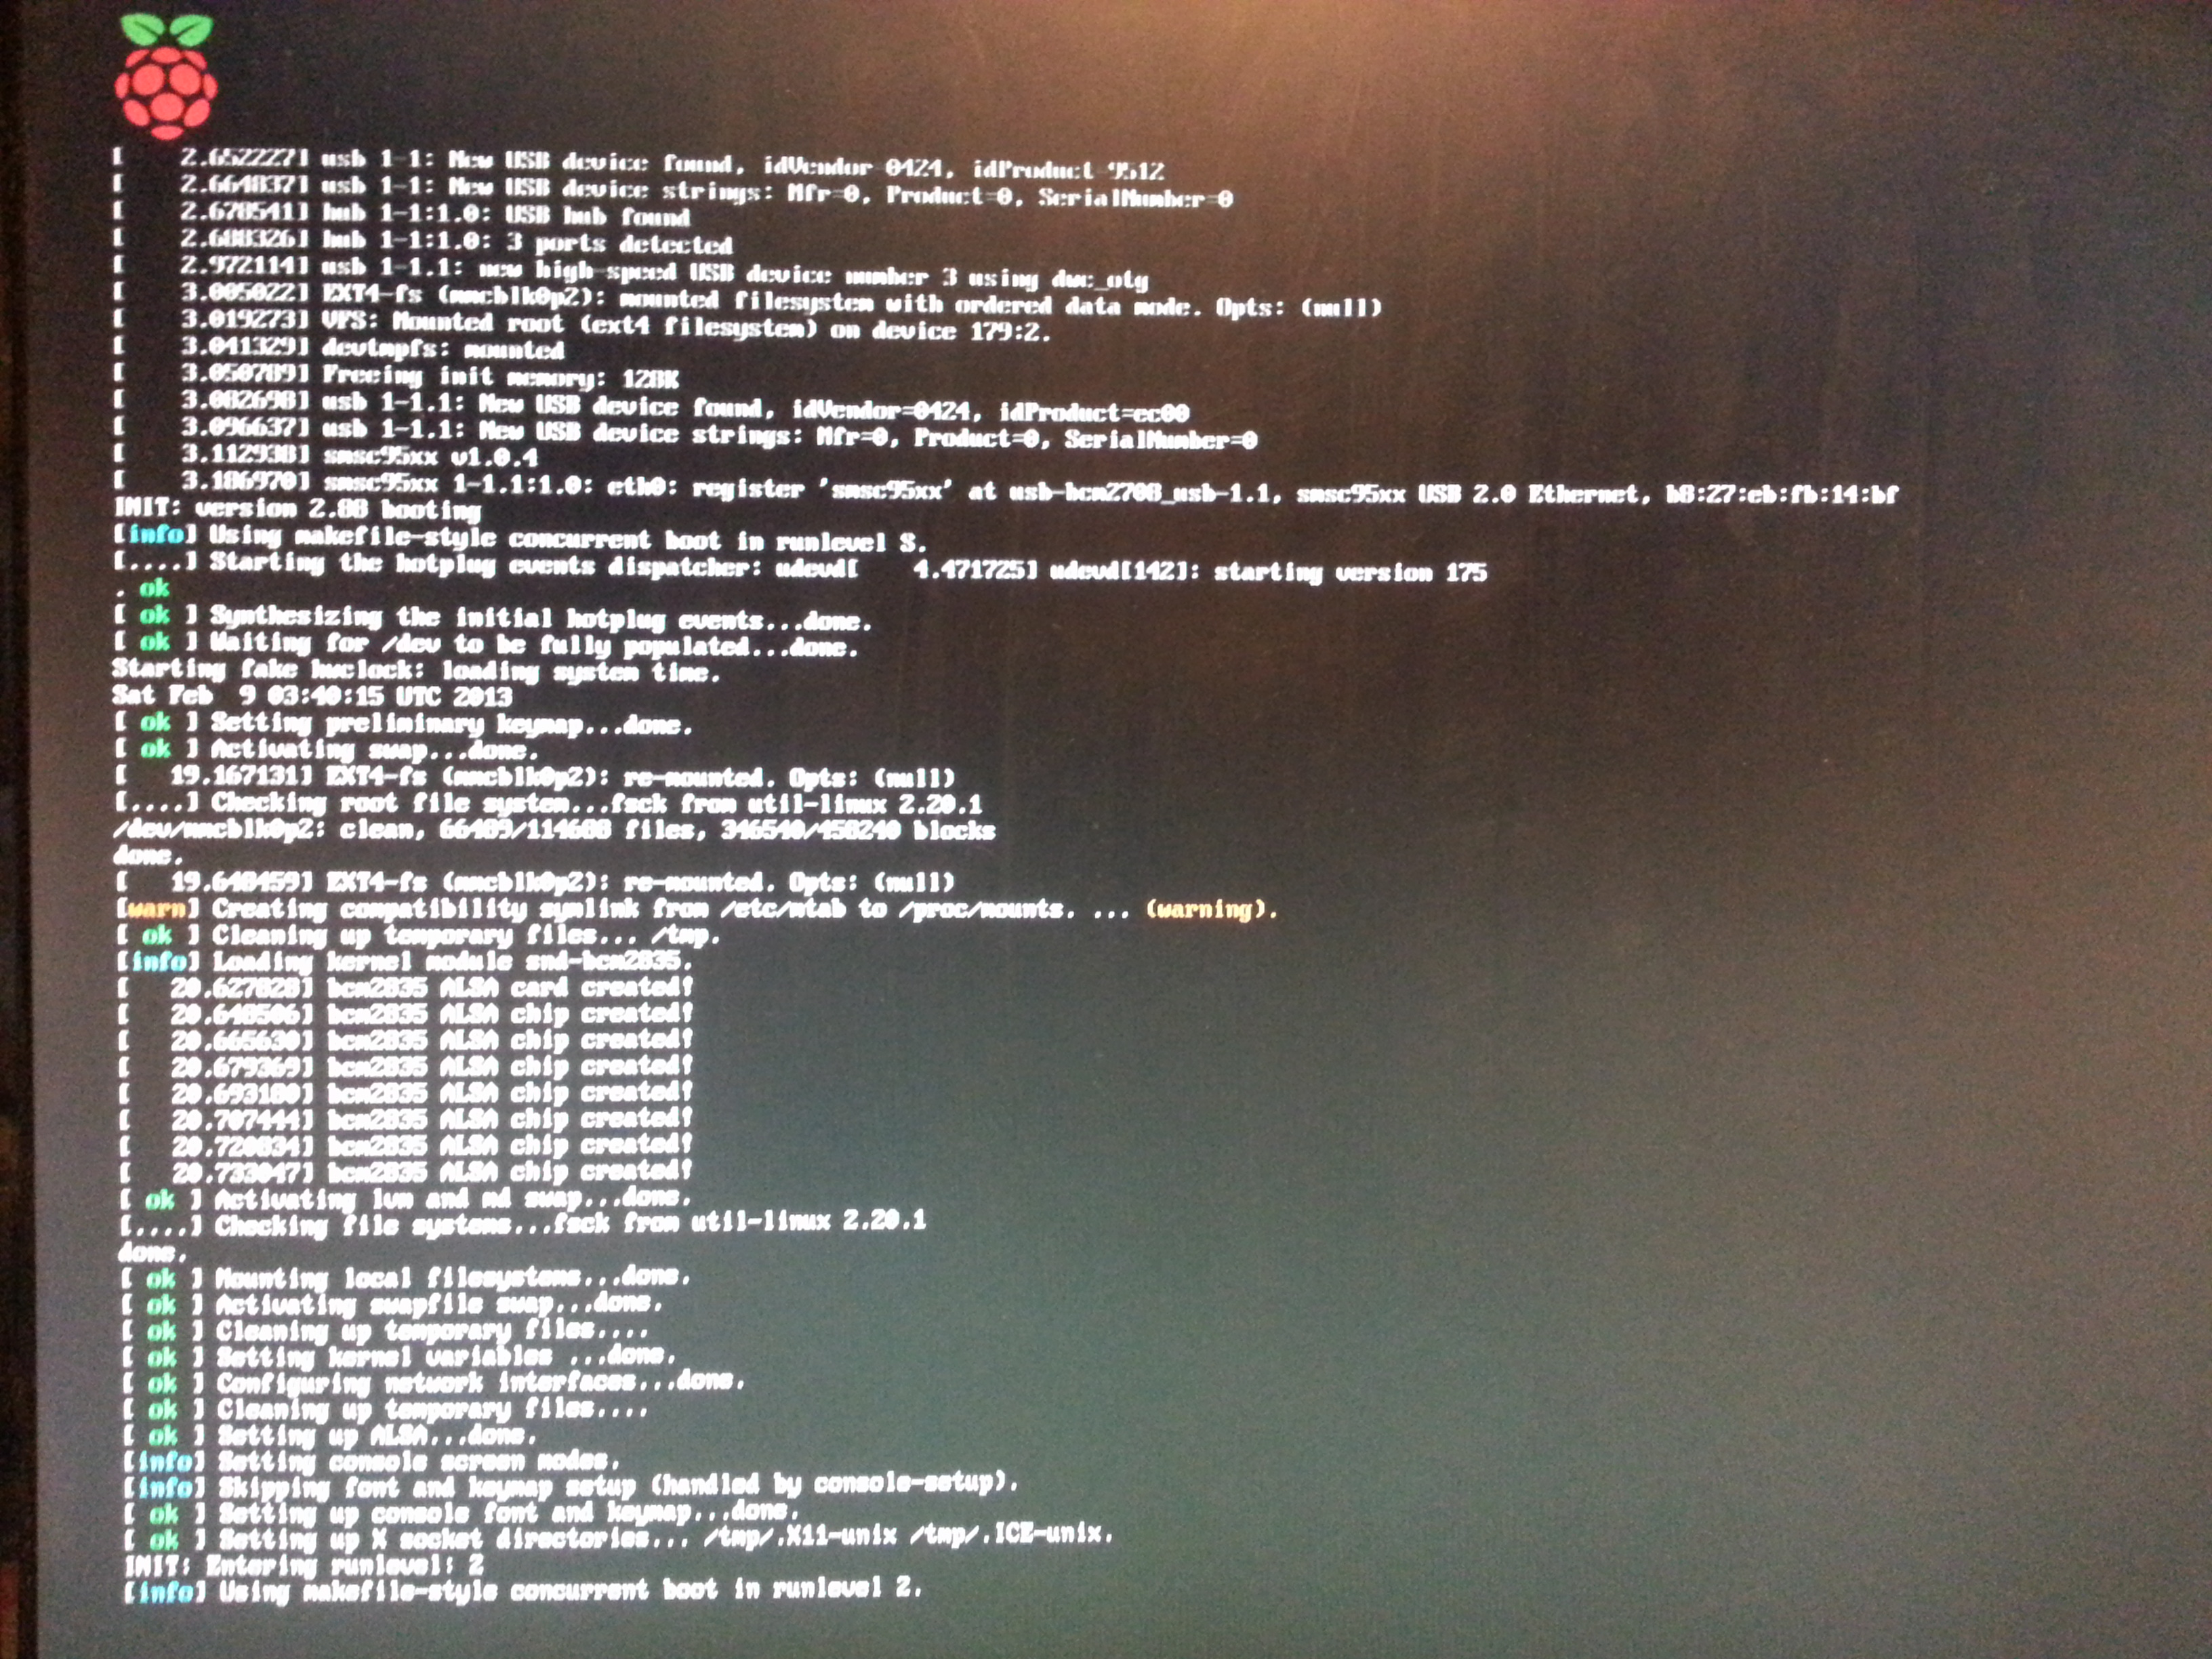
Hopefully once you’ve got your Pi booting, you’ll get the Raspi-config Menu on first boot. If not, you can always re-run sudo raspi-config from the commandline. Below is a list of modifications to the defaults that I made:
- Firstly grow the filesystem to fill your SD card with expand_rootfs.
- Second set the password for the user pi with change_pass.
- Third check your locate and timezone.
- Forth set the memory_split to maximum for the CPU and minimum for the GPU. (16MB is the GPU minimum)
- Fifth adjust the overclocking parameters – I’ve gone for flat out as my Pi seems stable there. If yours isn’t then go for less. Really this won’t make much difference as you’re unlikely to max the CPU out during normal operation of the node.
- Sixth thing is to enable ssh. This will let you connect into the node to make adjustments, etc.
- Seventh is to disable the desktop (X11) at boot – you don’t need it.
- Reboot.
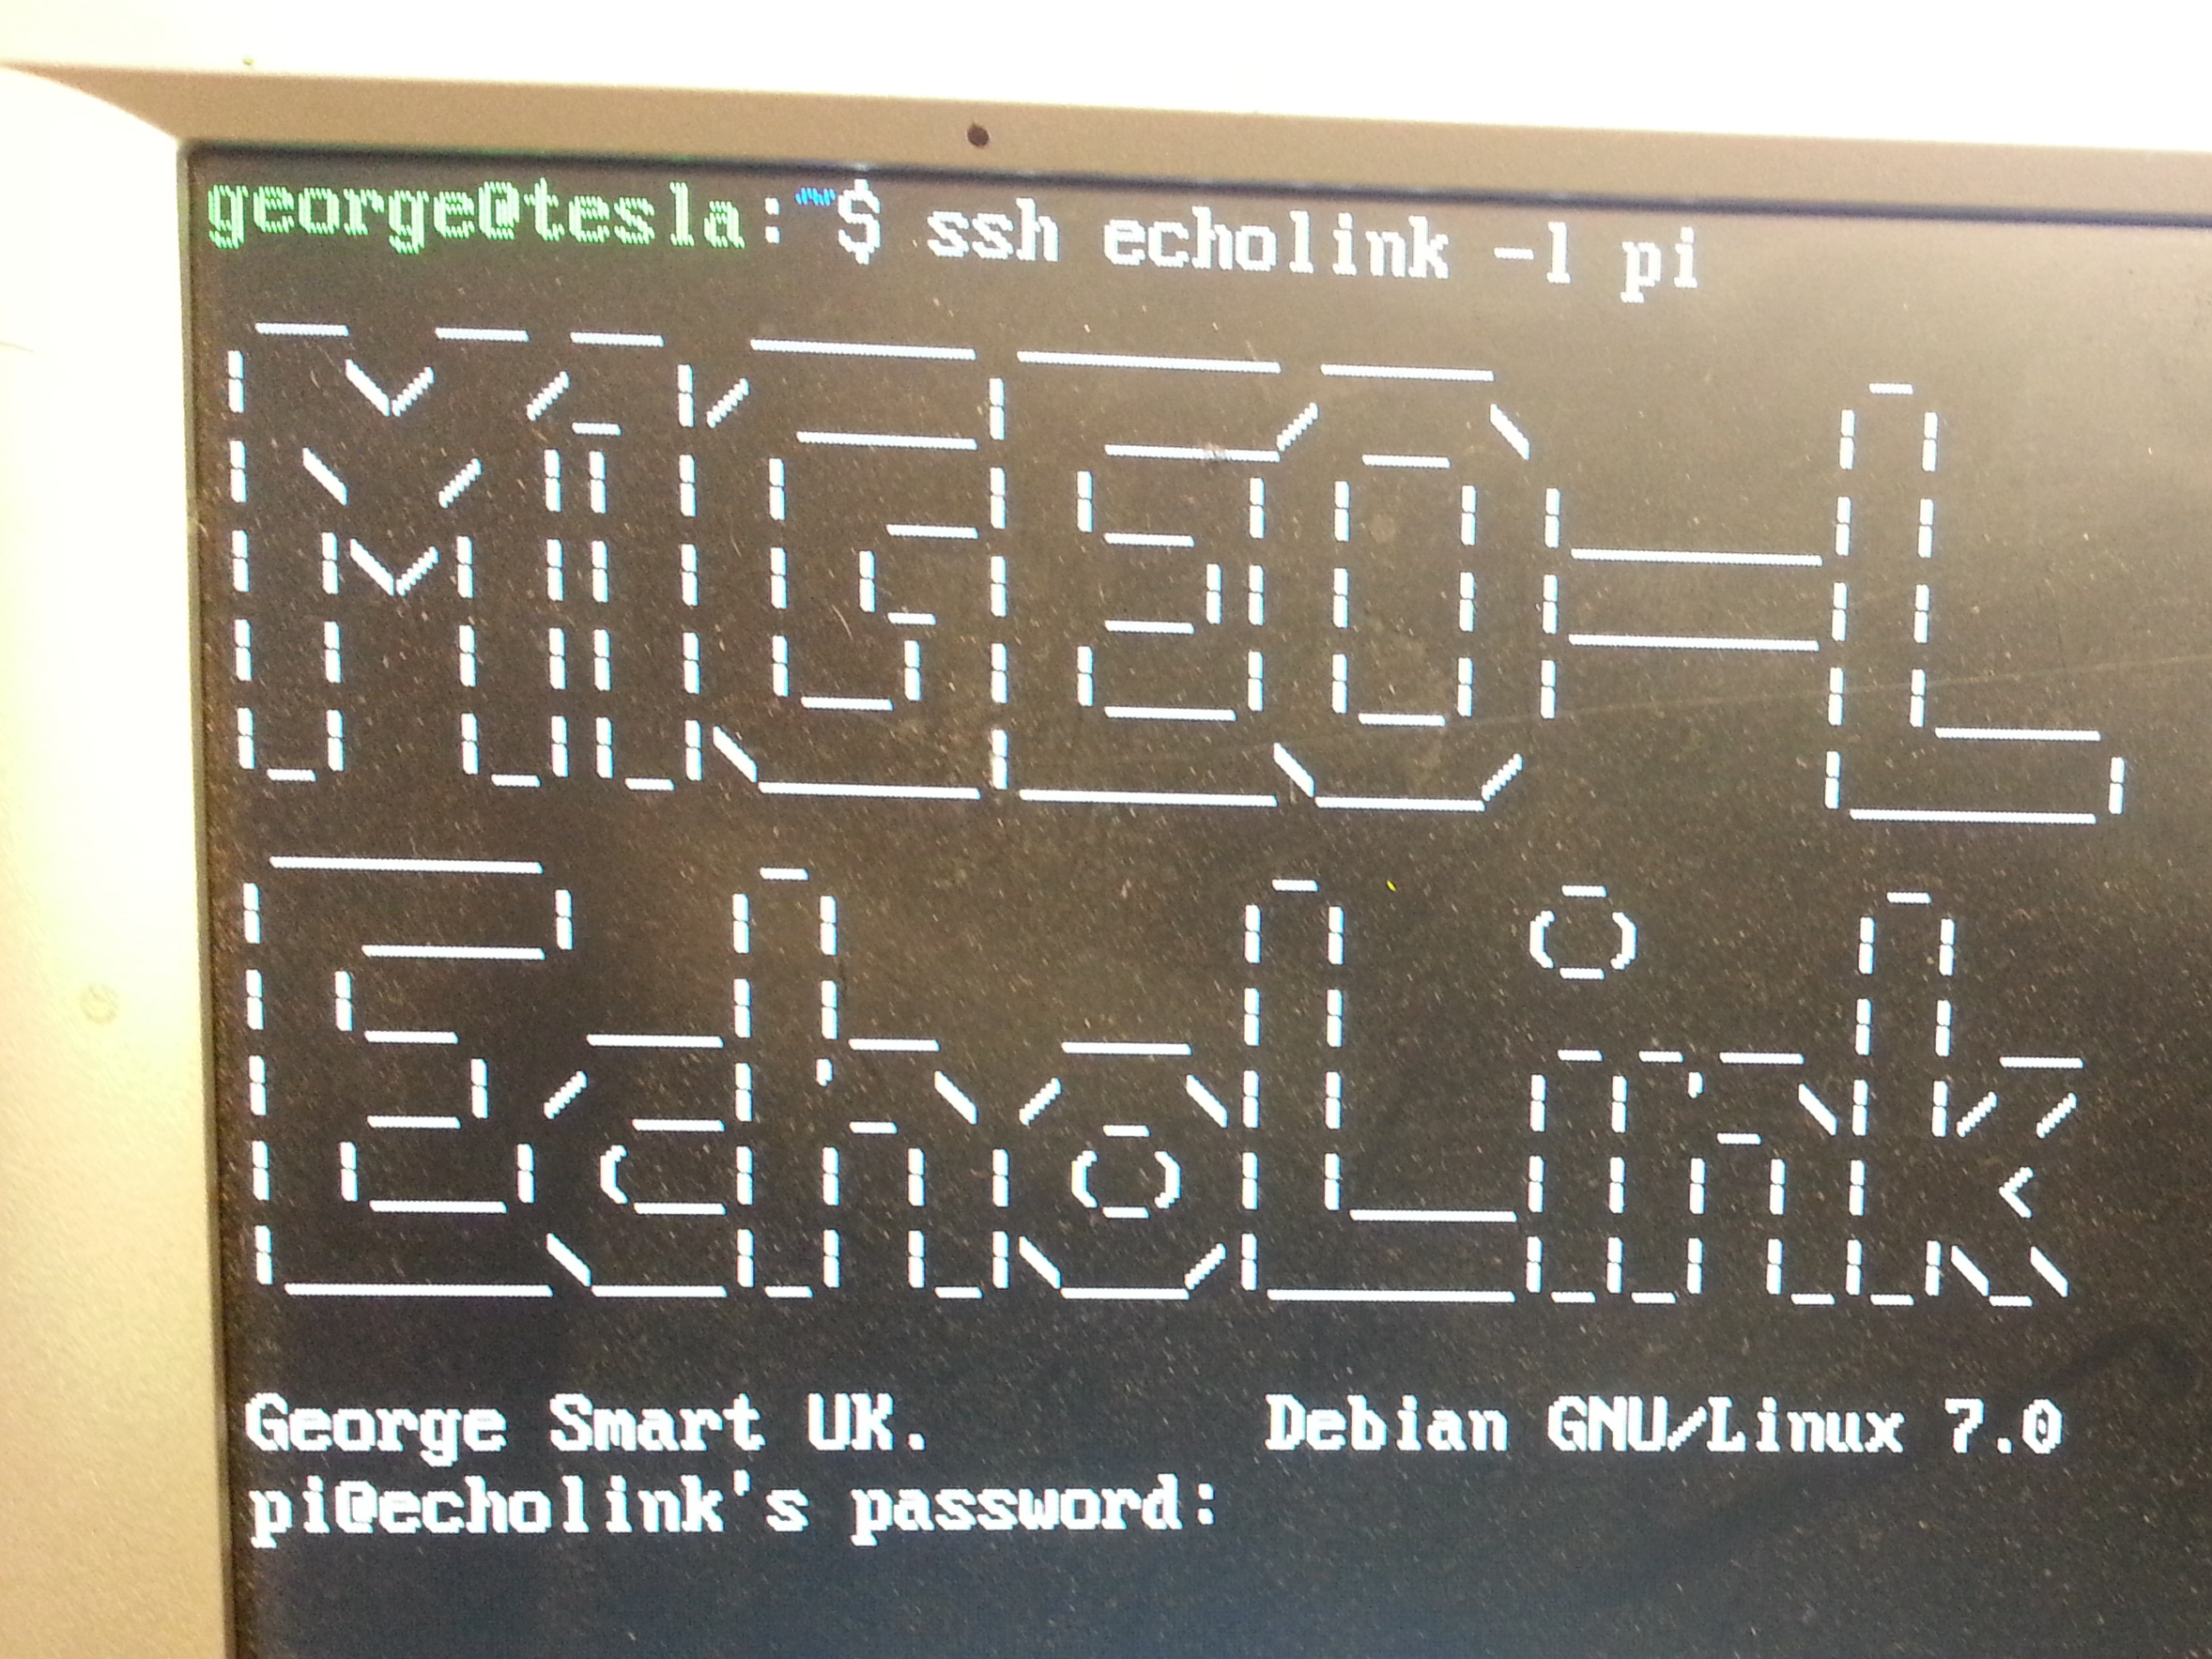
When the Pi starts, log in with the username pi and the password you set above. I suggest doing an sudo apt-get update to get the latest repository files. Then once that’s downloaded, go ahead and do the necessary updates with sudo apt-get upgrade. This is the point to make a cup of tea! Mine took around 40 minutes to complete! At this point I also made a nice issue.net splash for when I SSH in:
The last step before we’re ready to start with Echolink is to update the Pi’s firmware, etc.
First of all, use the newly updated apt-get repositories to get some programs:
sudo apt-get install git-core ca-certificates
Next, use the following command to download the rpi-updater script:
sudo wget http://goo.gl/1BOfJ -O /usr/bin/rpi-update
Then you need to make it executable:
sudo chmod +x /usr/bin/rpi-update
Finally run it:
sudo rpi-update
After some time, and hopefully much happenings, you will be told to restart your Pi.
Once it comes back up, you’re done. From now on, I connect through SSH.
Getting the SvxLink Source
I have used SvxLink by SM0SVX which is a repeater controller and EchoLink server for Linux. I chose to compile from source as opposed to using the repositories because it turned out to be easier than trying to install the ubuntu arm binaries. Feel free to give them a try first.
The process of compiling from source is documented here but I have repeated the key points for completeness.
Initially, we need to install the dependencies for building:
sudo apt-get install subversion libsigc++-2.0-dev g++ make libsigc++-1.2-dev libgsm1-dev \
libpopt-dev tcl8.5-dev libgcrypt-dev libspeex-dev libasound2-dev alsa-utils
Next we move to our home directory from wherever you may have ended up:
cd
Here we download the SvxLink source code from sourceforge. At the time of writing, I downloaded svxlink-13.03.tar.gz. Now extract it:
tar xvf svxlink-13.03.tar.gz
Finally, newer versions of SvxLink (such as 13.03) have the ability to use 16 kHz samples voices (instead of the typical 8 kHz ones). The above file defaults to 8 kHz, but if you want 16 kHz, then edit makefile.cfg, specifically, CXXFLAGS += -DINTERNAL_SAMPLE_RATE=8000 to reflect your requirement of 16000. I proceed with the default of 8000.
You’re ready to compile!
Compiling SvxLink
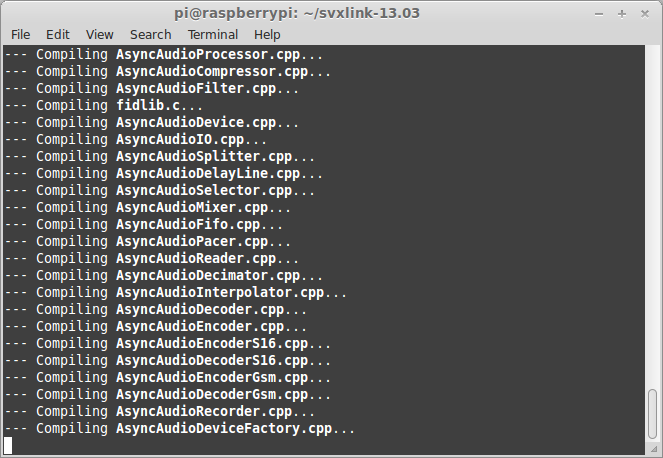
Step back and take a deep breath. Start the compile by running
make
I timed mine using time make which does the make but keeps track of the time and resources it uses to do it. This is just for the humour value! Mine took a real time of 29m21.640s!
Hopefully it builds correctly. If it doesn’t check thought the make output and see if you can diagnose the fault. Something I didn’t realise first time around is that the installer script likes to own files to svxlink user, so make sure you add the user to the system before installing!
sudo adduser svxlink
Assuming it’s gone okay, then you can install the SvxLink files.
sudo make install
This puts the binaries, libraries, includes, and other files where they belong.
Voices and Sounds
The sounds packages come separate to the program files. They need to be downloaded sourceforge too, and can be found here. Go into the 13.03 program and get sounds-en_US-heather-13.03.tar.bz2.
For anyone interested, I have also made British English voices which can be found here: sounds-en_GB-rachel-13.03.tar.bz2. They are made in exactly the same way as the the en_US voices but sound much nicer to British people! My timing isn’t quite as slick and I’ve only done the Core, Default, EchoLink, Parrot and PropagationMonitor modules. If you want any of the other modules then you are advised to do these on your own – if you do, I’d be happy to receive and host the extended versions.
Hardware
Once you’re happy that everything is going as planned, you need to wire everything up. I mounted the Raspberry Pi inside the Tait repeater frame:


I also used a car mobile phone micro-USB charger (5 V at 850 mA) to power the RPi from the repeater’s 13.8 V supply. This worked very well. Previous attempts have resulted in very hot linear regulators, and I feel switch-mode was the correct choice. These can be picked up very cheaply in discount stores.
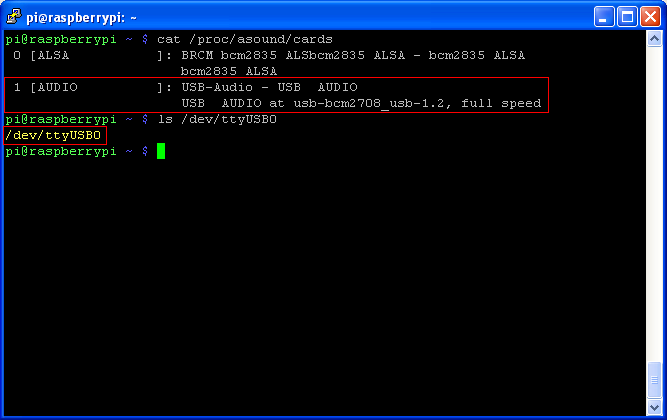
I had originally planned to use a cheap USB sound card to connect from the Pi to the T800 repeater. However, during the testing, I had lots of problems with the cheap soundcards freezing as soon as I put audio through them. In the end I used a USB SoundBlaster device which worked instantly and flawlessly. The deviation is a little low, but this is easiluy fixed with a small transistor amplifier (I did try using the softvol module in ALSA to device a dmix and thus a software preamp, but the output was always distorted with almost any real gain). No interface was required as this is easily handled by the breakout plate on the back of the repeater. All the audio IO connections are transformer isolated in the repeater, so it was a simple task of cabling up.
A PL2303HX based USB-TTL-RS232 cable was used to provide PTT and SQL interfaces for transmitter control and squelch input. I used RTS (request to send) for the transmitter key (PTT) and CTS (clear to send) for the squelch input. These connections were opto-isolated in both directions with a simple NPN transistor opto-isolator. This was probably not necessary in this case, as all the devices are on the same power supply – but it certainly can’t hurt.
EDIT: Newer versions of SvxLink support TX via GPIO for the Raspberry Pi. More on this to come.
Both the sound card and serial interface can be seen here:
Once all the hardware was assembled, I run the system overnight into a dummy load were I could keep eyes on it. All worked fine. I used it via my handheld at regular intervals and it all seemed fine. I then turned it all off and did some final assembly – tidying wires etc.
The very last thing I wanted to do was to make sure that SvxLink started when the Pi was powered. I first make a simple script to set the audio mixer levels for TX and RX and started SvxLink:
#!/bin/bash
echo -n “Setting TX Gain: ”
amixer -q set PCM 0dB && echo “OK”echo “Fail”
echo -n “Setting RX Gain: ”
amixer -q set Mic 9dB && echo “OK”echo “Fail”
echo “Starting SvxLink Repeater Controller at `date`”
svxlinkecho “Finsihed SvxLink at `date`”
exit 0
You will need to use alsamixer to set your levels correctly. Once you have set the mixer levels you need to store them with:
save mixer levels command here
I then followed the instructions carefully How do I automatically start SVXLINK on boot. I had to patch the installed files and scripts for Ubuntu (the original files are written for Fedora). I downloaded the modified scripts from here and they’re locally hosted ubuntu-distfiles.tar.gz.
= Status Page =
As I wanted to be able to quickly see what was going on, I decided to make a crude status page. I installed Apache web server on the Pi (as it’s the only http server I know how to use) and set about making an ugly Perl script.
sudo apt-get install apache2 libapache2-mod-perl2
Next edit the default site in Apache to set the ServerName and ServerAdmin details:
sudo nano /etc/apache2/sites-enabled/000-default
SD Card Preservation
Once you get the system working, it is advisable to create a backup of the card. There are many ways to do this. I just used a simple dd command to dump the SD card to a raw image file.
I found that after a year of continuous use, my 4 GB class 4 SD card became corrupted. I had initially suspected that the card was fried, but using f3 (a Linux alternative to h2testw) to check the card, it was reported fine. I was able to restore the node easily and in minutes with the DD image of the card.
It is also common knowledge that you should have an SD card a few times bigger than you need to allow the wear leveling space to work. To aid this, I turned swap off on the Raspberry Pi:
sudo swapoff -a
sudo update-rc.d -f dphys-swapfile remove
sudo rm /var/swap
I also turned down the verbosity of the Apache web server and make SvxLink log into a RAM based filesystem, using tmpfs. On the Pi, /run/shm is mounted in RAM and has a default size of 47 MB (on my Pi. 256MB model B). You could also consider running the Pi with the SD card in “read only” mode. Search the Pi forums for “read only” for more.
Finally, always be sure to power the Raspberry Pi down correctly – do not just pull the power – this causes file system errors.