
Background
Around a year ago a colleague mentioned to me the Luftdaten project (en: air data project). It is a sort of citizen science project which measures and records particulate matter in the air. They also have a newer project concerning acoustic noise levels (build notes for this in German here), but I’ll be concentrating on particulate matter here. Often the sensors are combined to collect data on airborne particulate levels, acoustic noise, temperature, humidity and air pressure to name a few. The images below show 24h graphs for some of the measured parameters from various sensors around Europe.
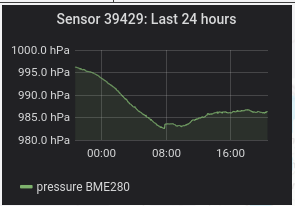
Air pressure 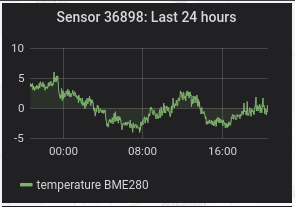
Temperature 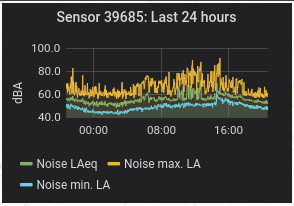
Acoustic noise 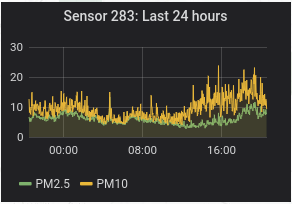
Particulate matter
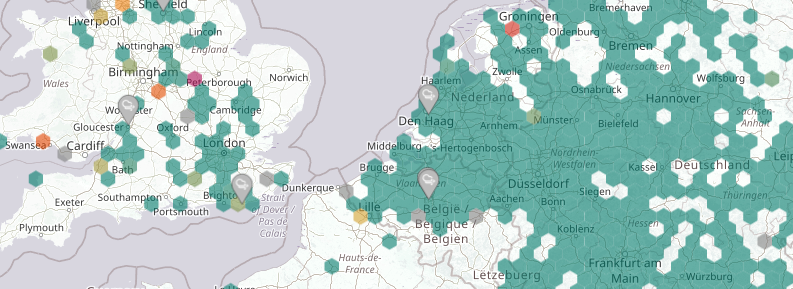
I have long had a fondness for collecting data and the Luftdaten project has plenty! Their website features an interactive map of the world where they plot measurements taken.
The particulates detected include dust, dirt, soot, smoke, and liquid droplets emitted into the air which are small enough to be suspended in the atmosphere. Airborne particulates may be a complex mixture of organic and inorganic substances. The type of sensor used does not differentiate between the particle types, it just gives a measure of how many are present.
Parts
I purchased all of the parts cheaply from AliExpress (no affiliation). You’ll find the same parts on eBay, BangGood, etc., so use what you prefer.
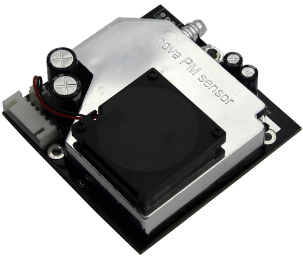
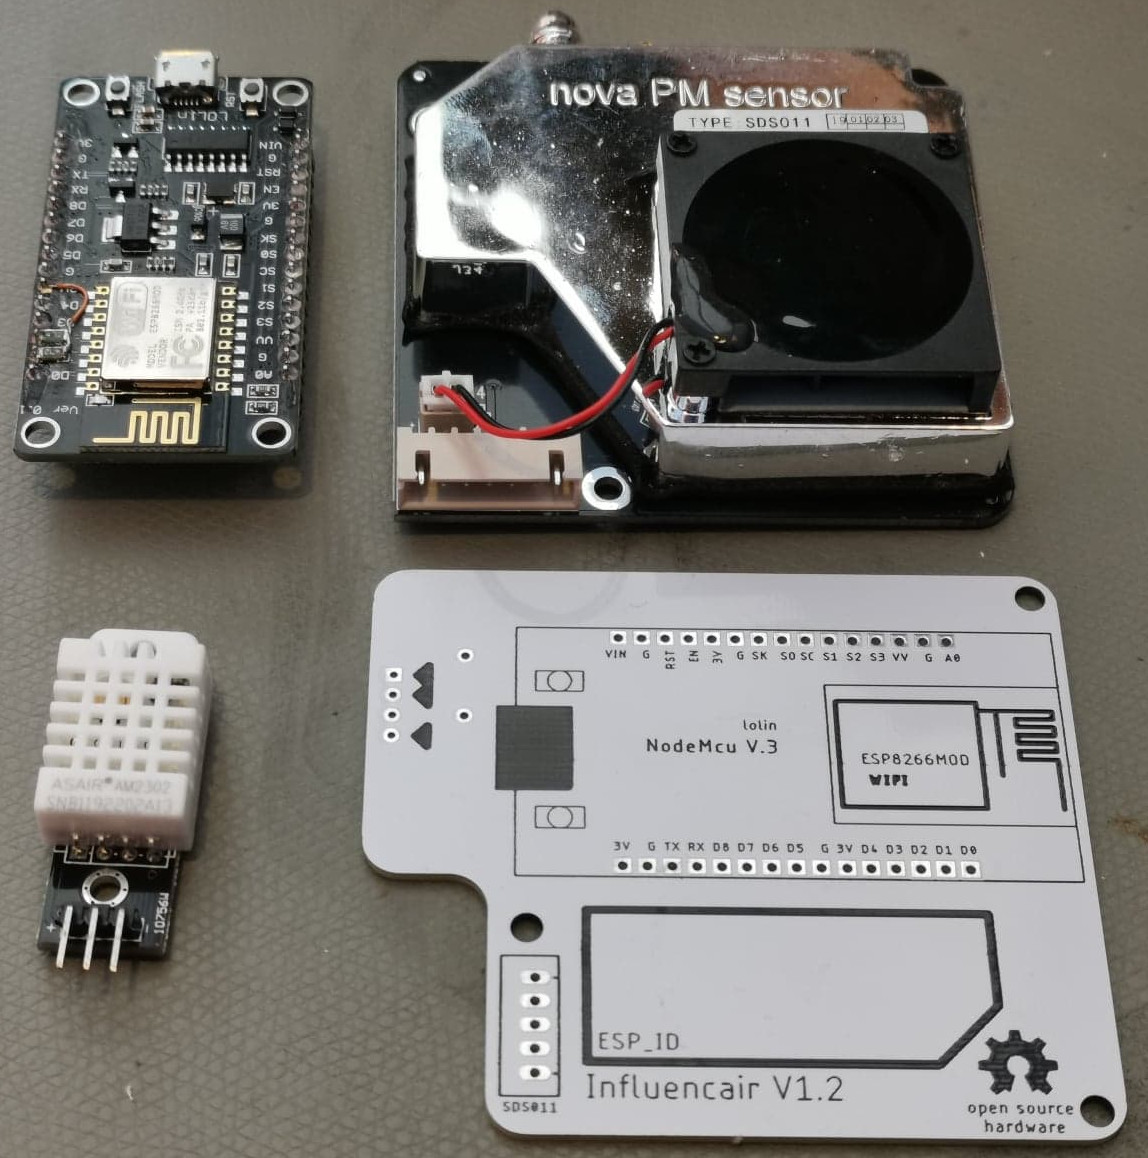
The particulate matter sensor is a Nova SDS011 PM sensor (datasheet), which can be purchased for around £14.
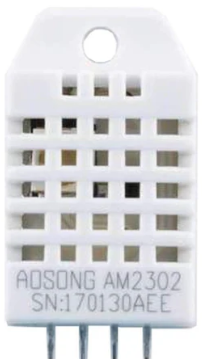
You’ll probably also want a DHT22 temperature & humidity sensor (datasheet) which will cost around £2.
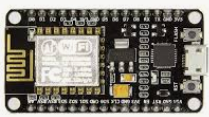
Finally a NodeMCU V3 is required. This is a module based on the ESP8622 WiFi chip, which includes a USB-UART interface, some voltage regulators, etc. In a later step, we’ll program this with the Luftdaten code.
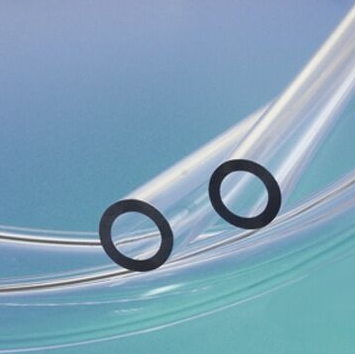
A short length of plastic pipe can help to draw air into the SDS011 sensor. The datasheet for the SDS011 suggests an inside diameter of 6mm and outside diameter of 8mm.
The photo below shows my assembled parts! You’ll notice int he bottom right of the image that I have an Influencair V1.2 PCB. Influencair are a spin-off group of Luftdaten based in Belgium. CivicLabsBelgium produced PCBs for project participants to use and made the PCB Gerber Files available here. You can send these off for manufacture using any PCB service you like (for example, in no order JLCPCB, PCBWay, DirtyPCBs, Elecrow, and so on).
Build notes & Programming
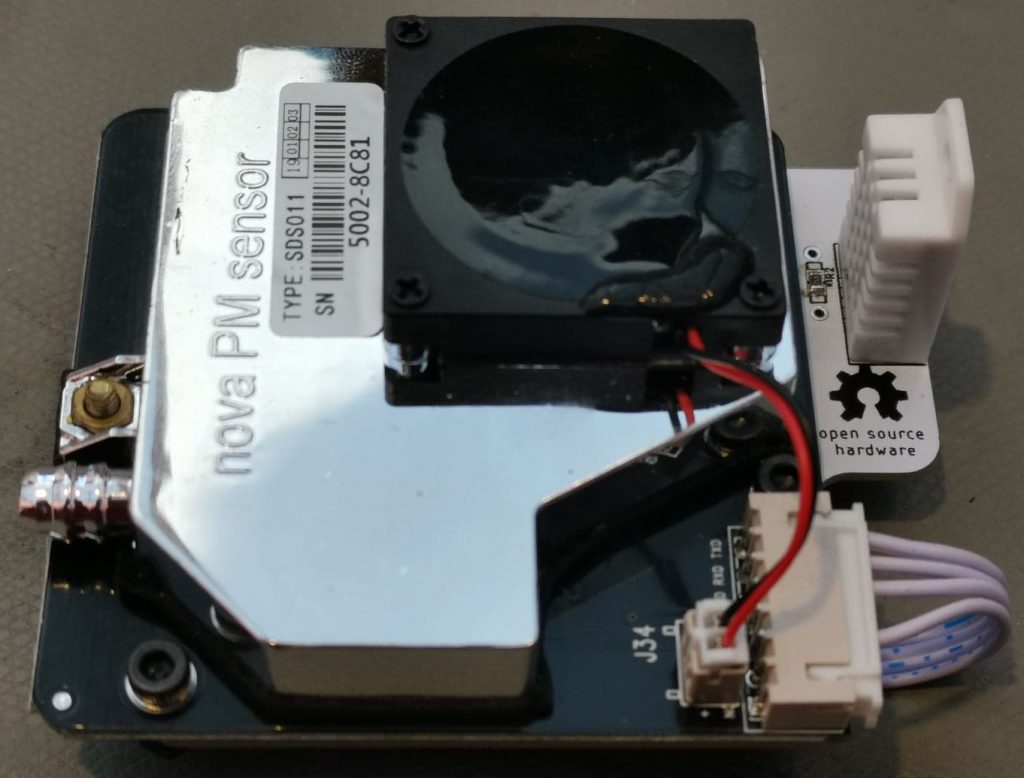
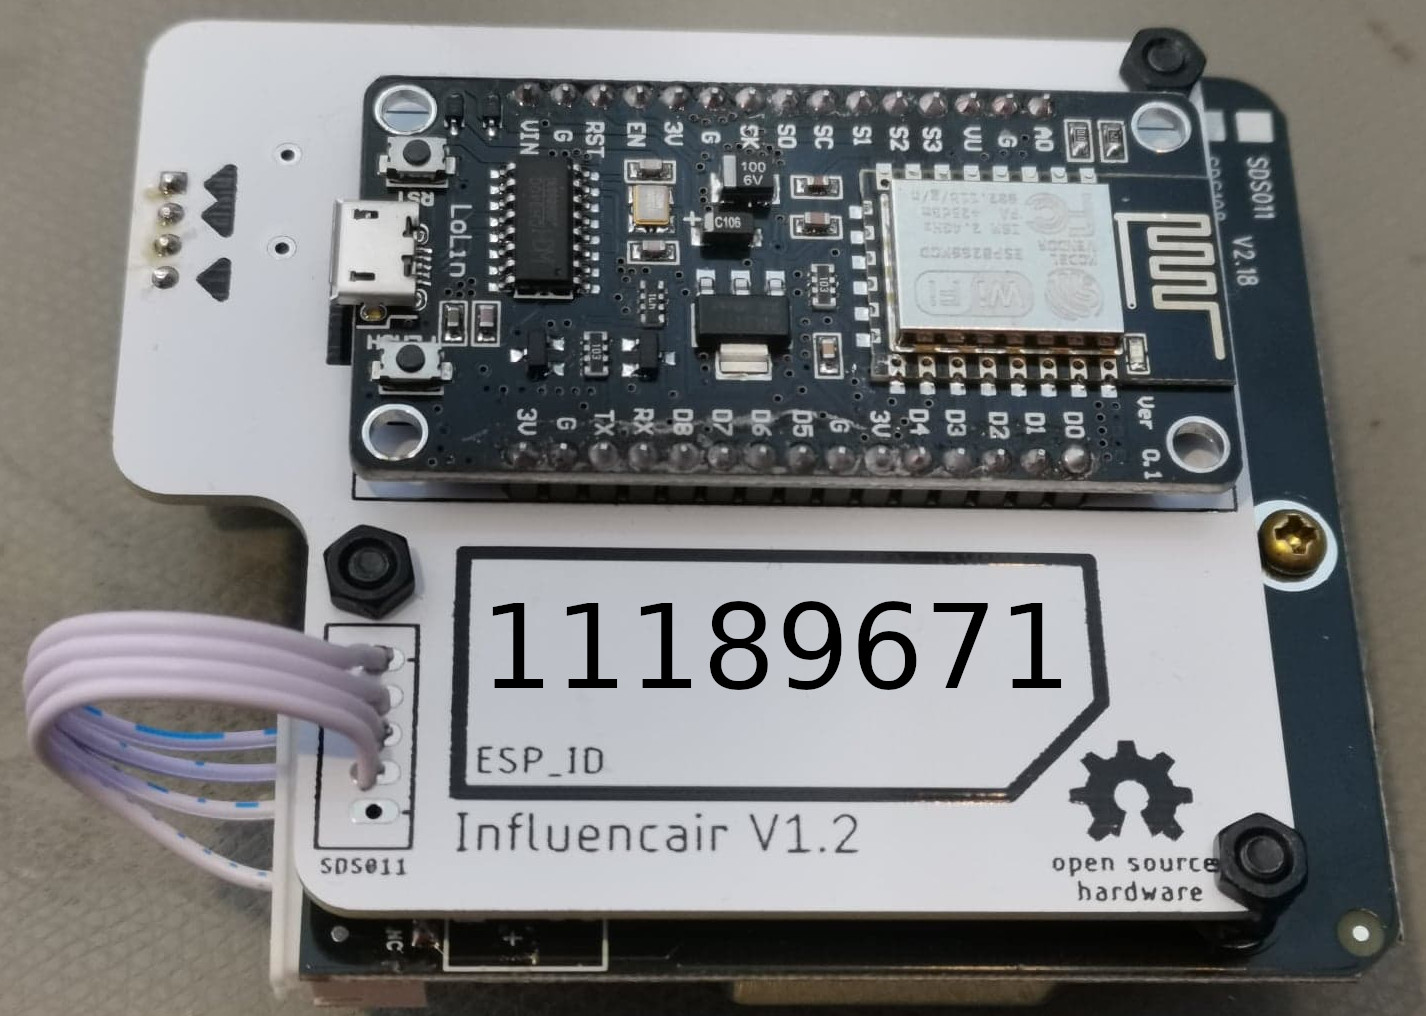
The build process is explained thoroughly on the Luftdaten website under the construction manual page. As I won’t be able to do a better job of explaining this, I suggest you go ahead and read their documentation. Below shows the parts mounted on my Influencair V1.2 PCB. I used 3mm screws to hold everything together.
Programming, Configuration & Registering
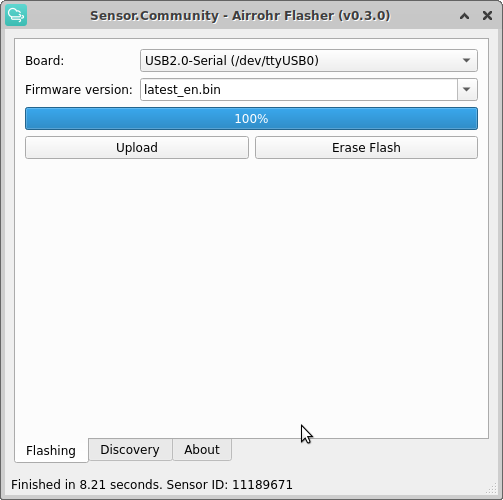
The default programming proceedure requires setting up the ESP8622 in the Arduino software environment, but Piotr Dobrowolski has created a very useful tool: airrohr-firmware-flasher for the Luftdaten project. I used the Linux variant of the program the NodeMCU in one click, but Windows and macOS versions exist too! Be sure to find the “releases” button on GitHub to download the pre-compiled ready-to-use binaries!
With the NodeMCU connected to the PC with a USB cable, I selected “latest_en.bin” from the version list (en being English), and pressed Upload. As you can see from the figure below, it took just over 8 seconds and it was done!
Power cycling the board resulted in a WiFi device being created by the newly created sensor! I connected my mobile phone to “airRohr-11189671” and was greeted with the following screen.
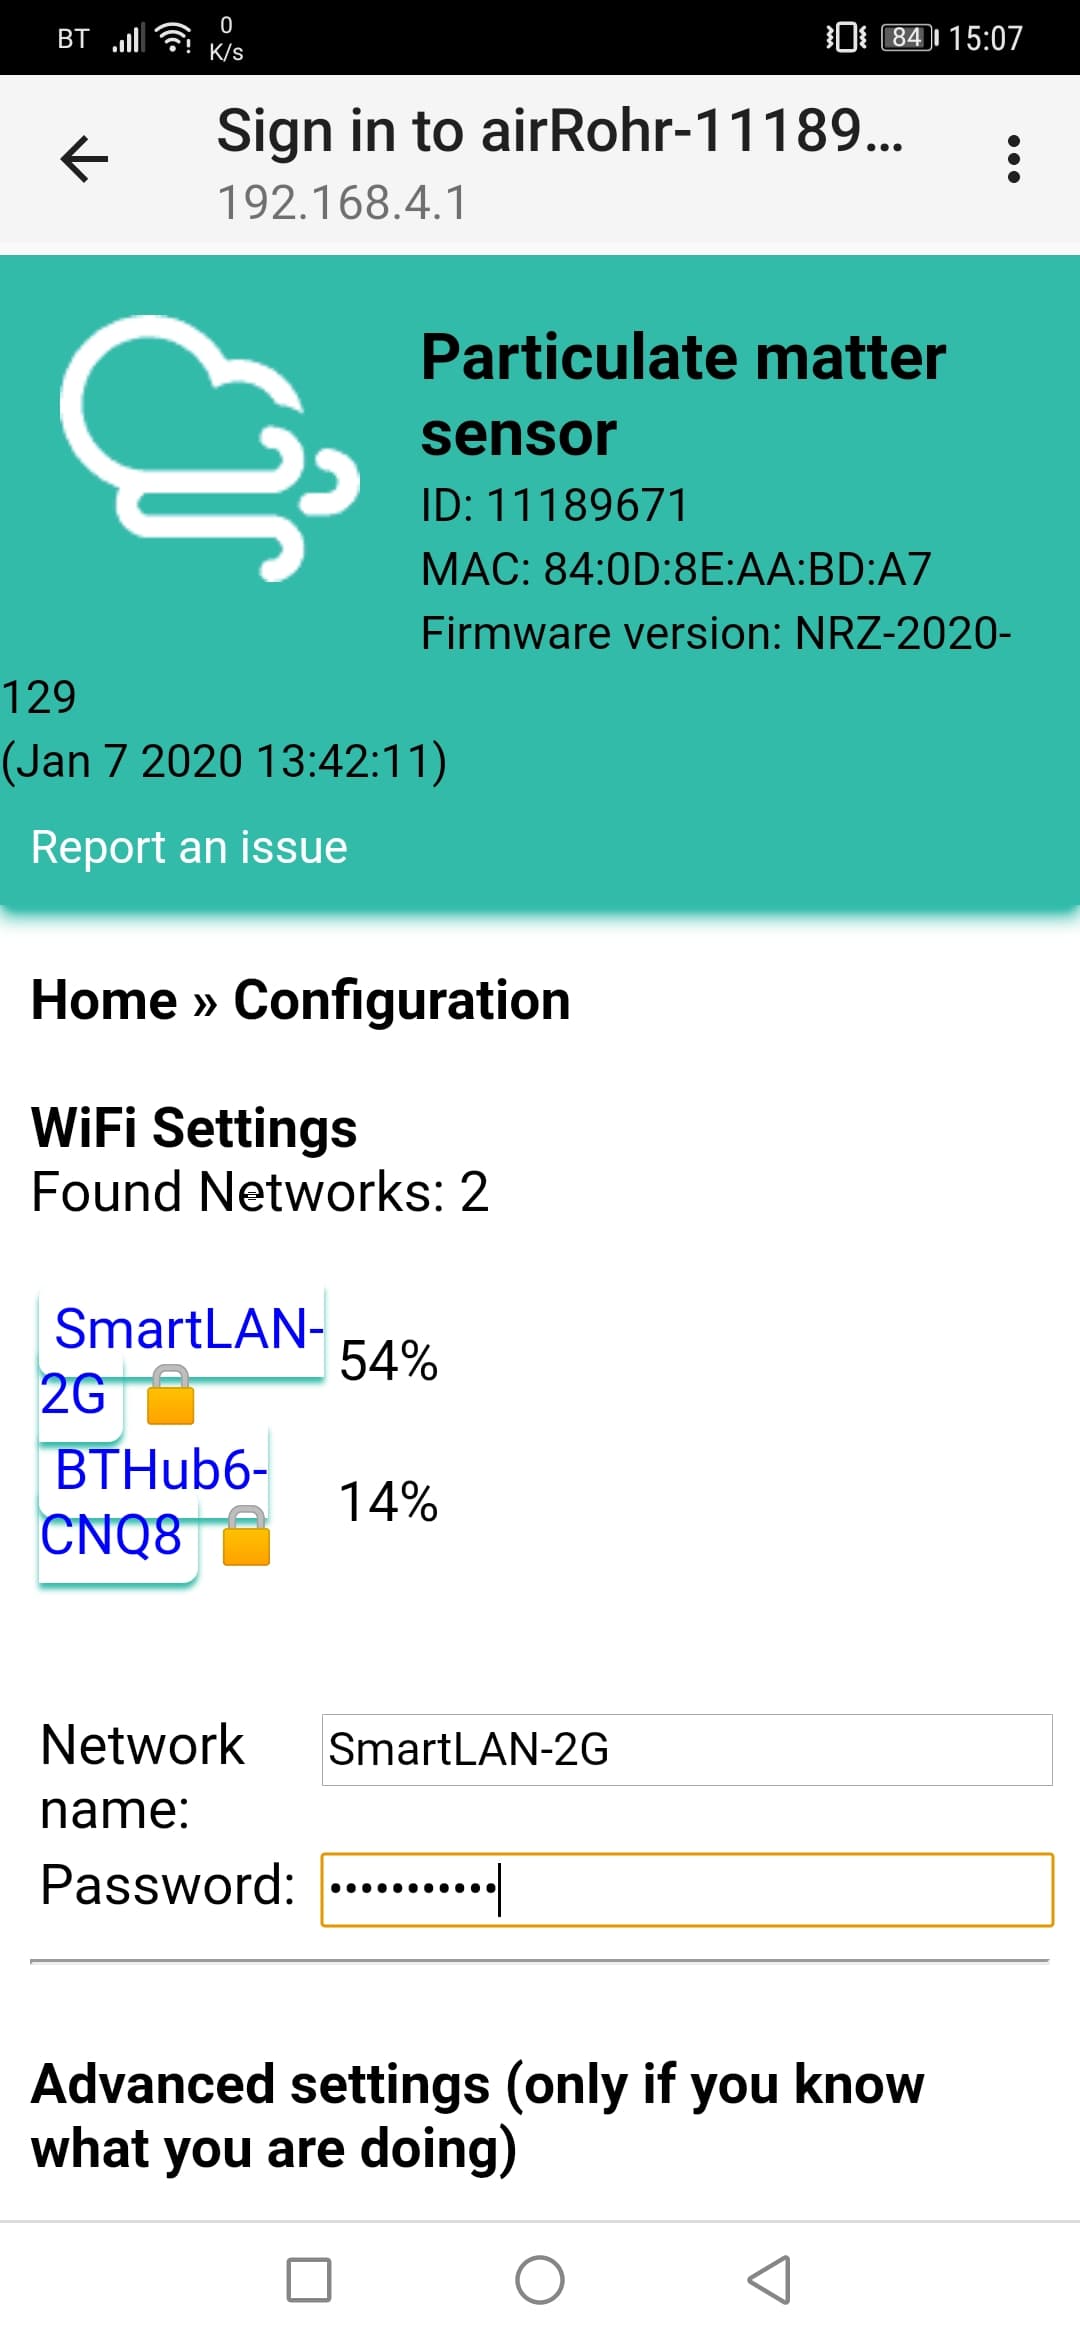
I tapped on my house WiFi “SmartLAN”, entered my super-secret passkey and we were away! The device power cycled and was then visible from the flasher once again.
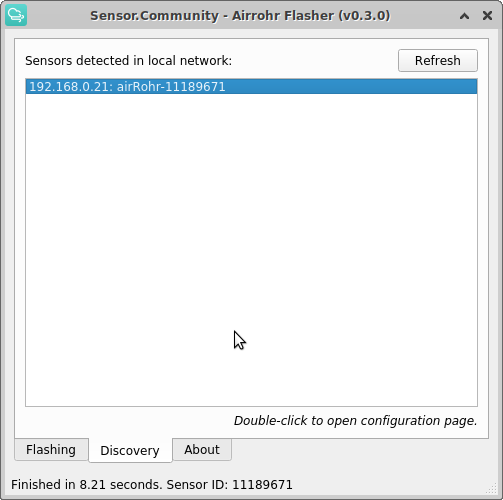
From this, I was able to see the sensor was assigned an IP address on my network, and double-clicking on the entry whisked me off to my default web browser viewing the sensor’s internal webpages.
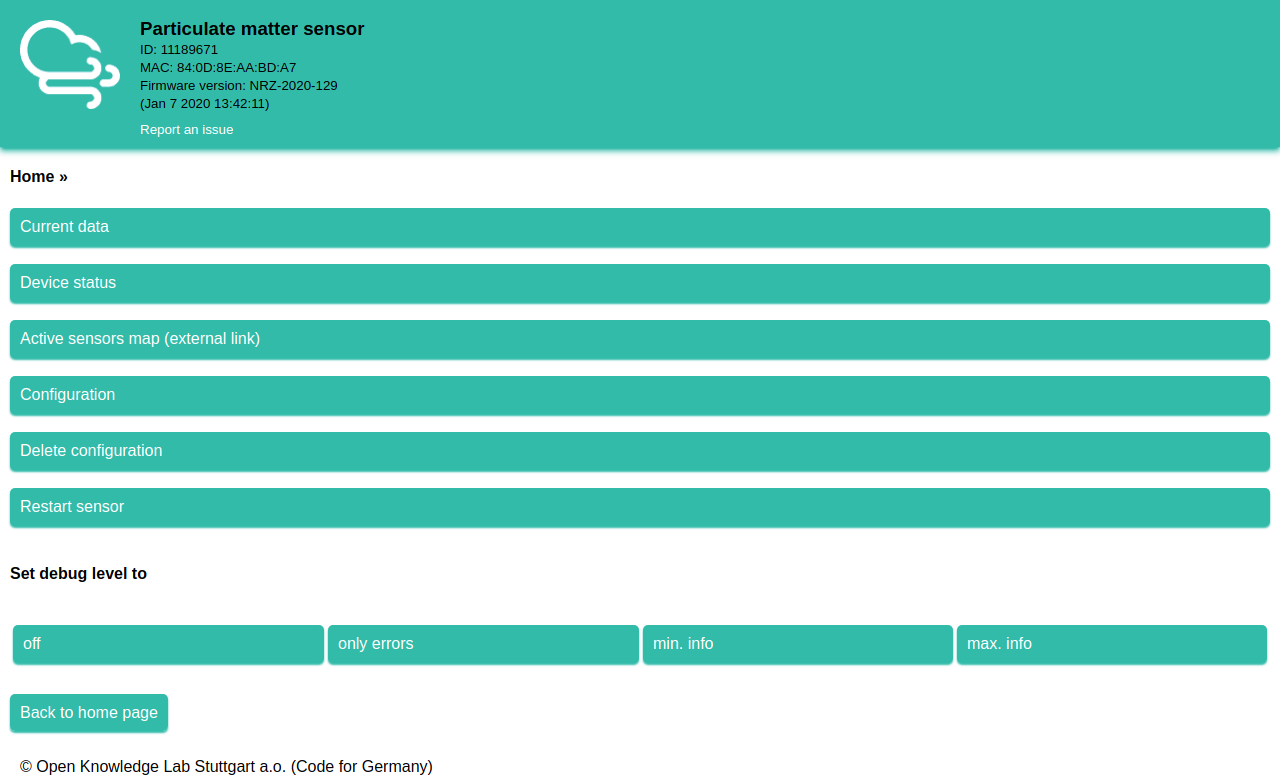
There are many configuration options, but the defaults were suitable for my hardware configuration. There are options for OLED and LCD screens, extra/different sensors and many other configurations which are out of the scope of this article. However you can click “Current Data” to see the sensors latest measurement data. The image below was taken with the sensor indoors.

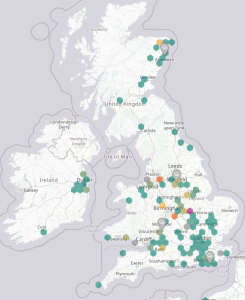
The final thing to do is to create an account on the Luftdaten project website so your sensor can contribute measurements. There are already a reasonable number of sensors in the UK contributing data to Luftdaten. You can create your account and submit your sensor data here: https://meine.luftdaten.info
I have positioned my sensor in the garden shed with a short section of plastic pipe poking outside of the shed where the wind blows. I live near a busy roundabout and buy a petrol filling station, so it will be interesting to compare my measurements with other local sensor readings.