
I noticed after a while, that my BER percentage of my MMDVM_HS_Hat and Pi-Star setup was significantly higher than other users, at around 3.5%. I know from setting up GB7KH that getting this correct takes patience. I also happen to know that the design of the MMDVM_HS_Hat uses inexpensive TCXOs to provide frequency and timing references. As such, some calibration can do wonders for the BER on DMR.
For this mini-guide, I shall use my TYT MD-380 handheld DMR radio. My hotspot is set to use a nominal frequency of 434.250 MHz as the carrier frequency.
Using the DMR handheld as a transmitter on low power, it should be possible to better match the frequency of the receiver to the transmitter – this process isn’t ideal, because it could equally be the handheld frequency which is incorrect – but at least they’ll match.
We’ll need to get SSH access to the underlying Linux system on the Pi-Star. You can either use the “SSH Access” tab from the Pi-Star Expert menu, as below:
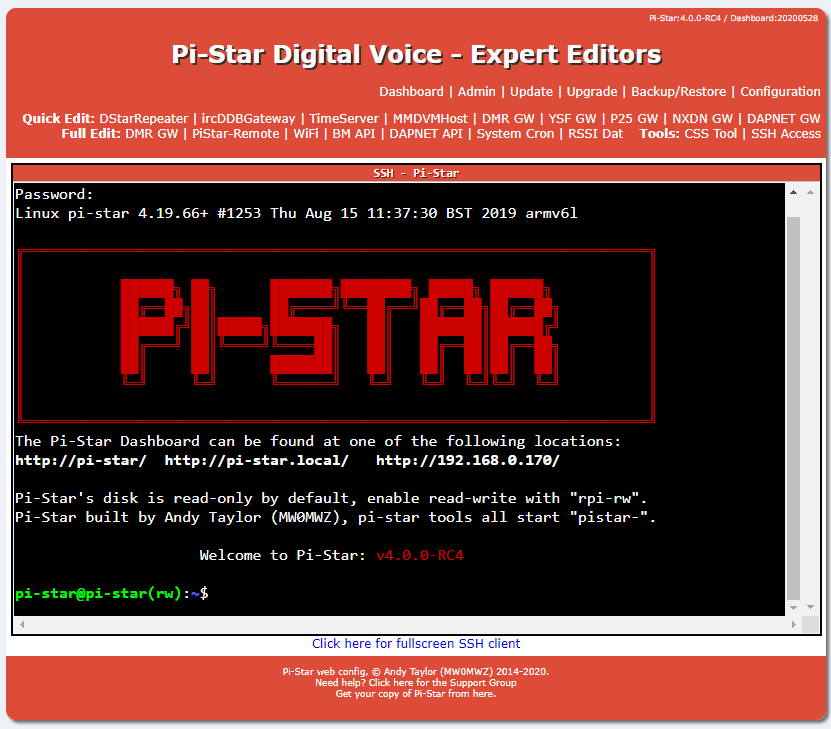
Or you may prefer to SSH into the Pi-Star with your preferred SSH client – I use PuTTY. Either option will work here.

The program we need is called MMDVMCal. Fortunately, there’s a version compiled for us already in Pi-Star. From the Pi-Star console terminal, the following command will start the MMDVMCal program where we’ll do our testing:
$ sudo pistar-mmdvmcal
Using MMDVMCal
When the program starts, you’re greeted with the following command line instructions. You may also see some debug/warnings about
Starting Calibration…
Version: 1, description: MMDVM_HS_Hat-v1.4.17 20190529 14.7456MHz ADF7021 FW by CA6JAU GitID #cc451c4
The commands are:
H/h Display help
Q/q Quit
W/w Enable/disable modem debug messages
E/e Enter frequency (current: 433000000 Hz)
F Increase frequency
f Decrease frequency
Z/z Enter frequency step
T Increase deviation
t Decrease deviation
P Increase RF power
p Decrease RF power
C/c Carrier Only Mode
K/k Set FM Deviation Modes
D/d DMR Deviation Mode (Adjust for 2.75Khz Deviation)
M/m DMR Simplex 1031 Hz Test Pattern (CC1 ID1 TG9)
K/k BER Test Mode (FEC) for D-Star
b BER Test Mode (FEC) for DMR Simplex (CC1)
B BER Test Mode (1031 Hz Test Pattern) for DMR Simplex (CC1 ID1 TG9)
J BER Test Mode (FEC) for YSF
j BER Test Mode (FEC) for P25
n BER Test Mode (FEC) for NXDN
g POCSAG 600Hz Test Pattern
S/s RSSI Mode
I/i Interrupt Counter Mode
V/v Display version of MMDVMCal
<space> Toggle transmit
The first thing to do is to set the MMDVMCal frequency. I did this by pressing “E” followed by the frequency of my radio (434.250 MHz) in Hz.
e
434250000
You should see this frequency echoed back in brackets once the menu is reprinted to the screen. If you look at the example above, you’ll see that the frequency is 433000000 Hz (or 433.000 MHz). Pressing “b” will enter “BER Test Mode (FEC) for DMR Simplex” mode:
b
At this point, a quick transmission will show the exact BER:
DMR voice header received
DMR voice header received
DMR voice header received
DMR audio seq. 0, FEC BER % (errs): 2.837% (4/141)
DMR audio seq. 1, FEC BER % (errs): 2.837% (4/141)
DMR audio seq. 2, FEC BER % (errs): 3.546% (5/141)
DMR audio seq. 3, FEC BER % (errs): 1.418% (2/141)
DMR audio seq. 4, FEC BER % (errs): 0.709% (1/141)
DMR audio seq. 5, FEC BER % (errs): 2.128% (3/141)
DMR voice end received, total frames: 6, bits: 846, errors: 19, BER: 2.2459%
My BER is showing as 2.5%. Not awful, but with some room for improvement.
The process of finding the ‘perfect’ value is twofold. The first is to find the approximate frequency, and then dial in the exact value. Here, we’re trying to find out the difference between the nominal frequency (in my case 434.250 MHz) and the optimal working frequency.
From the menu above, you’ll note that both “F” and “f” (both upper and lower case) increase and decrease the frequency respectively. By holding your radio in transmit, repeatedly press the F key until you the MMDVM_HS_Hat looses the transmission from your handheld. You’ll see the TX frequency announced with each change of frequency – allow time between each step (around 10 seconds on each frequency).
DMR audio seq. 3, FEC BER % (errs): 1.418% (2/141)
DMR audio seq. 4, FEC BER % (errs): 0.709% (1/141)
DMR audio seq. 5, FEC BER % (errs): 4.255% (6/141)
TX frequency: 434250050
DMR audio seq. 0, FEC BER % (errs): 4.965% (7/141)
DMR audio seq. 1, FEC BER % (errs): 0.709% (1/141)
DMR audio seq. 2, FEC BER % (errs): 0.709% (1/141)
DMR audio seq. 3, FEC BER % (errs): 1.418% (2/141)
DMR audio seq. 4, FEC BER % (errs): 2.837% (4/141)
DMR audio seq. 5, FEC BER % (errs): 1.418% (2/141)
TX frequency: 434250100
DMR audio seq. 0, FEC BER % (errs): 2.837% (4/141)
DMR audio seq. 1, FEC BER % (errs): 0.000% (0/141)
Keep going in one direction until the software reports “Transmission Lost” – note the final frequency down. You can see this by pressing “H” or “h” to reprint the menu. For me, the first limit I reached was 434249800 Hz by repeatedly pressing “f” to lower the frequency.
TX frequency: 434249800
DMR audio seq. 0, FEC BER % (errs): 7.092% (10/141)
Transmission lost, total frames: 61, bits: 8601, errors: 743, BER: 8.63853%
Once you find one limiting frequency, travel though the other direction until you find the other limiting frequency.
TX frequency: 434250800
DMR audio seq. 0, FEC BER % (errs): 9.220% (13/141)
DMR audio seq. 1, FEC BER % (errs): 7.801% (11/141)
DMR audio seq. 2, FEC BER % (errs): 7.801% (11/141)
DMR audio seq. 3, FEC BER % (errs): 7.801% (11/141)
Transmission lost, total frames: 248, bits: 34968, errors: 2602, BER: 7.44109%
From here, you can find the mean (centre) frequency: (434249800 + 434250800)/2 = 434250300 Hz (300Hz higher than the nominal).
Use the “E” command once again and enter your new mean frequency – for me, this was 434250300 Hz.
e
434250300
You can then either enter frequencies yourself stepping 10 Hz at a time until you find the frequency yielding the best BER, or you can use the “Z” and “z” commands to increase or decrease the steps, and continue using the “F” and “f” commands to ‘home in’ on the value. I tabulated my results to give me a clear understanding of what was going on. I first went with 25 Hz steps (half the default 50 Hz steps) and found the following values for a 15 second transmission on each frequency. At the end of each transmission, status (including BER) are reported. You can see that the optimum value was very close to my mean value.
434250225, BER: 0.3208%
434250250, BER: 0.1470%
434250275, BER: 0.0887% (optimum value)
434250300, BER: 0.2175% (my mean calculated)
434250350, BER: 0.4816%
You can see that the optimum value was very close to my mean value. I experimented with even smaller steps, but didn’t really improve much on the 0.1% BER. This value is definitely good enough, and is an order of magnitude better than what I had previously!
Since I also use D-STAR, I quickly pressed “K” to enter D-STAR BER test mode, and, with the best settings from DMR, I keyed my Kenwood TH-D74 handheld – everything was fine here, too:
D-Star audio FEC BER % (errs): 0.000% (0/48)
D-Star audio FEC BER % (errs): 0.000% (0/48)
D-Star audio FEC BER % (errs): 0.000% (0/48)
D-Star audio FEC BER % (errs): 0.000% (0/48)
D-Star audio FEC BER % (errs): 0.000% (0/48)
D-Star audio FEC BER % (errs): 0.000% (0/48)
D-Star voice end received, total frames: 214, bits: 10272, errors: 0, BER: 0.00000%
Taking the frequency for your lowest BER (in my case 434250275 Hz), the offset is easy to calculate: Simply subtract the best BER frequency from the nominal frequency to find the offset: 434250275 – 434250000 = 275 Hz (note, this can be negative).
Applying the Offset
We next need to apply our offset (in my case +275 Hz) to the main MMDVMHost application running on the Pi-Star. This is done through the expert configuration.
Inside the Pi-Star configuration, head to the Admin Expert menu once again and select MMDVMHost.
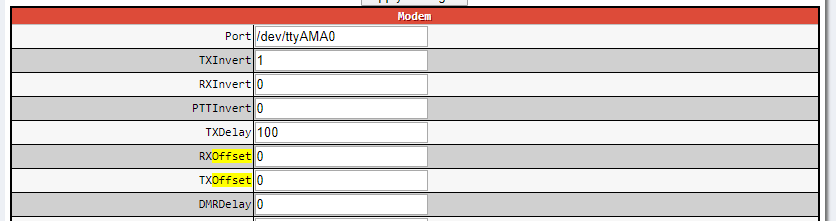
Inserting our calculated offset (in Hertz) from the above.

It’s then just a case of applying the changes!